Turn a Video Game into Wood Art
How I Turned a Retro Video Game into Wood Art
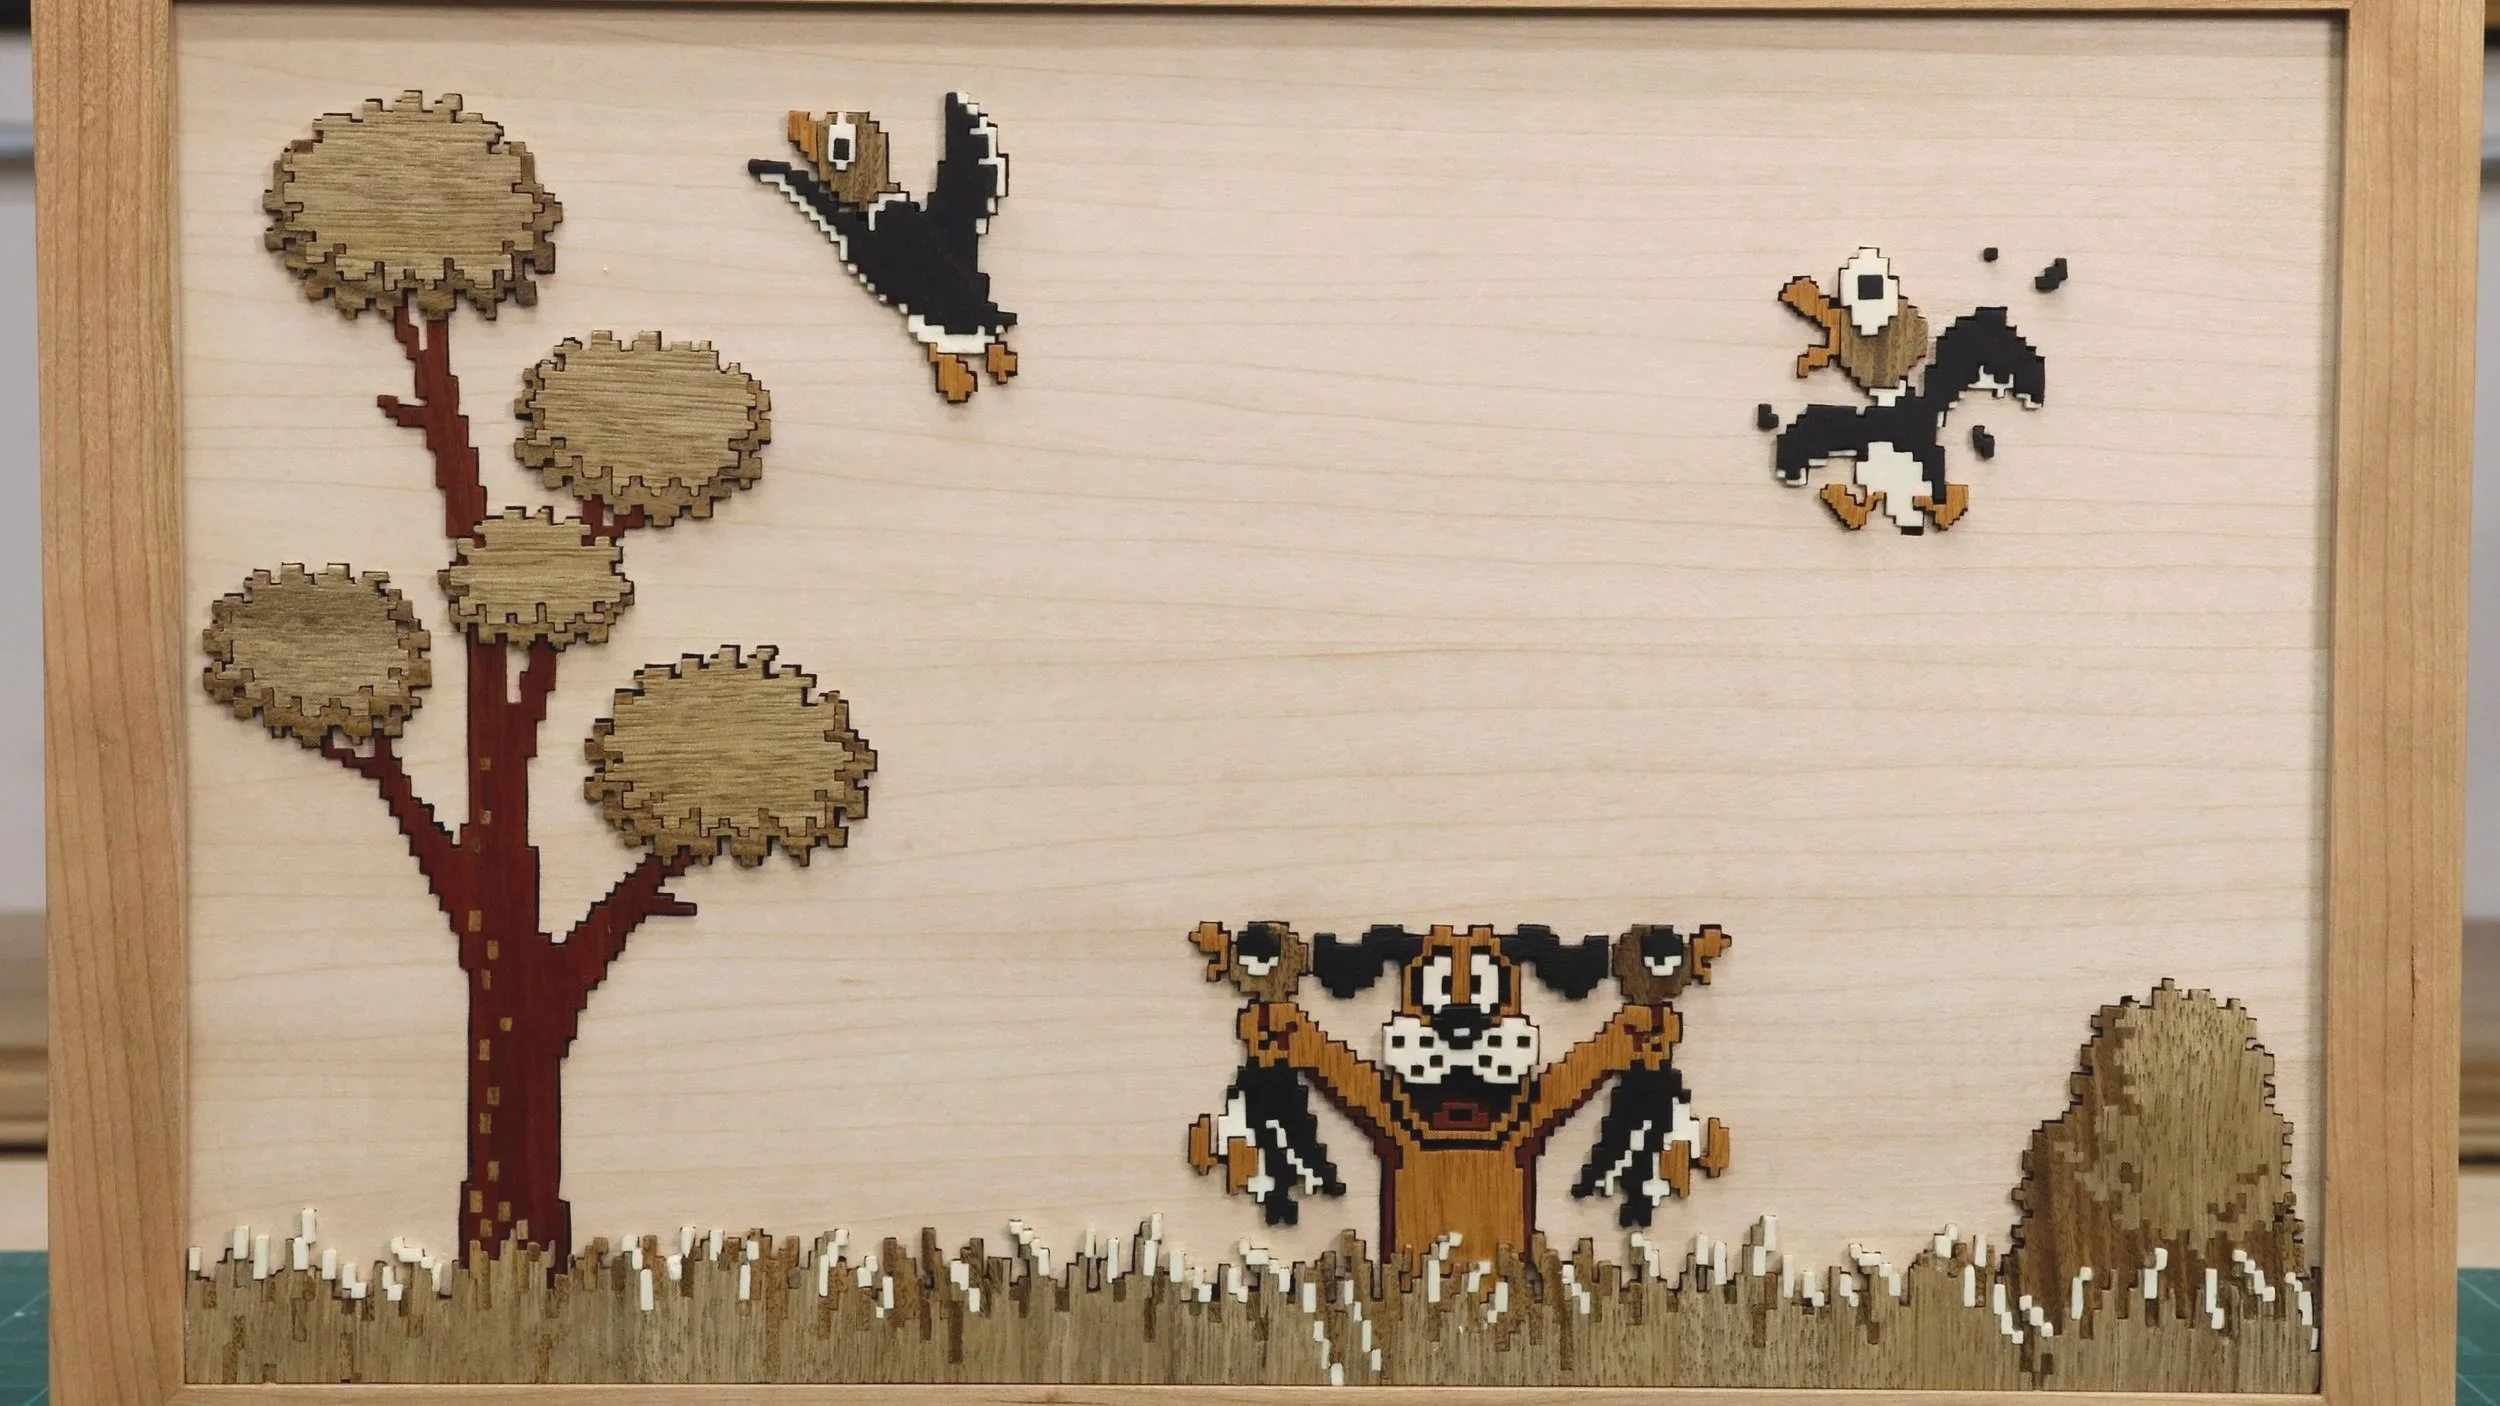
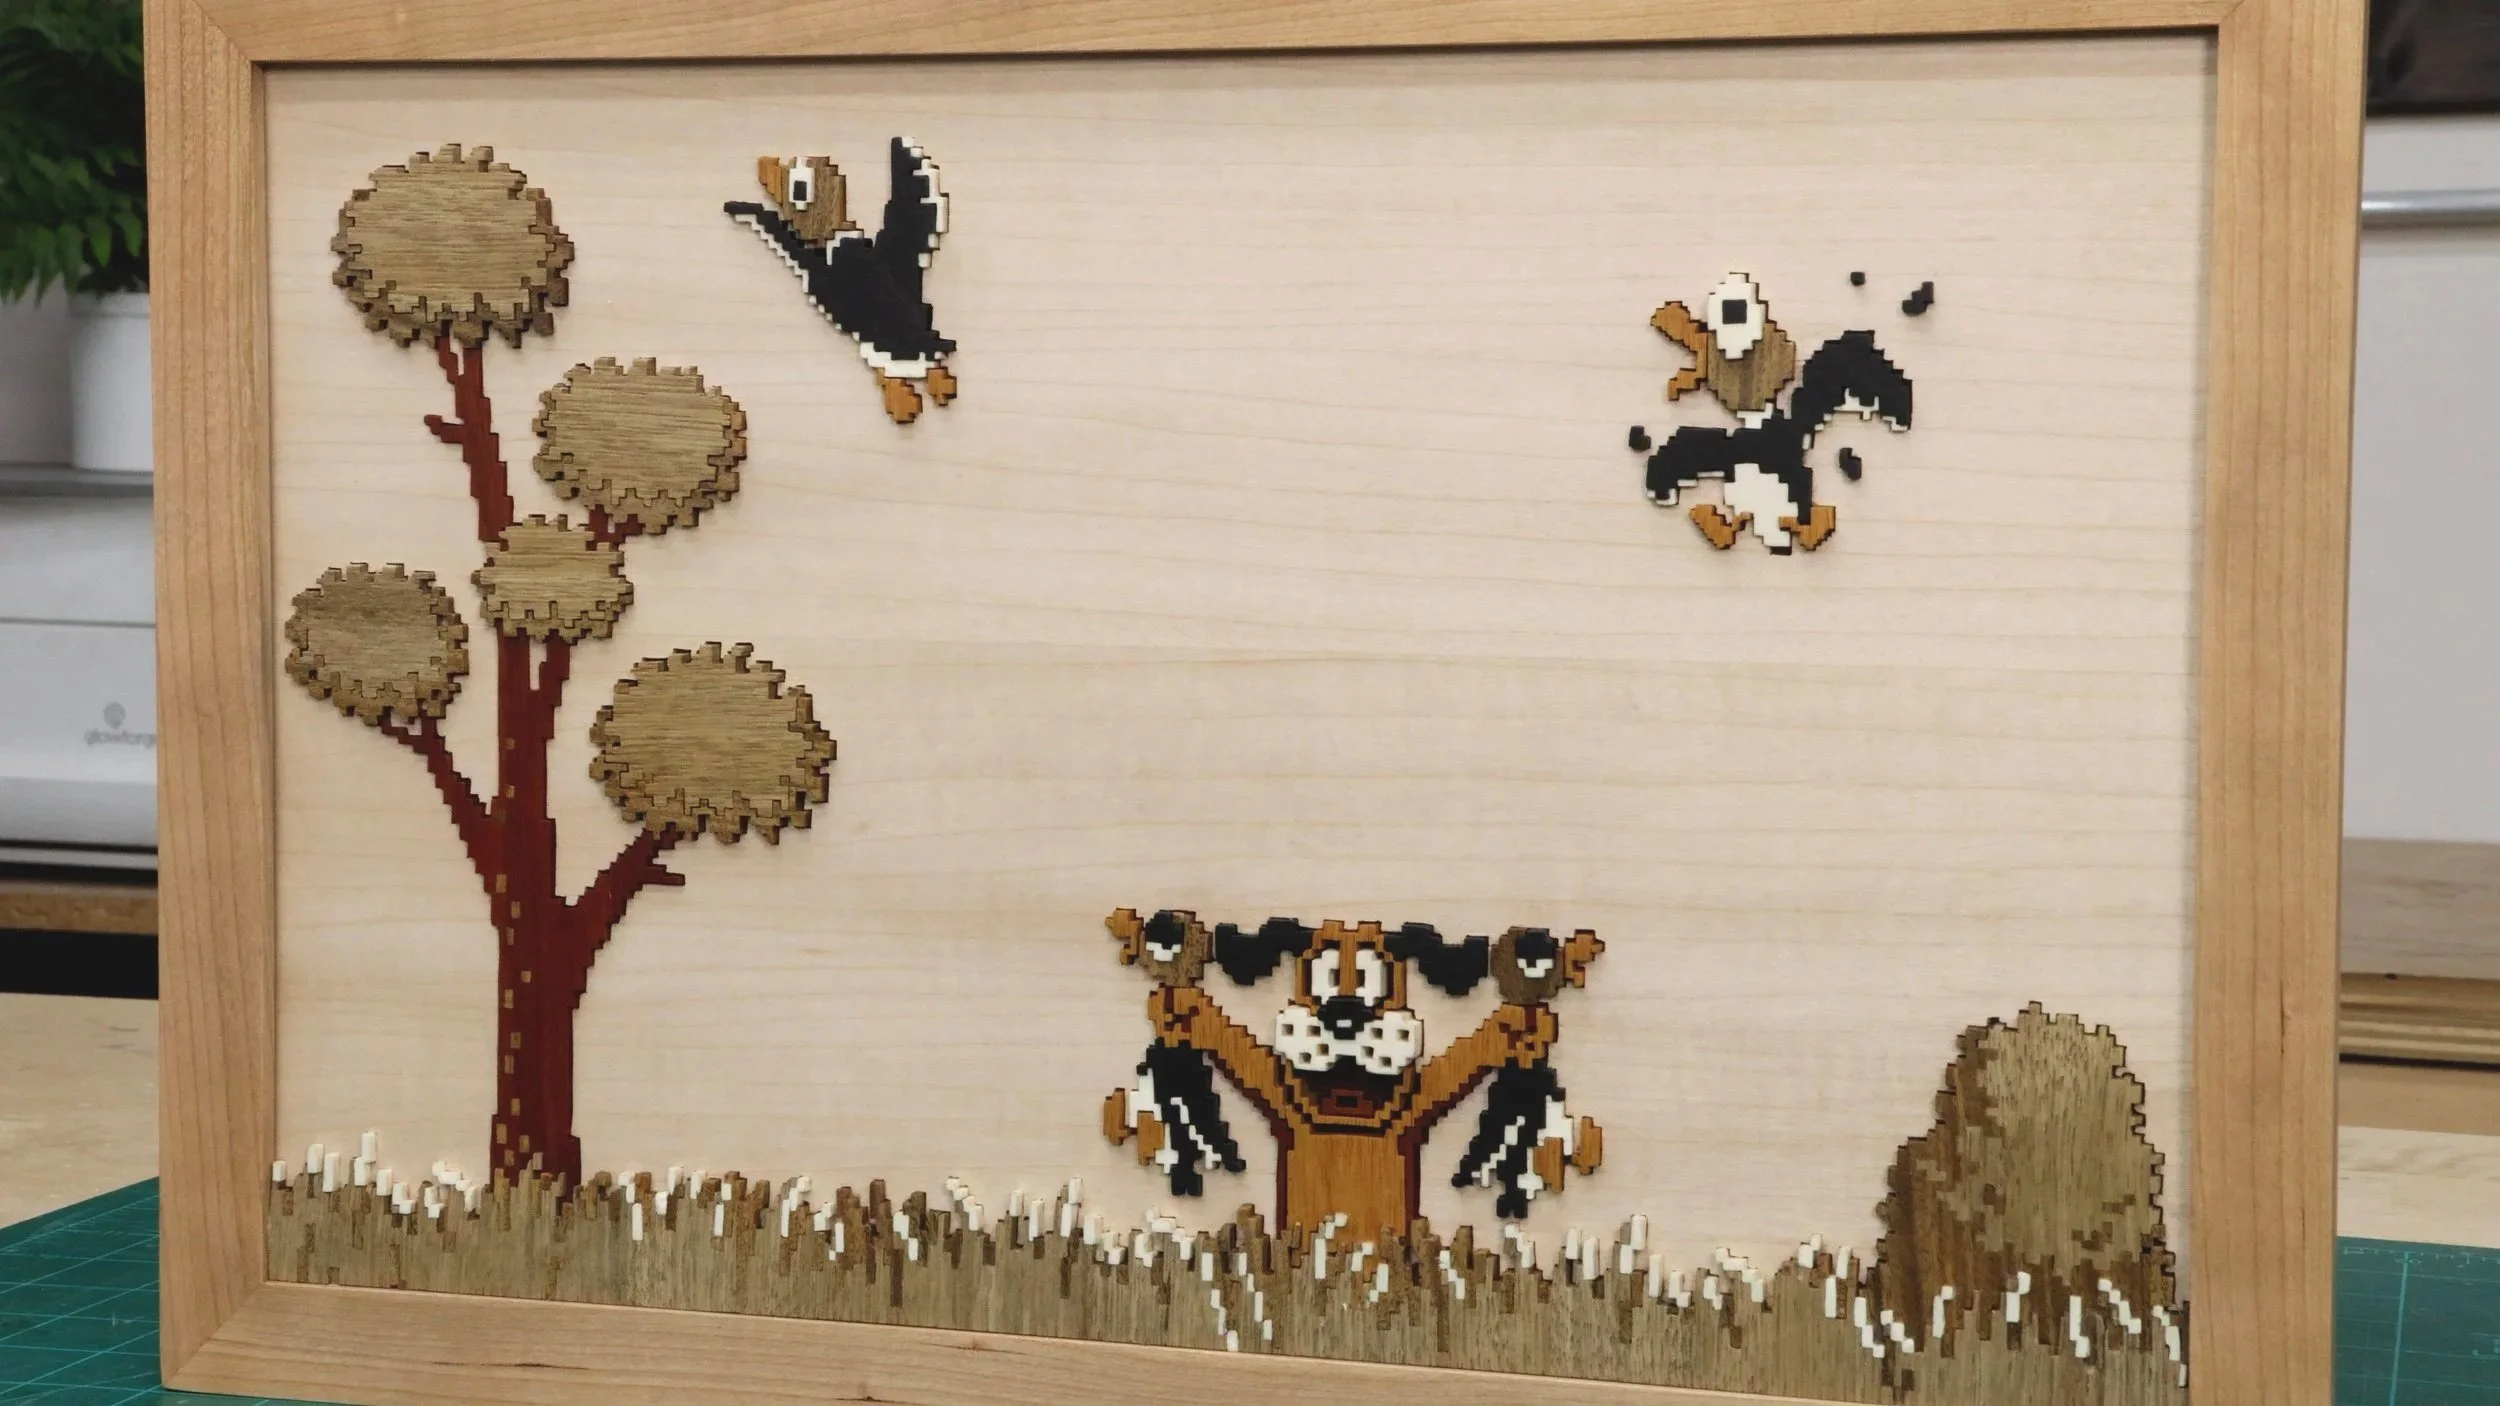
As a kid, I loved playing Nintendo’s Duck Hunt. I thought it would be fun to create wood art inspired by the game. The project is made using a scroll saw and natural wood colors, no dyes or stains. Here’s how I pulled it off…
** I earn a small commission from affiliate links.
The Foundation
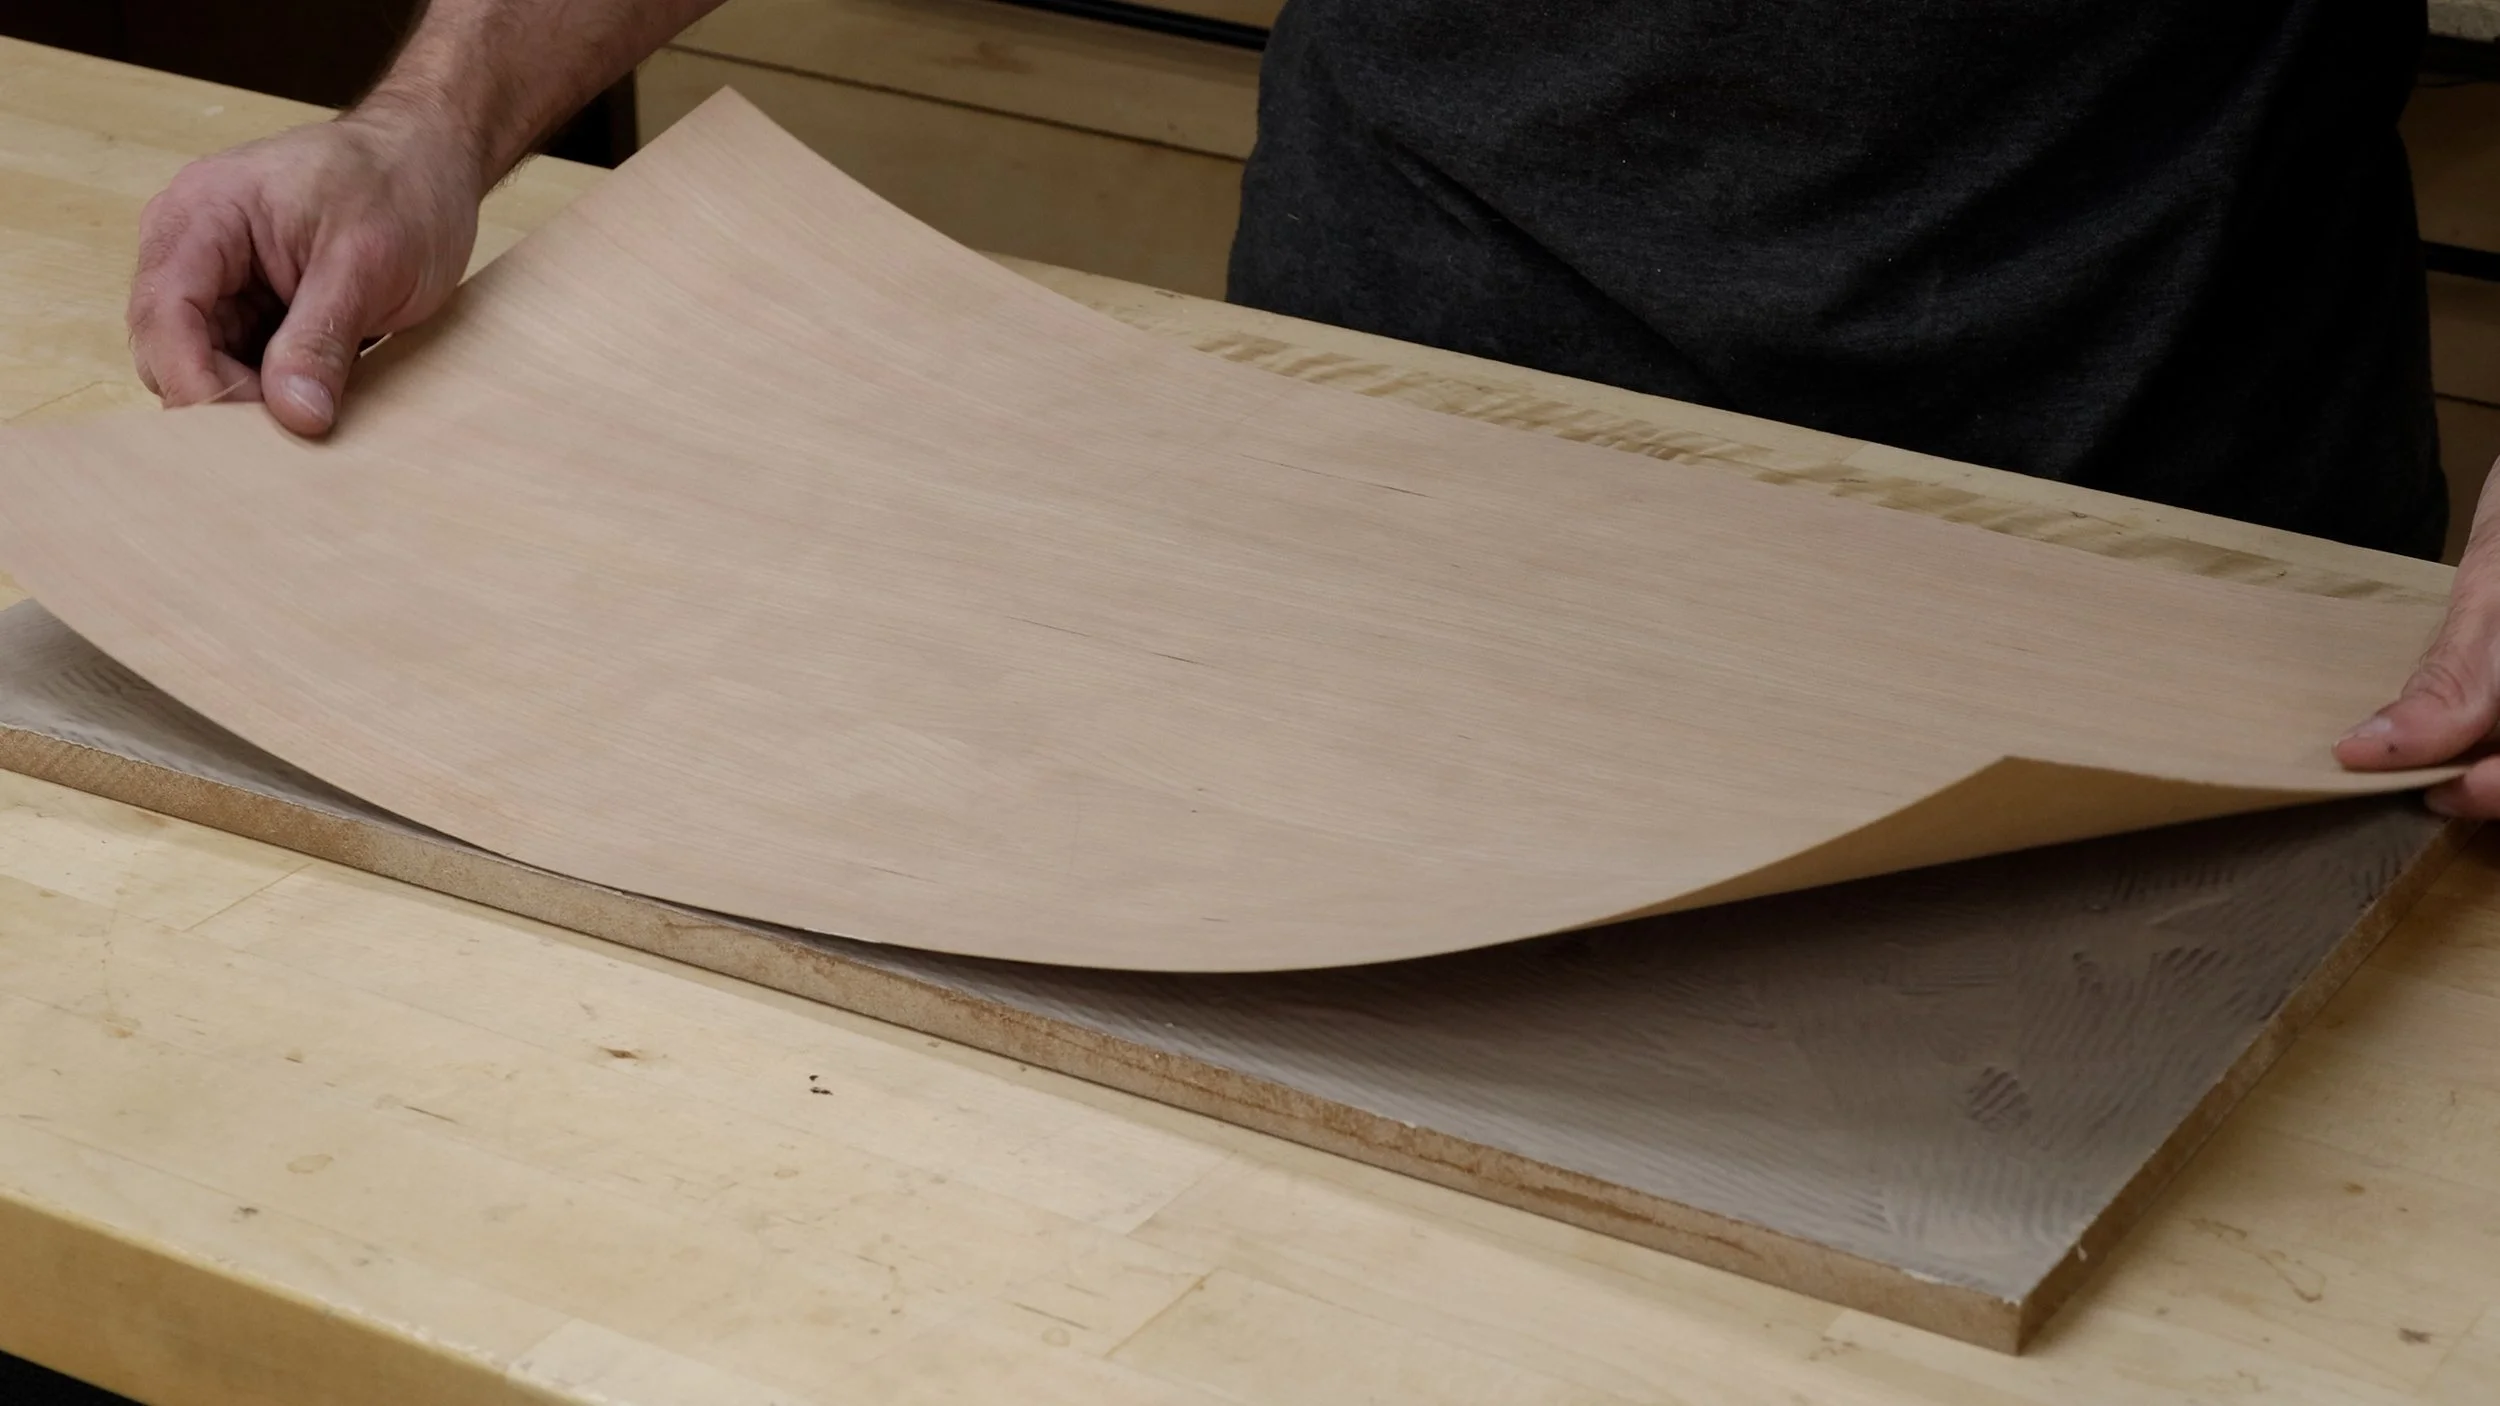
Every piece of art needs a foundation. I glued wenge and cherry veneer to a piece of MDF. The dark wenge provides the shadows and negative space in the picture. If you glue something on one side of a panel, you should glue something to the other side to balance it and help prevent bowing. That’s where the cherry comes in.

The Artwork
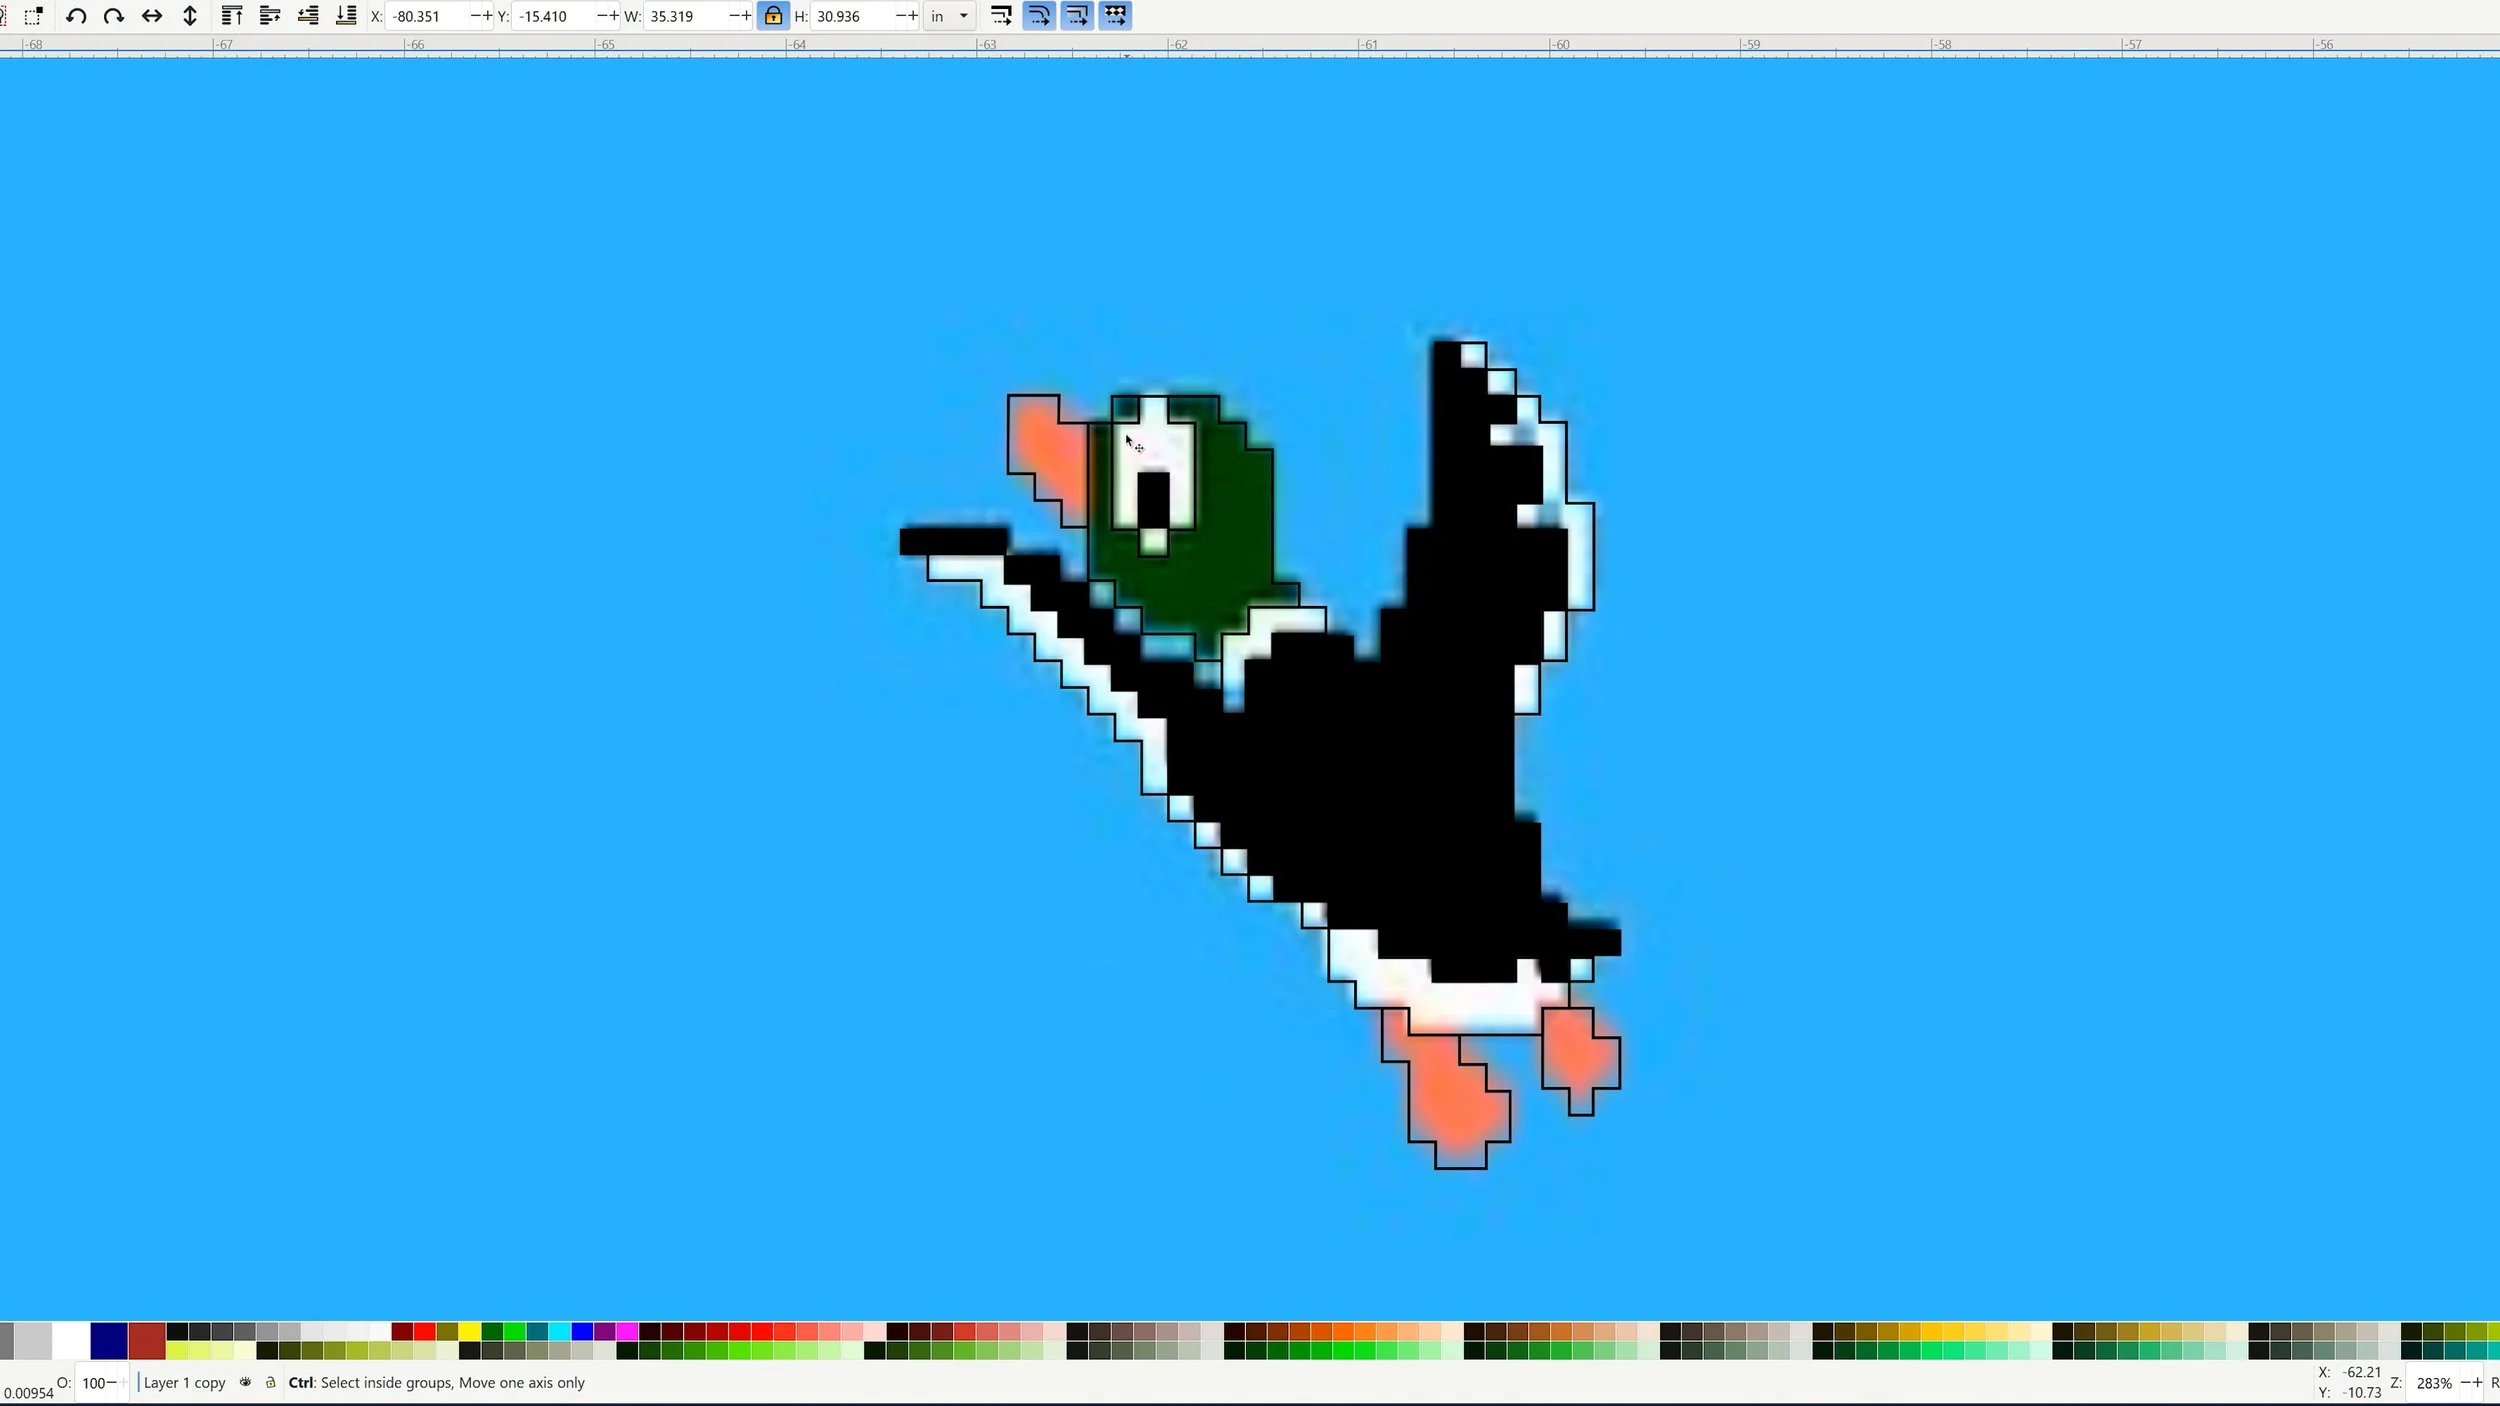
I took still shots of game and then pieced together an image. I wanted multiple aspects that were not found in just one scene, such as different looking ducks along with the dog’s specific pose. I used Inkscape to create my own version of each part of the artwork, then spliced them together to make one final picture.
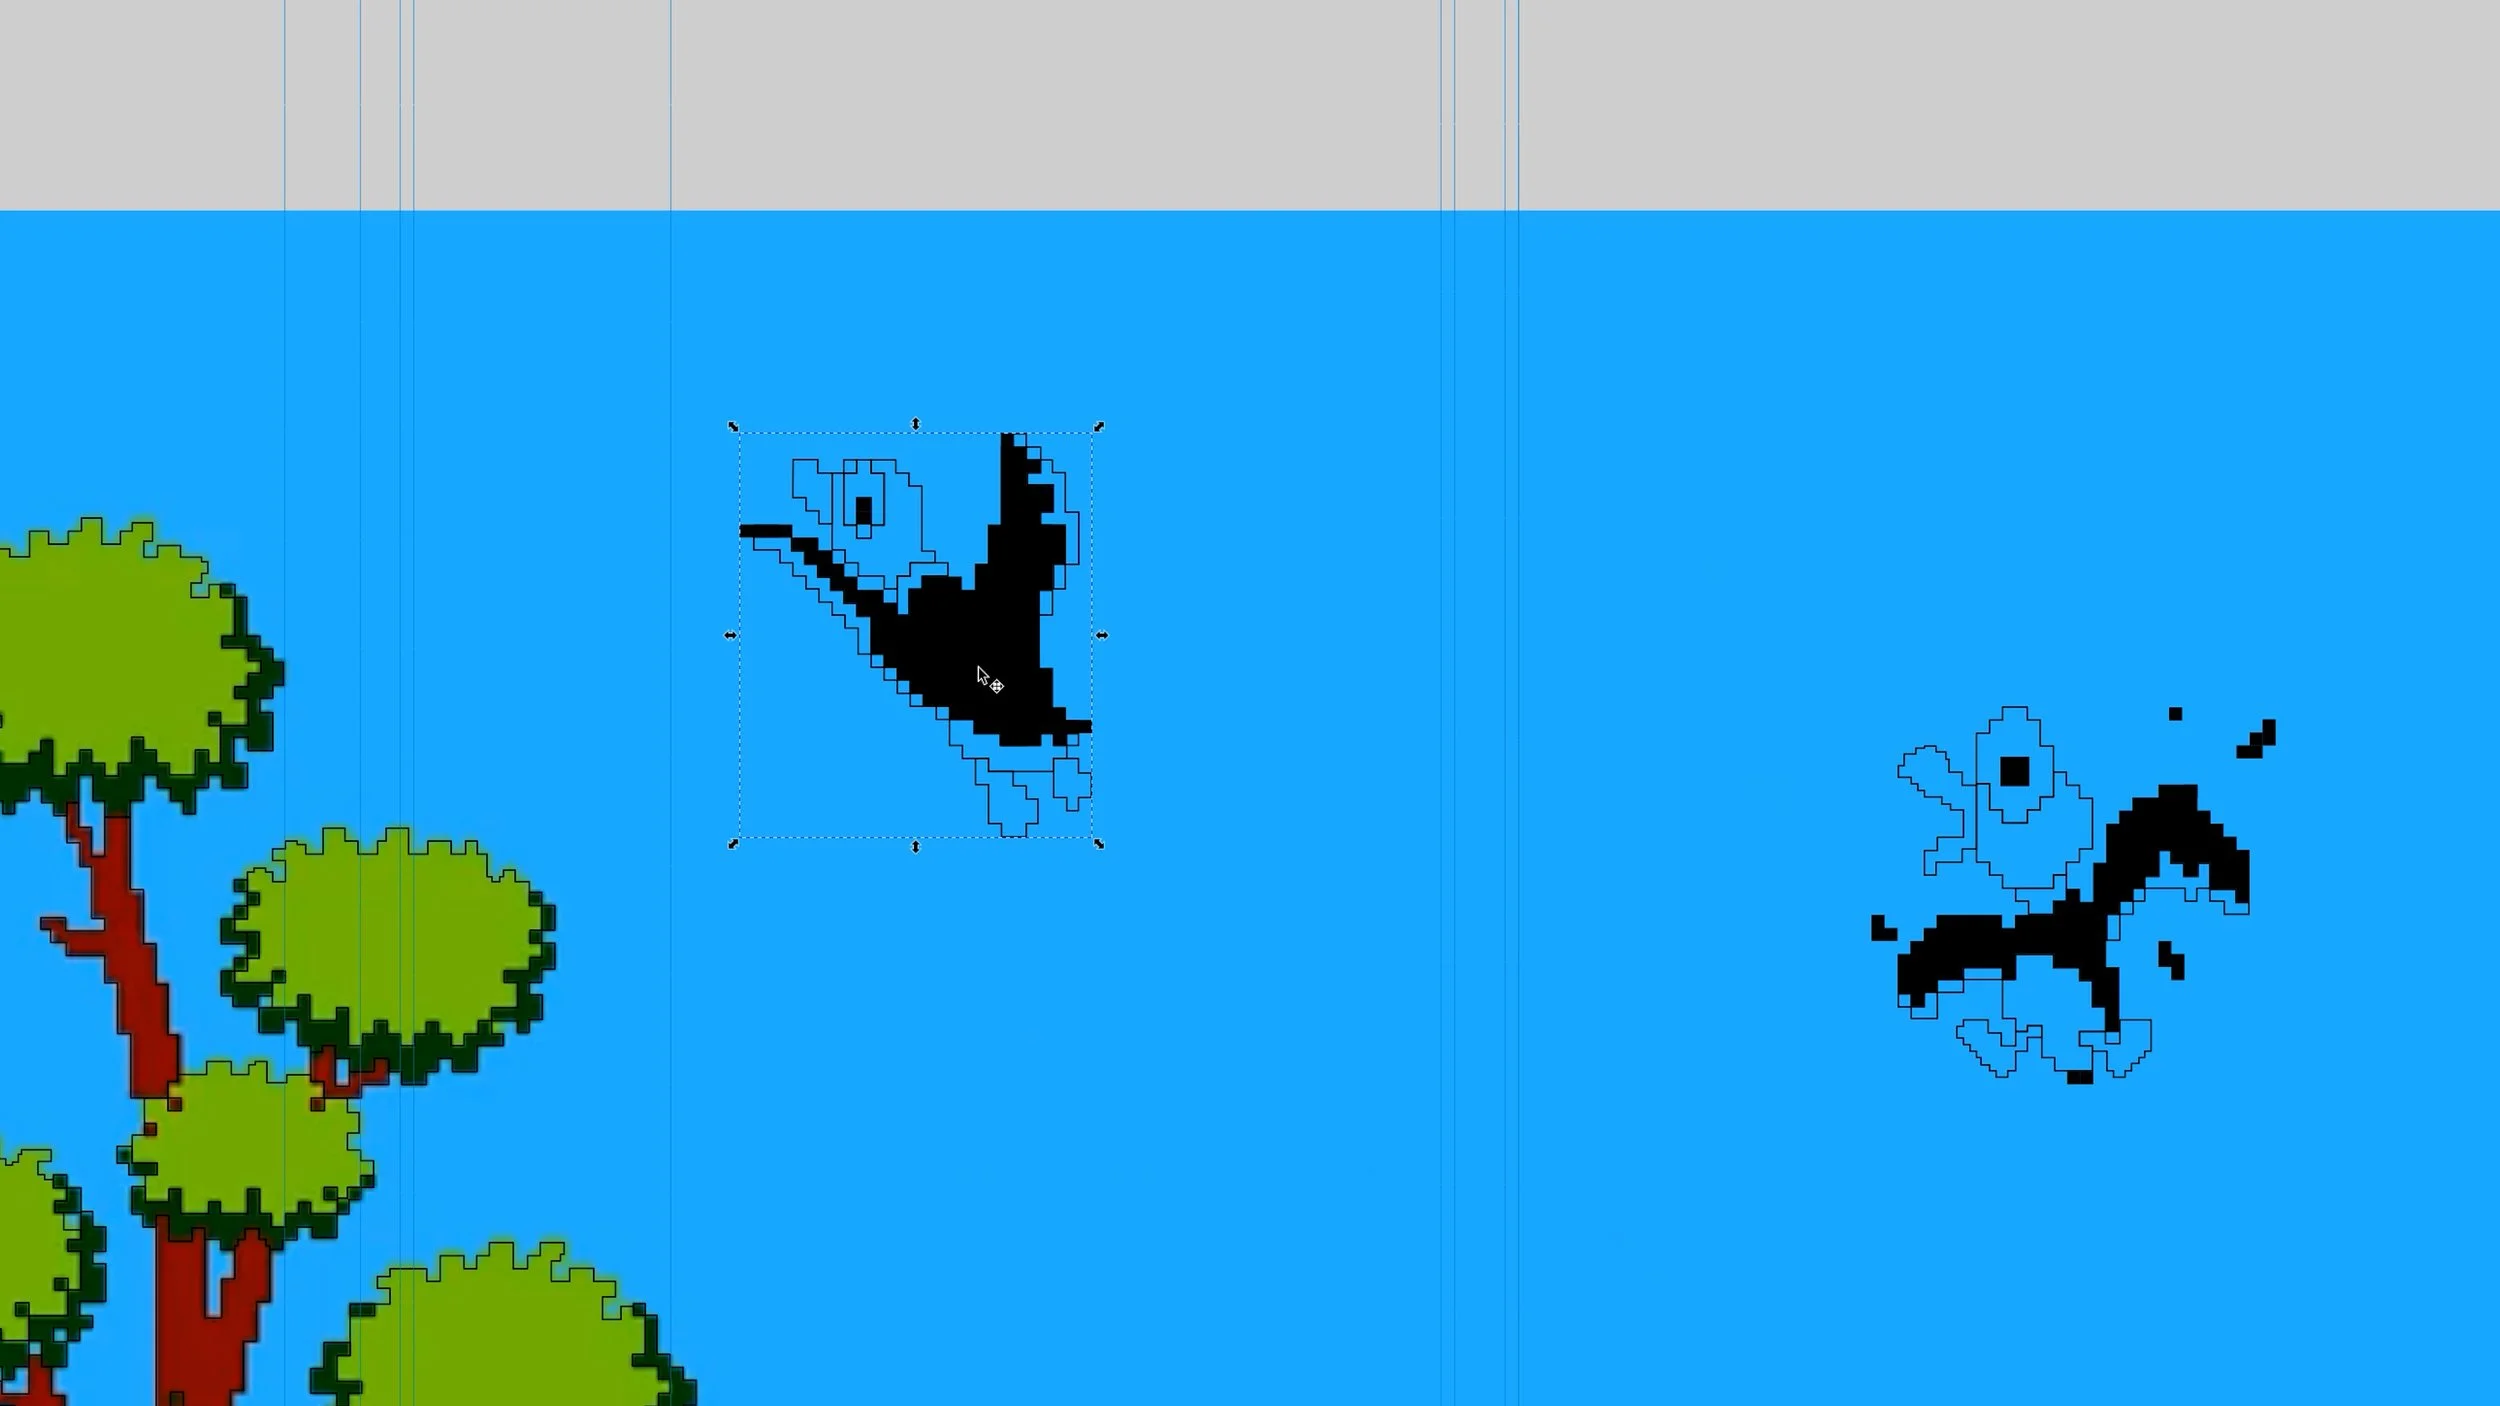
The Background
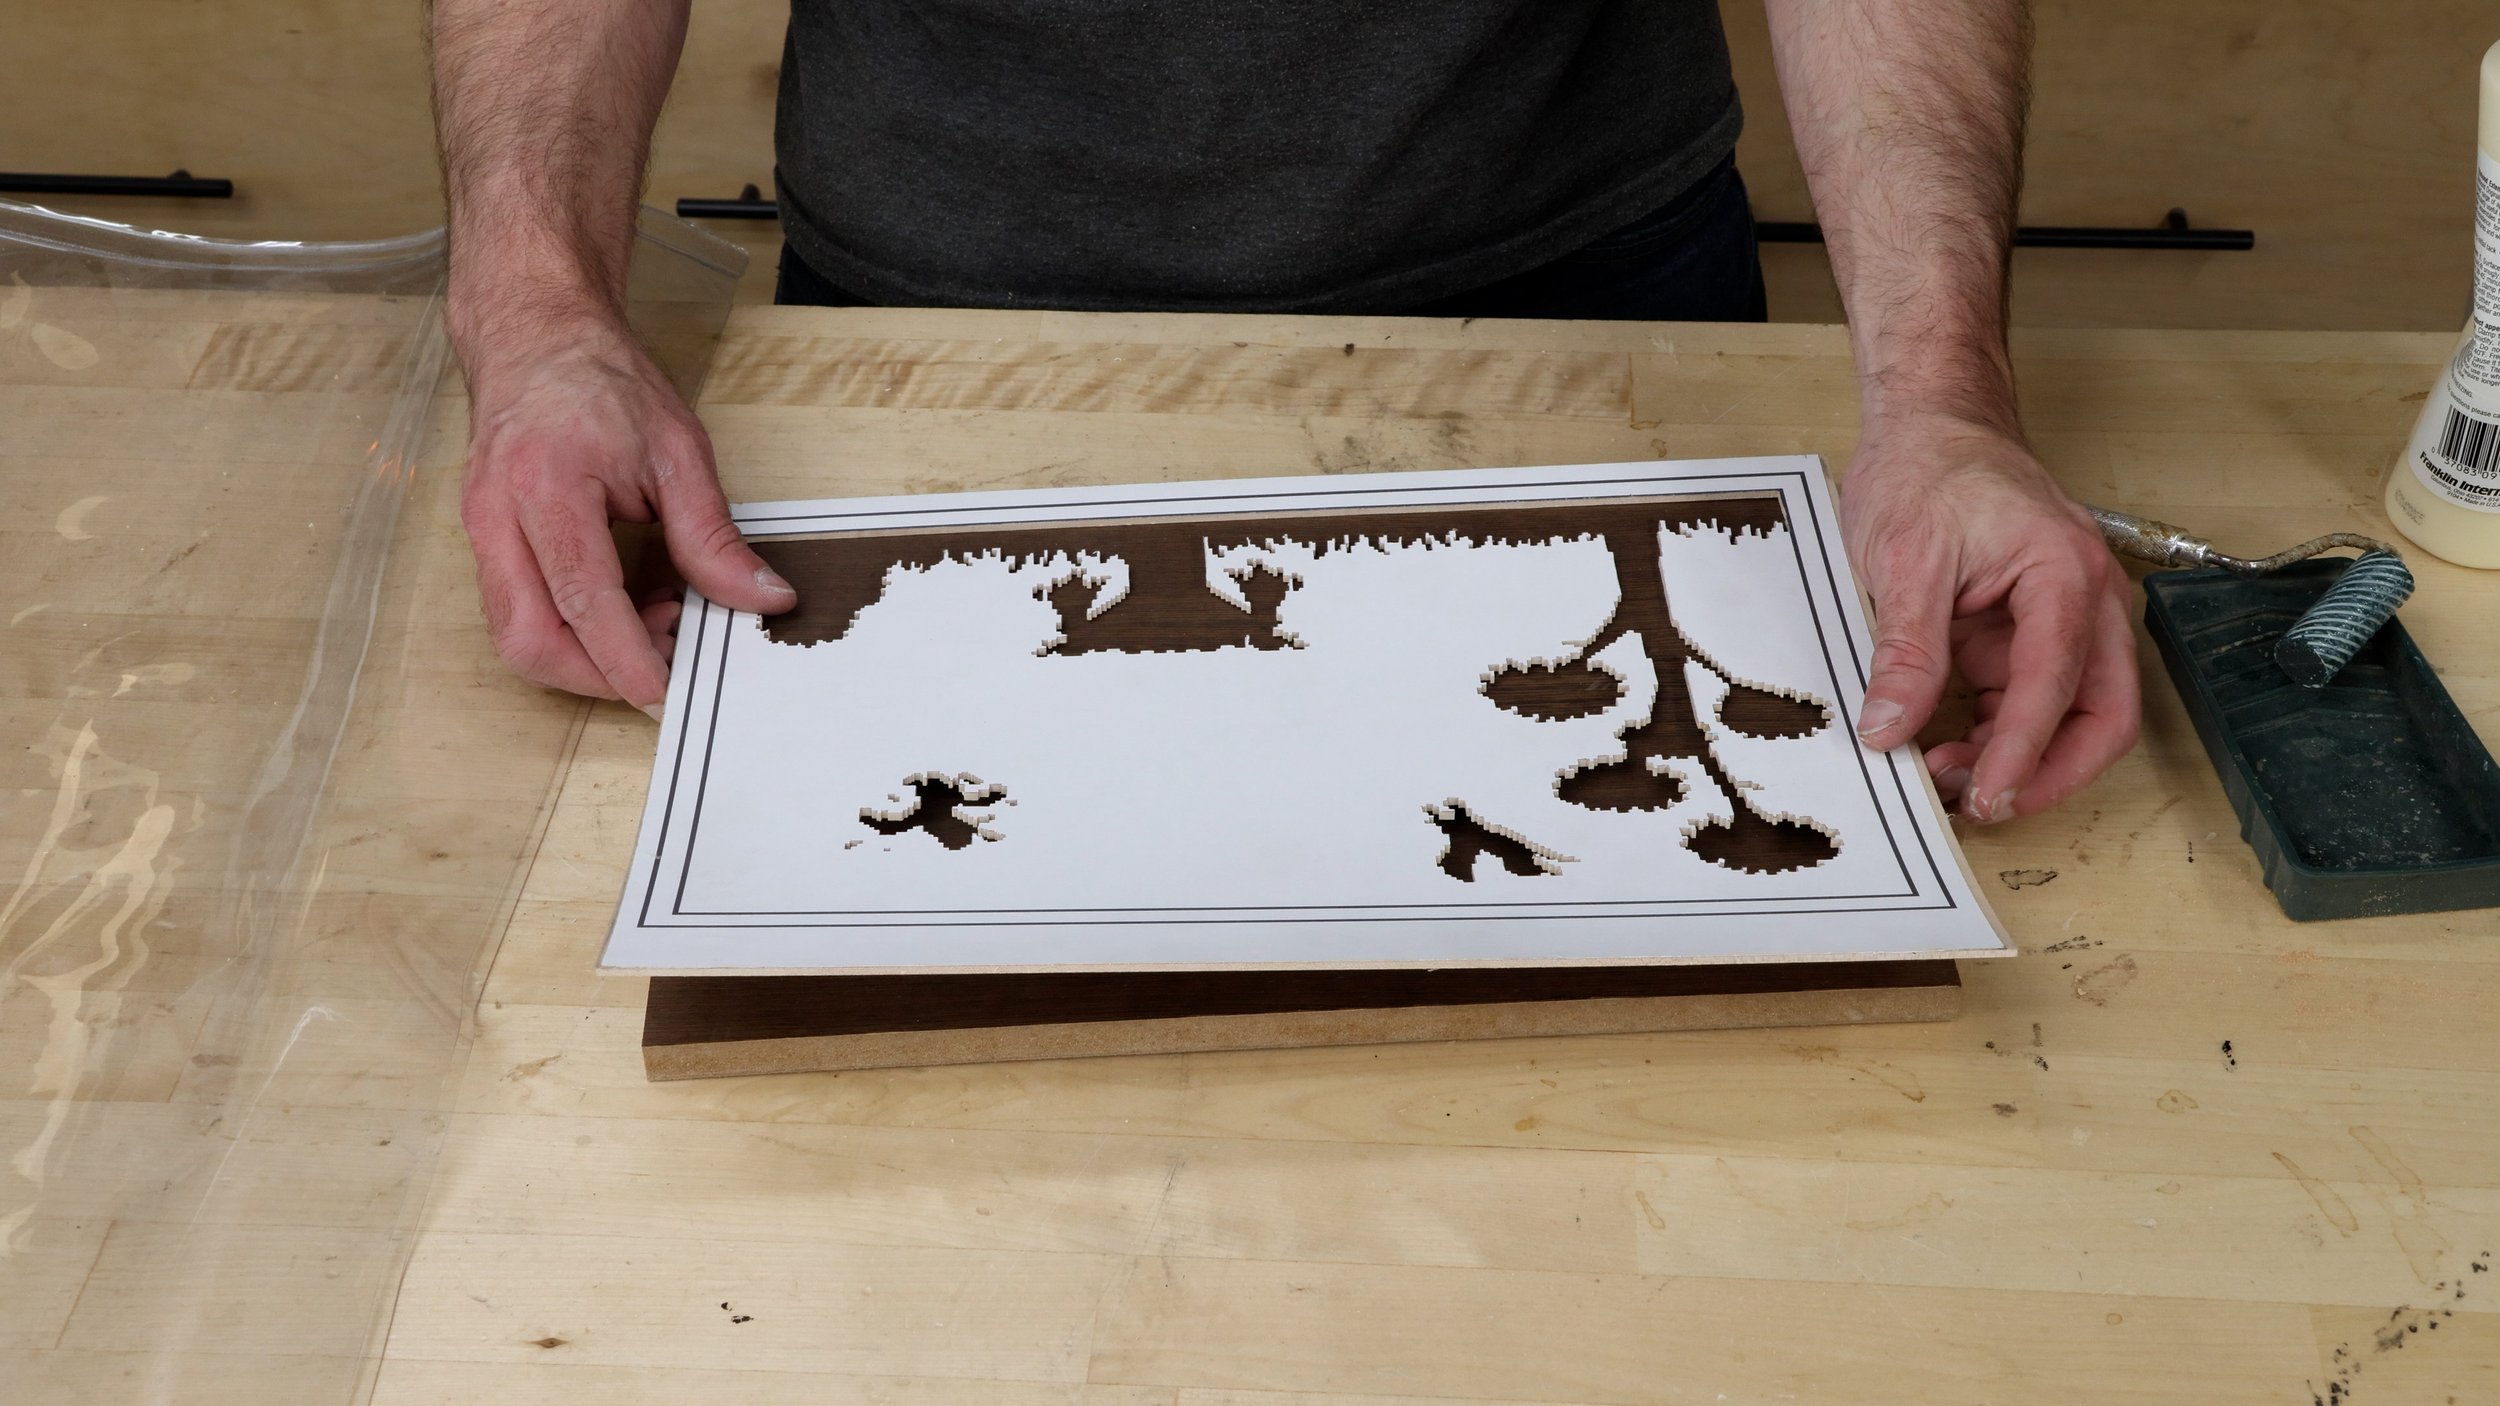
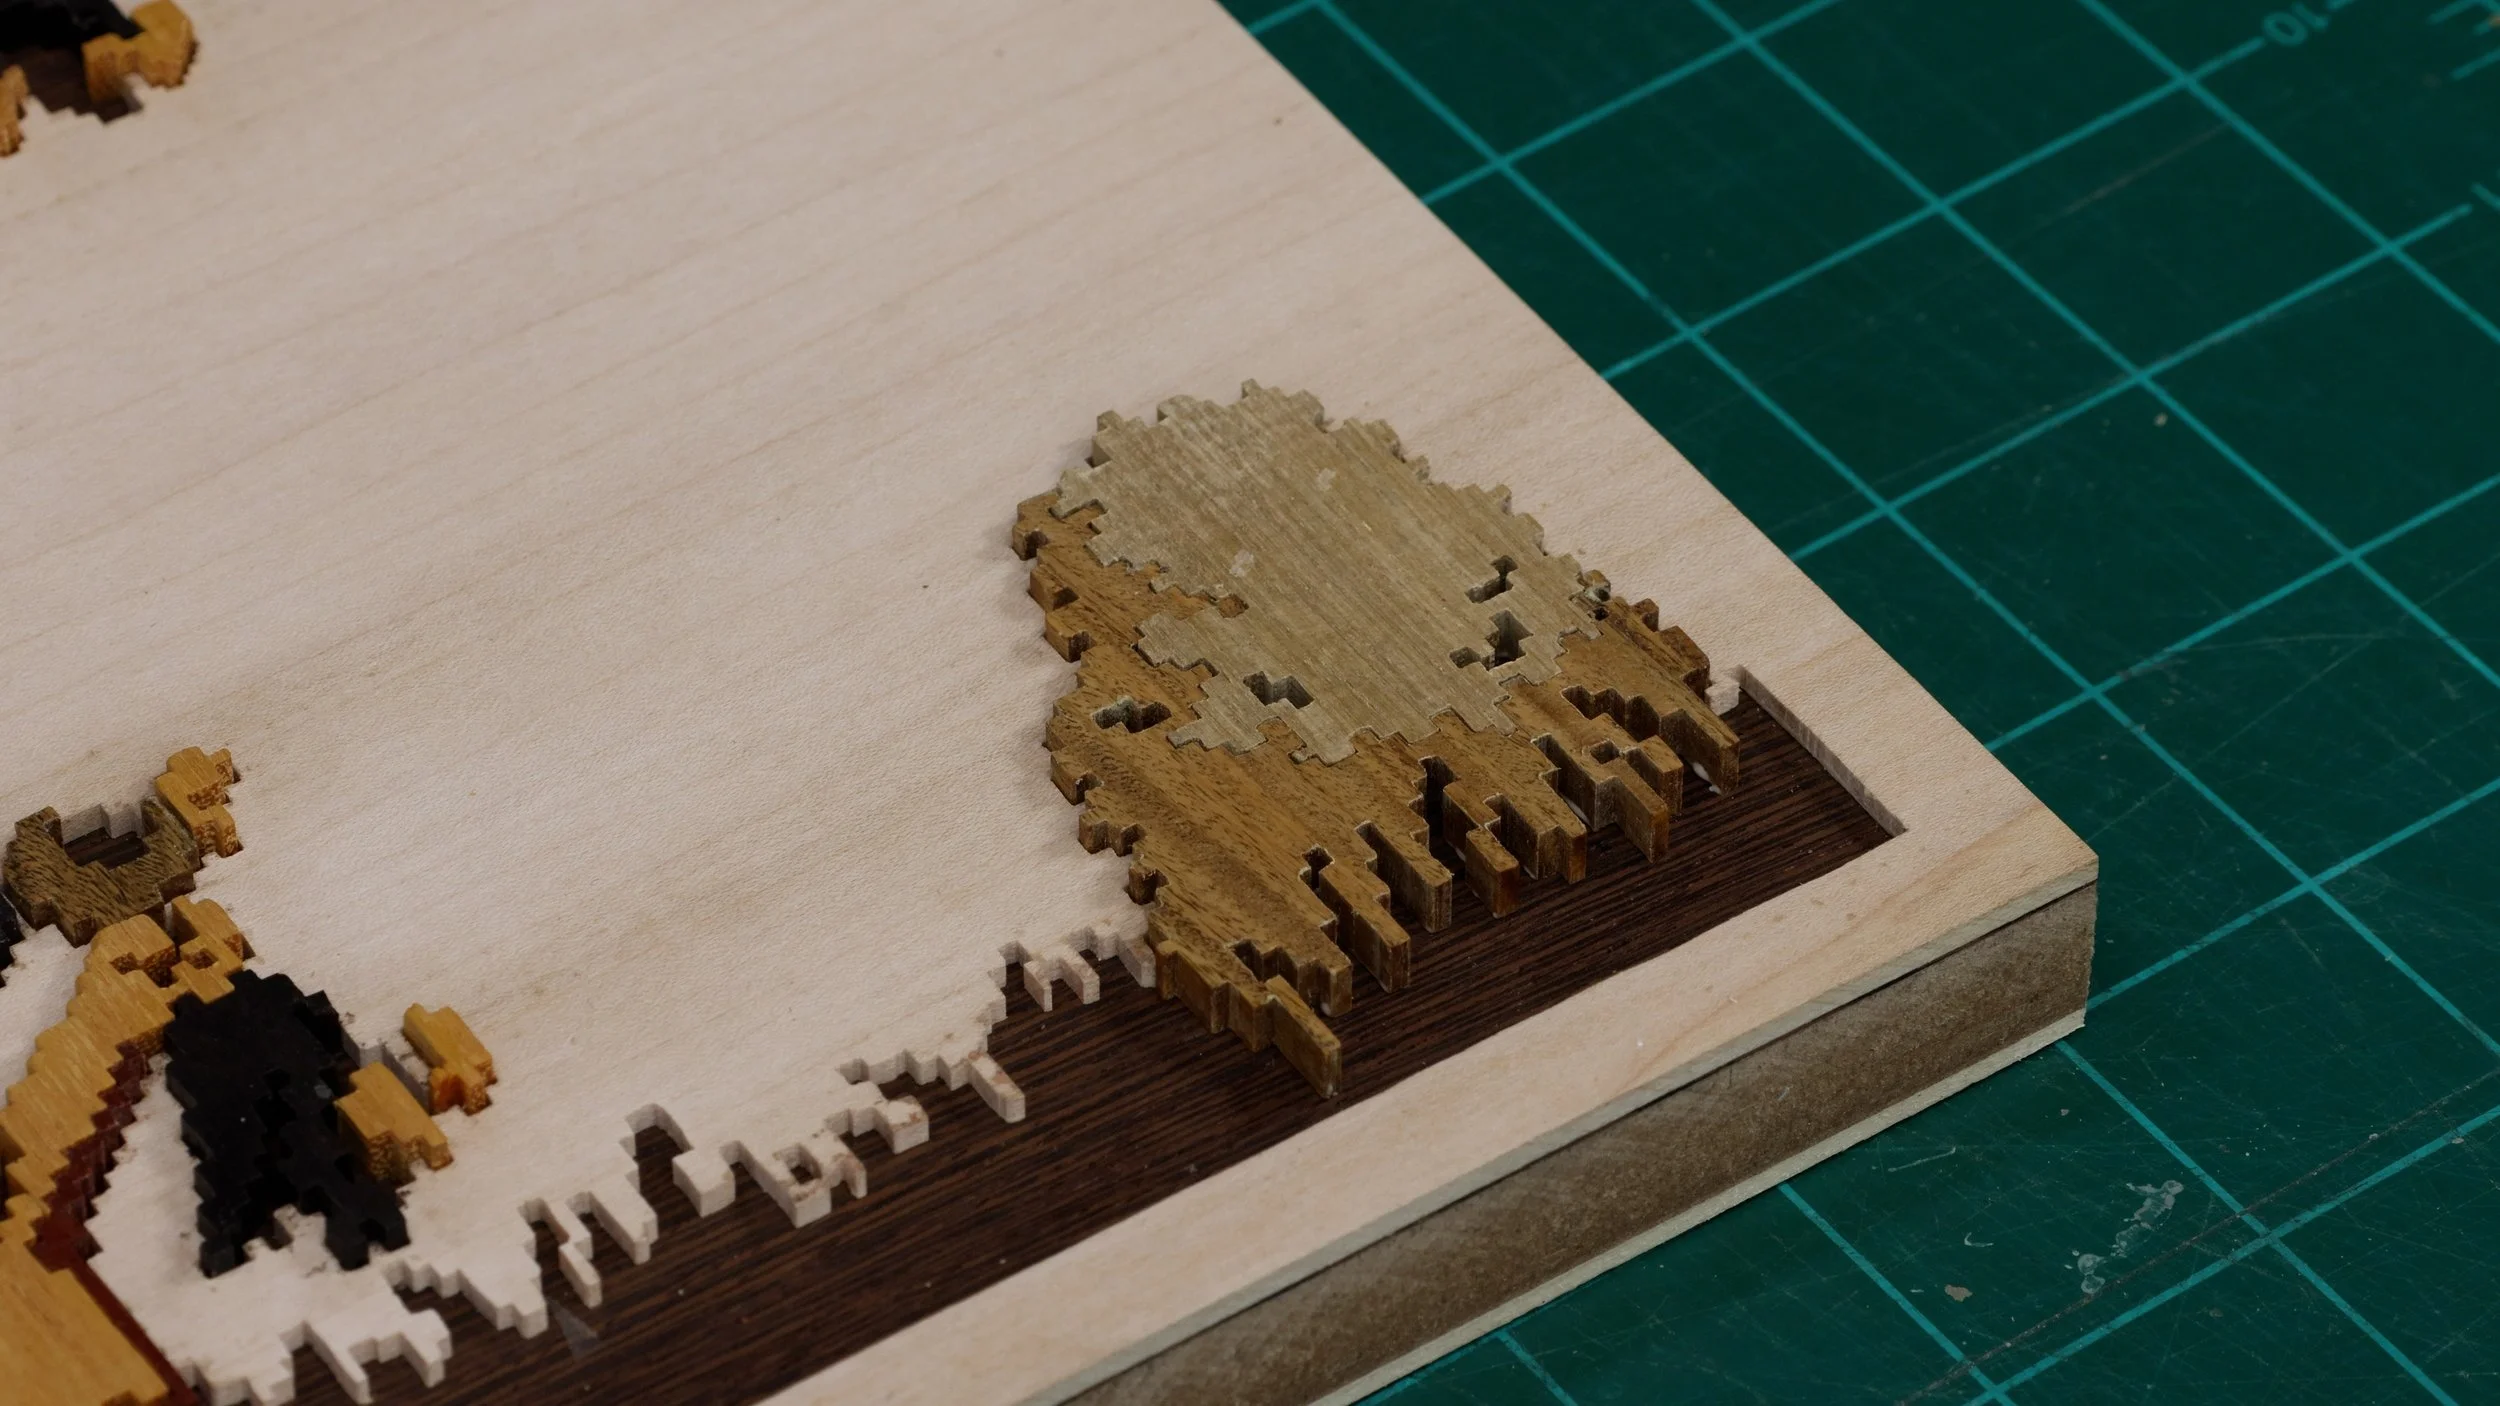
I couldn’t go with a blue sky so I opted to make the background out of maple. The maple is turned sideways so the grain flows horizontally, giving the slight hint of wind. The light colored maple lets the bright colors of the artwork stand out.
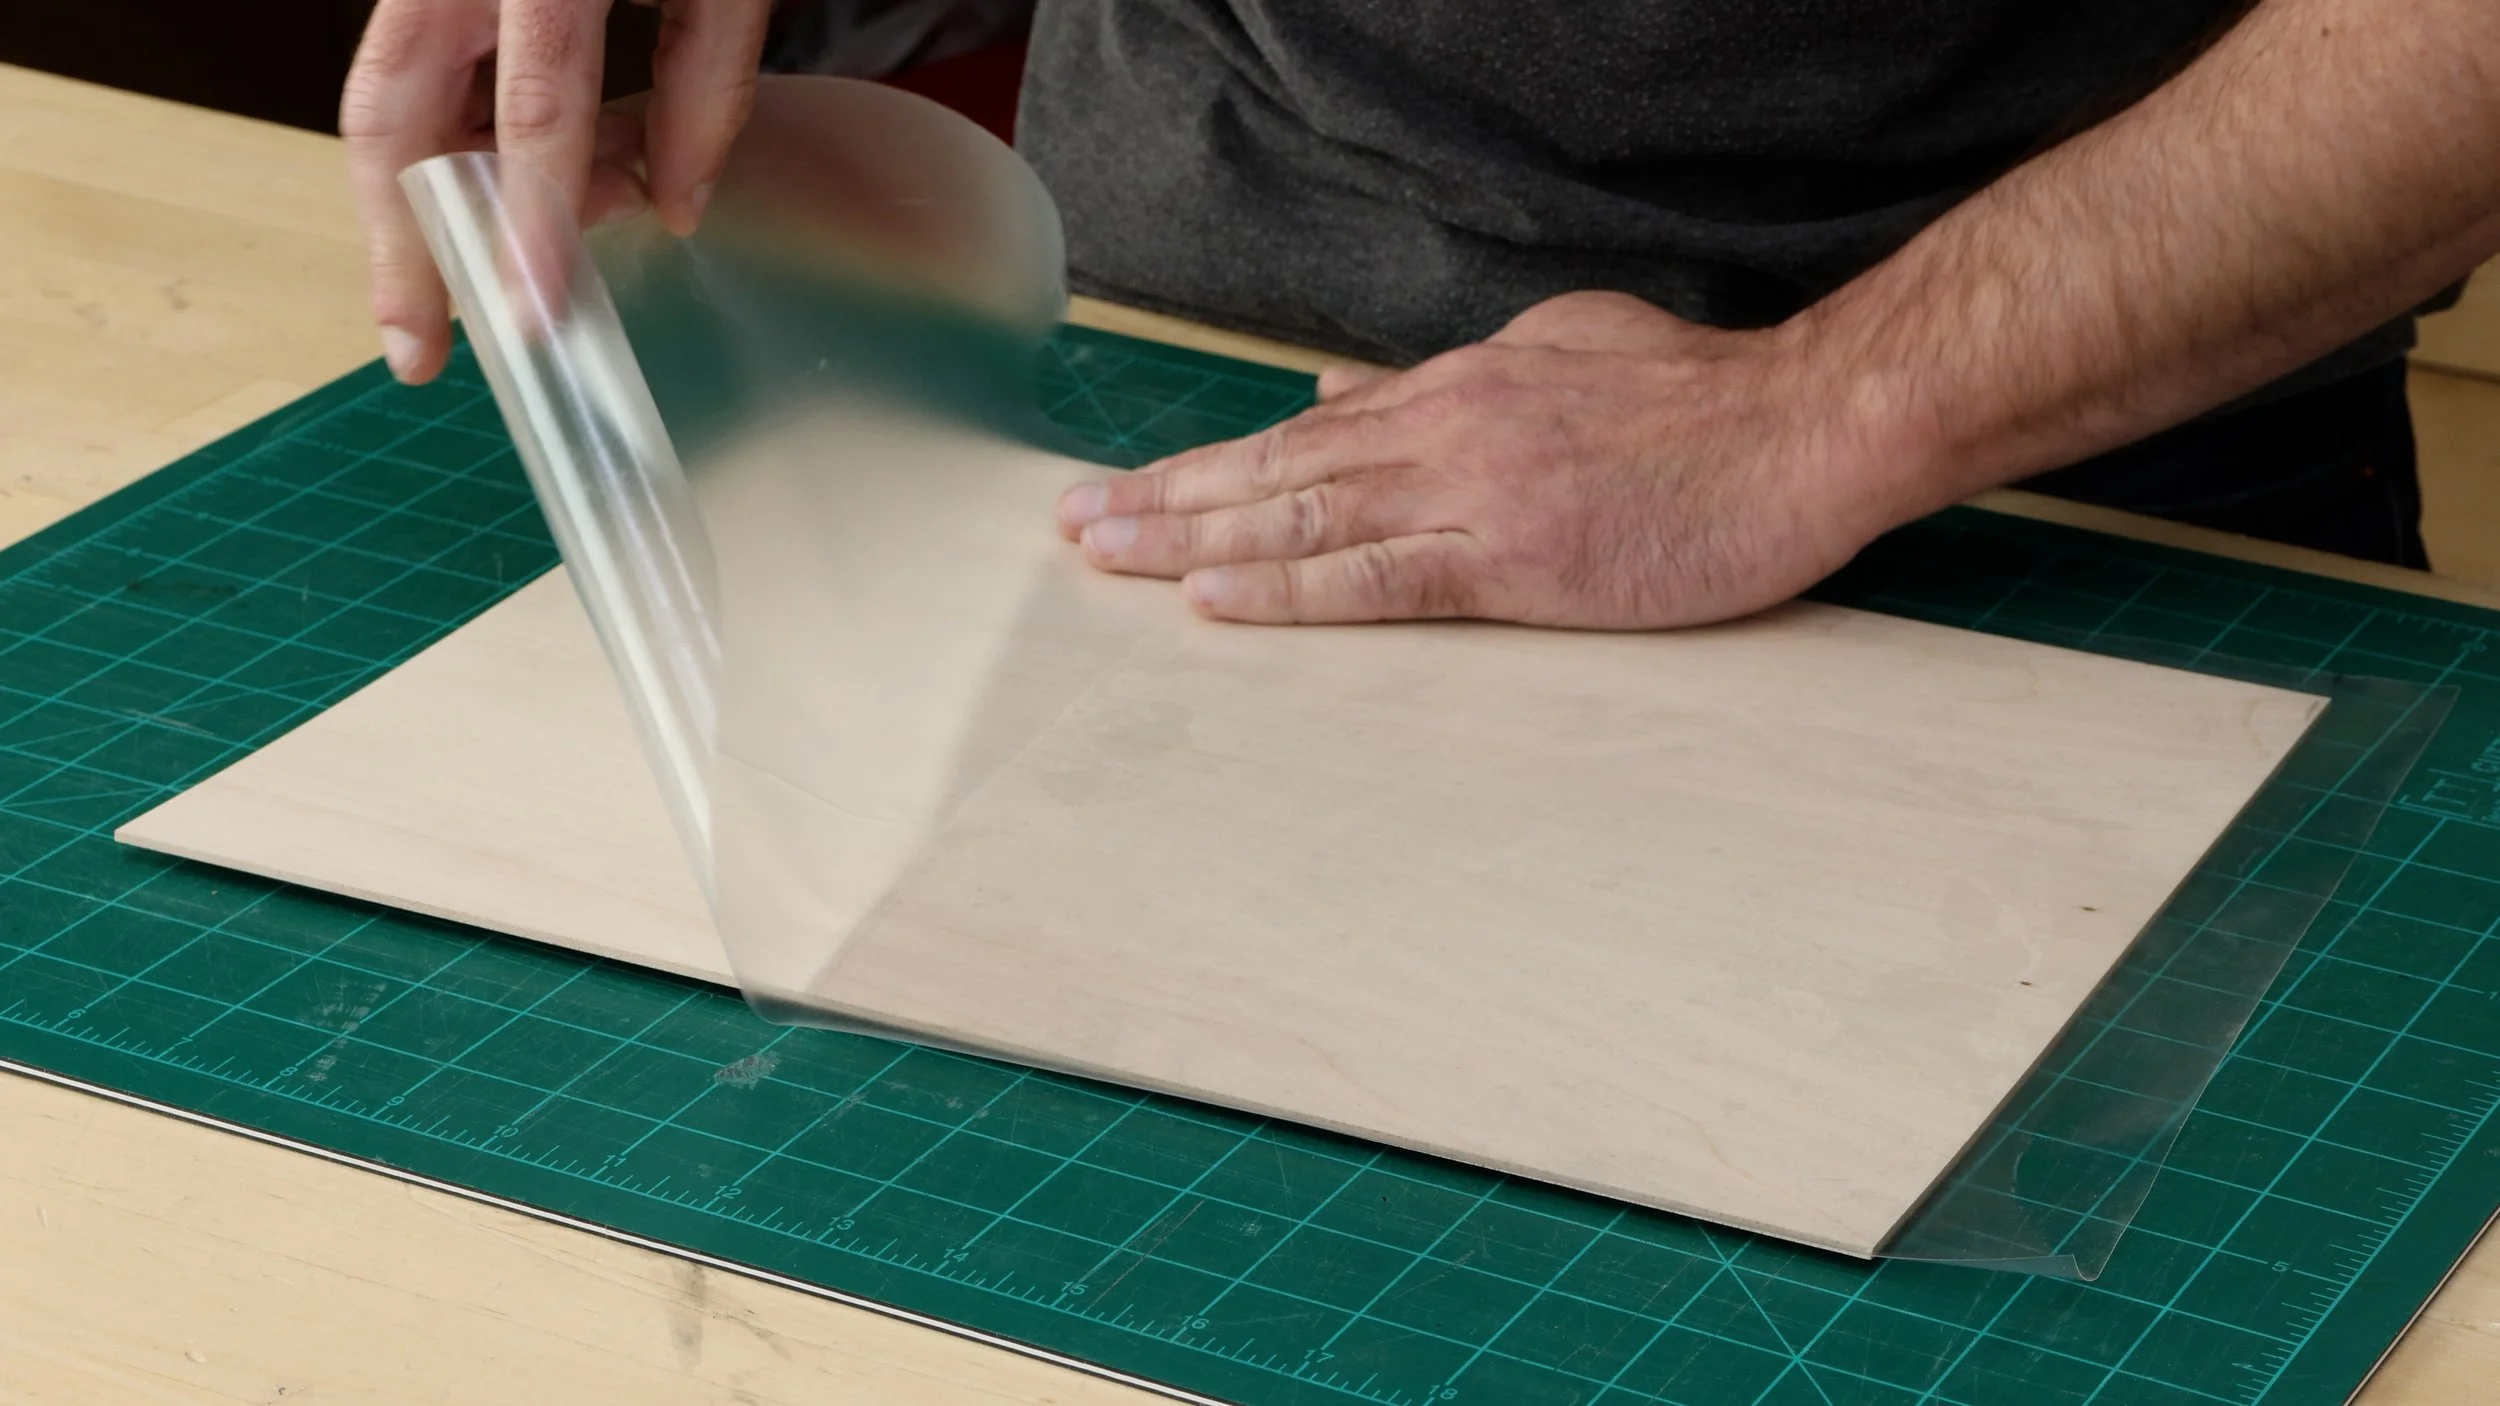
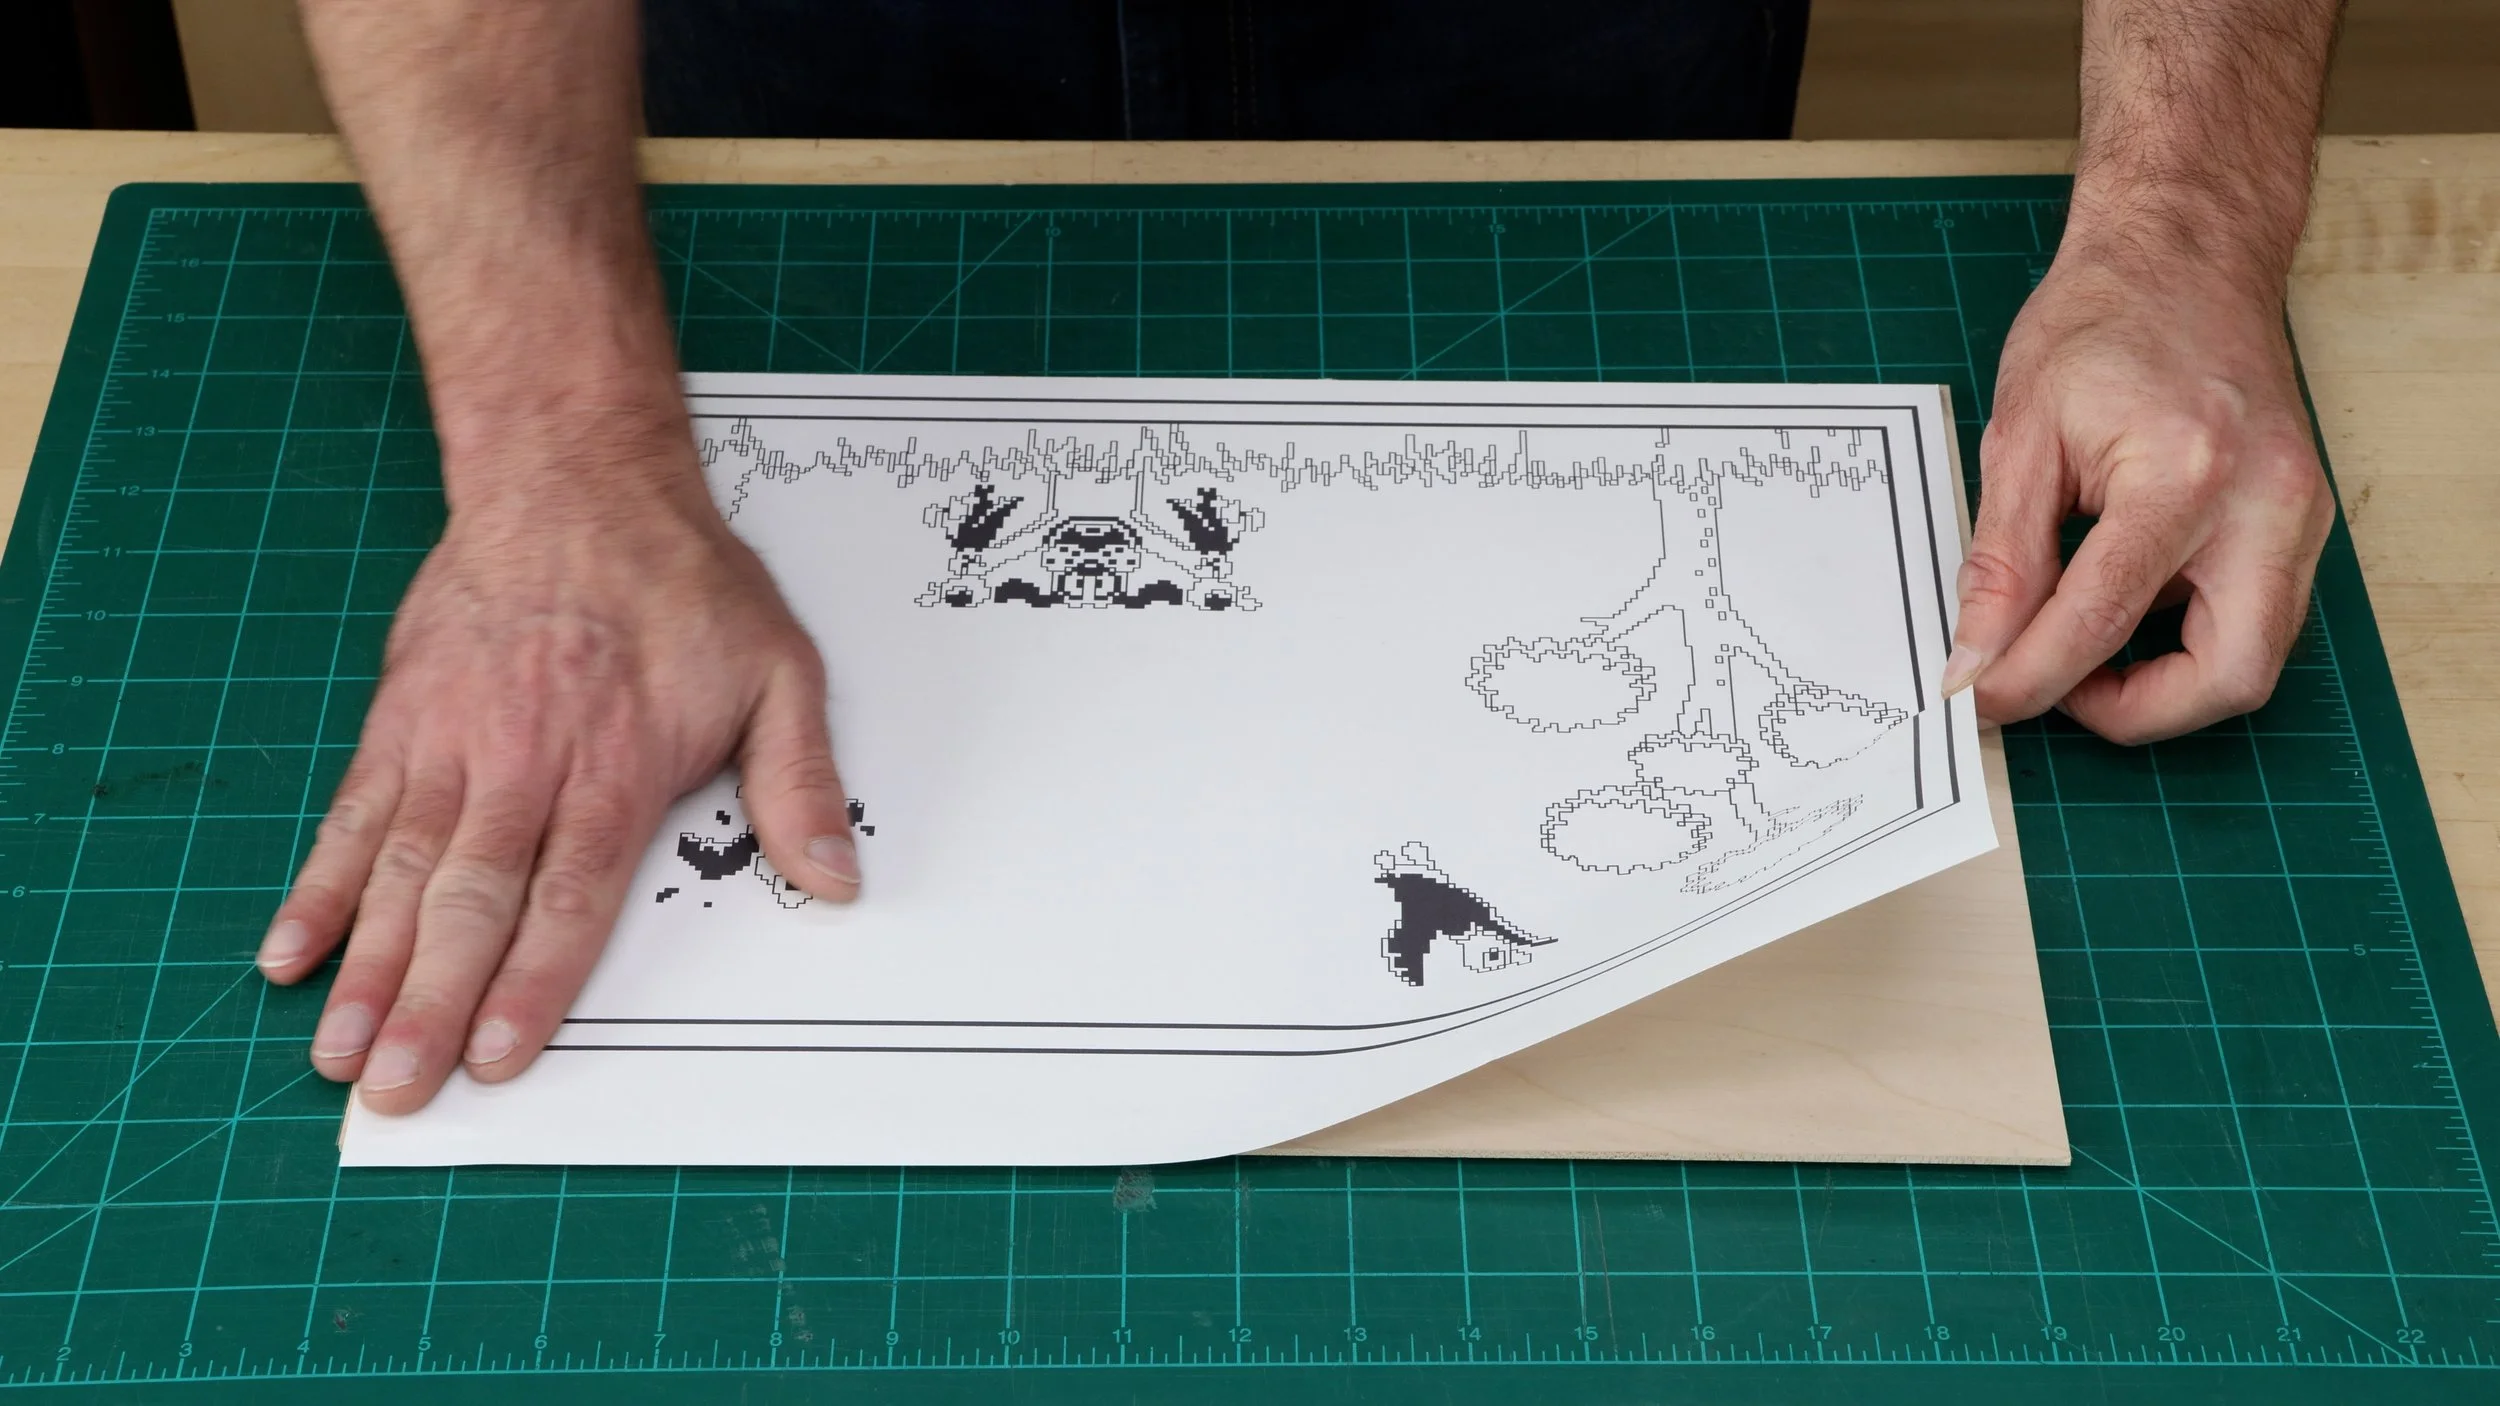
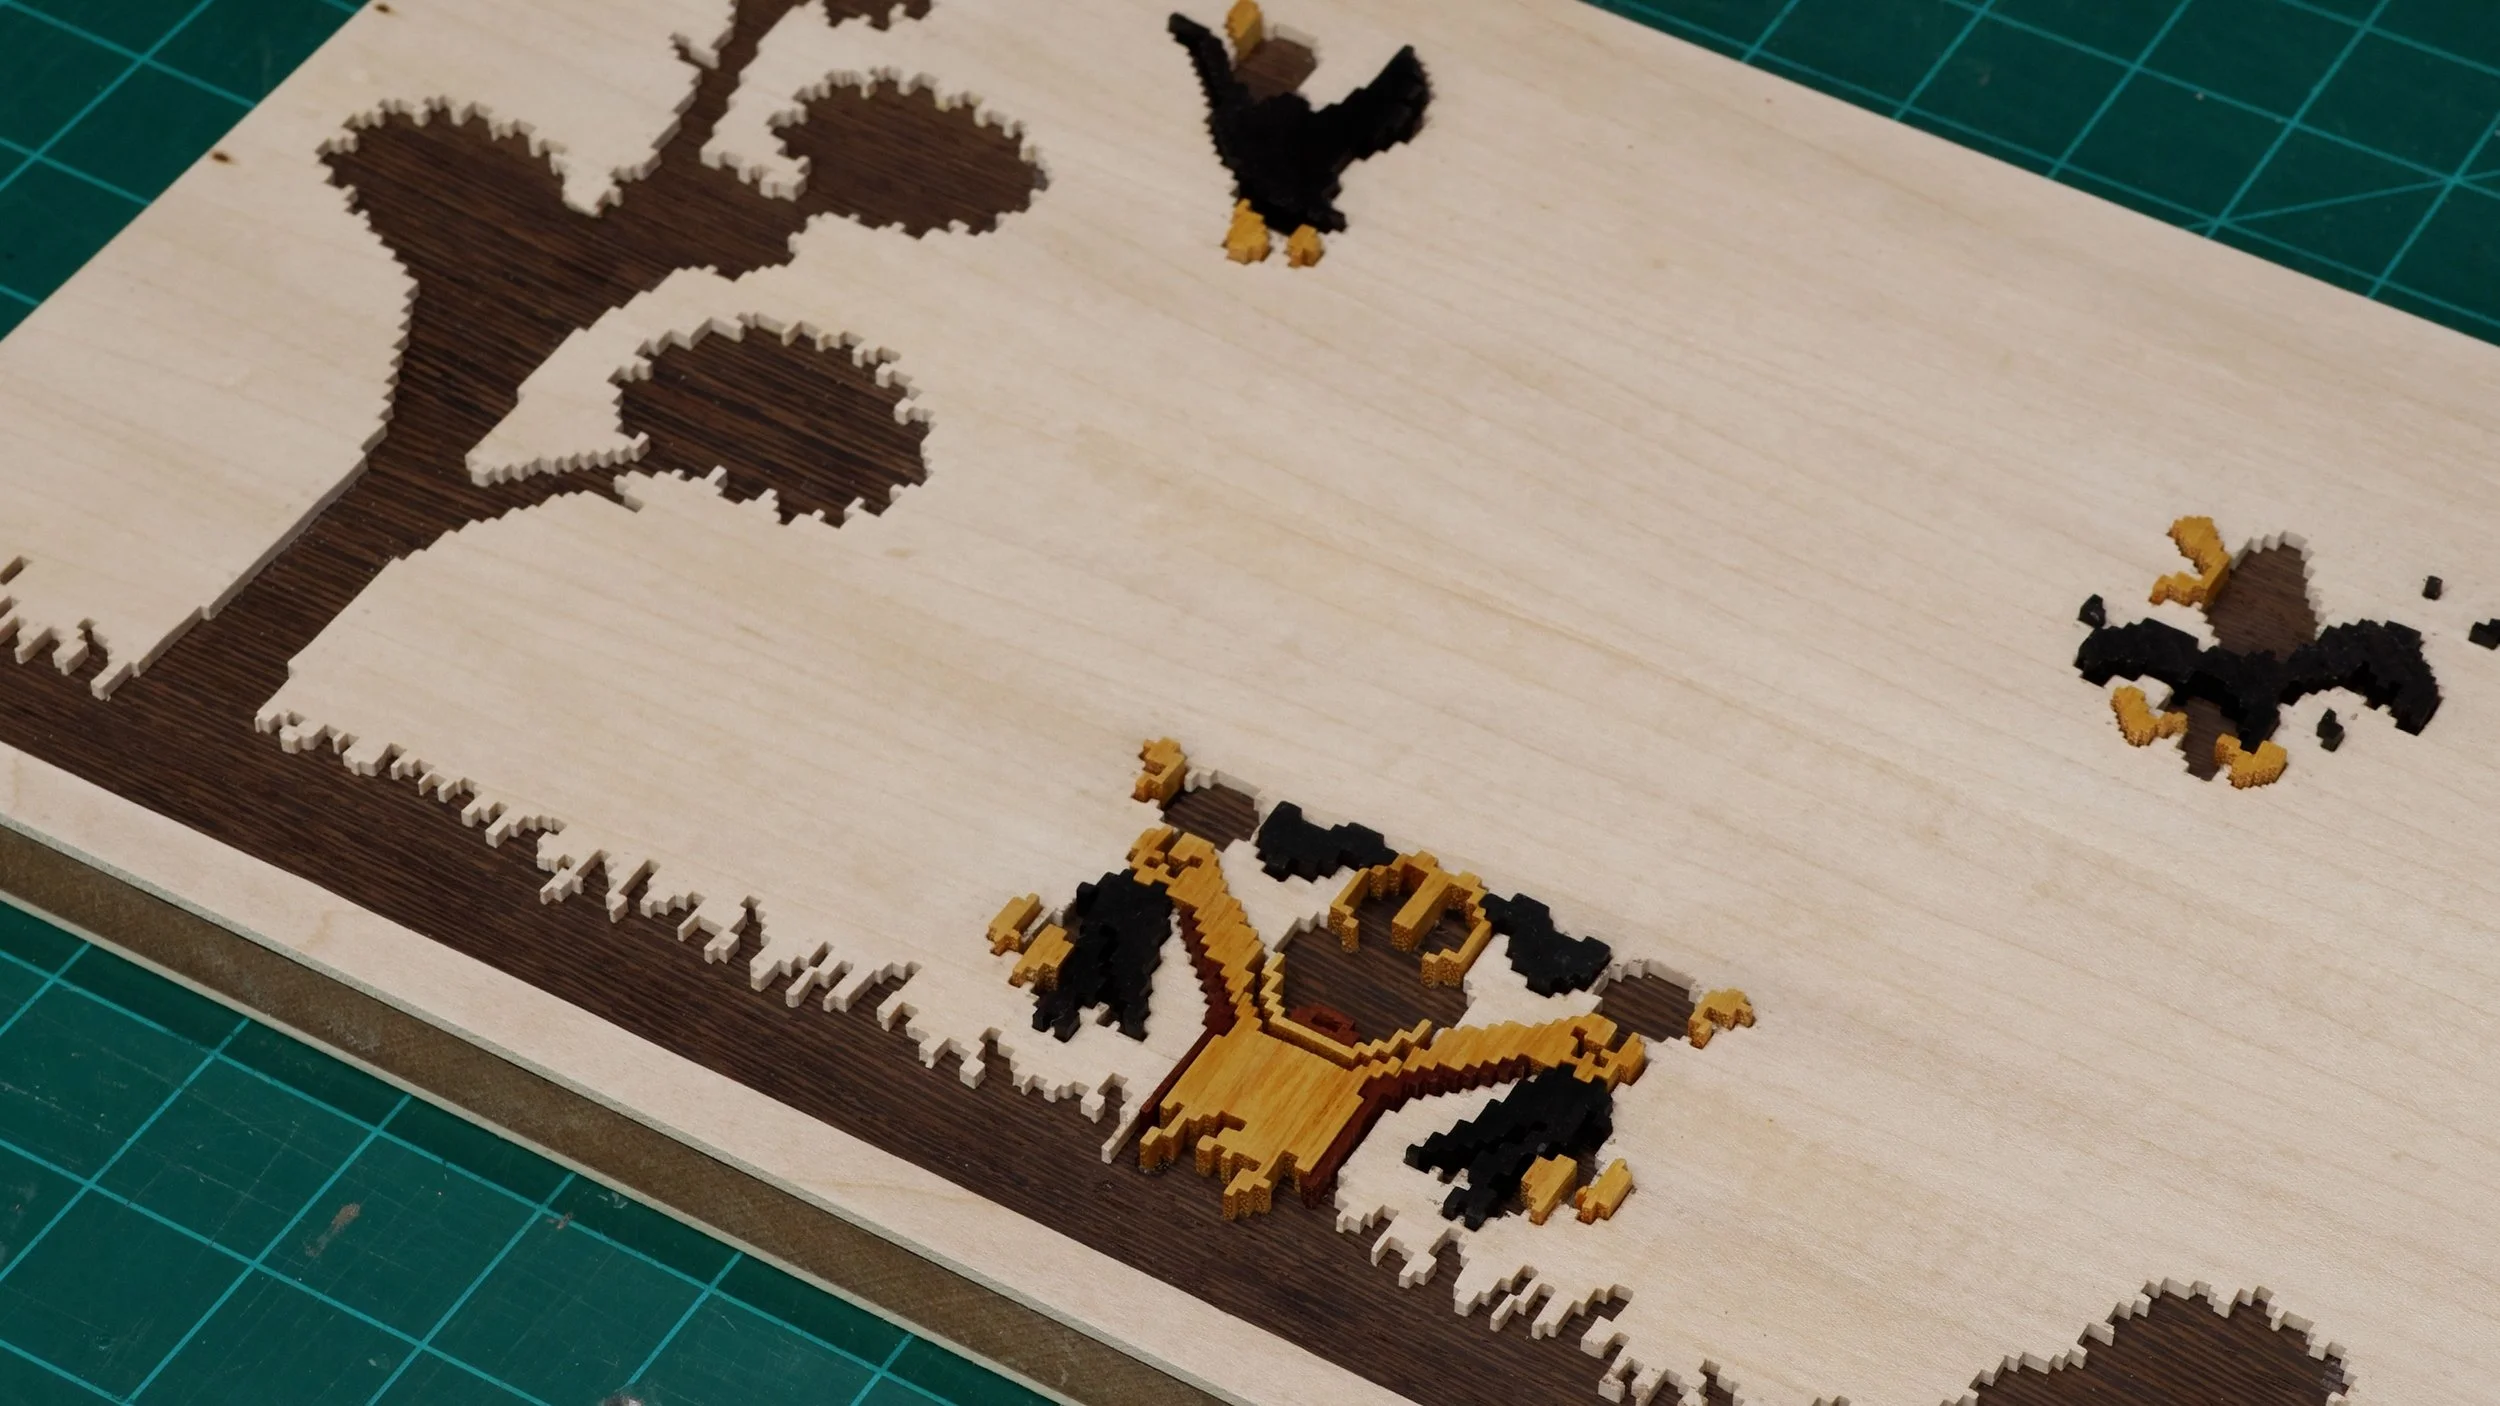
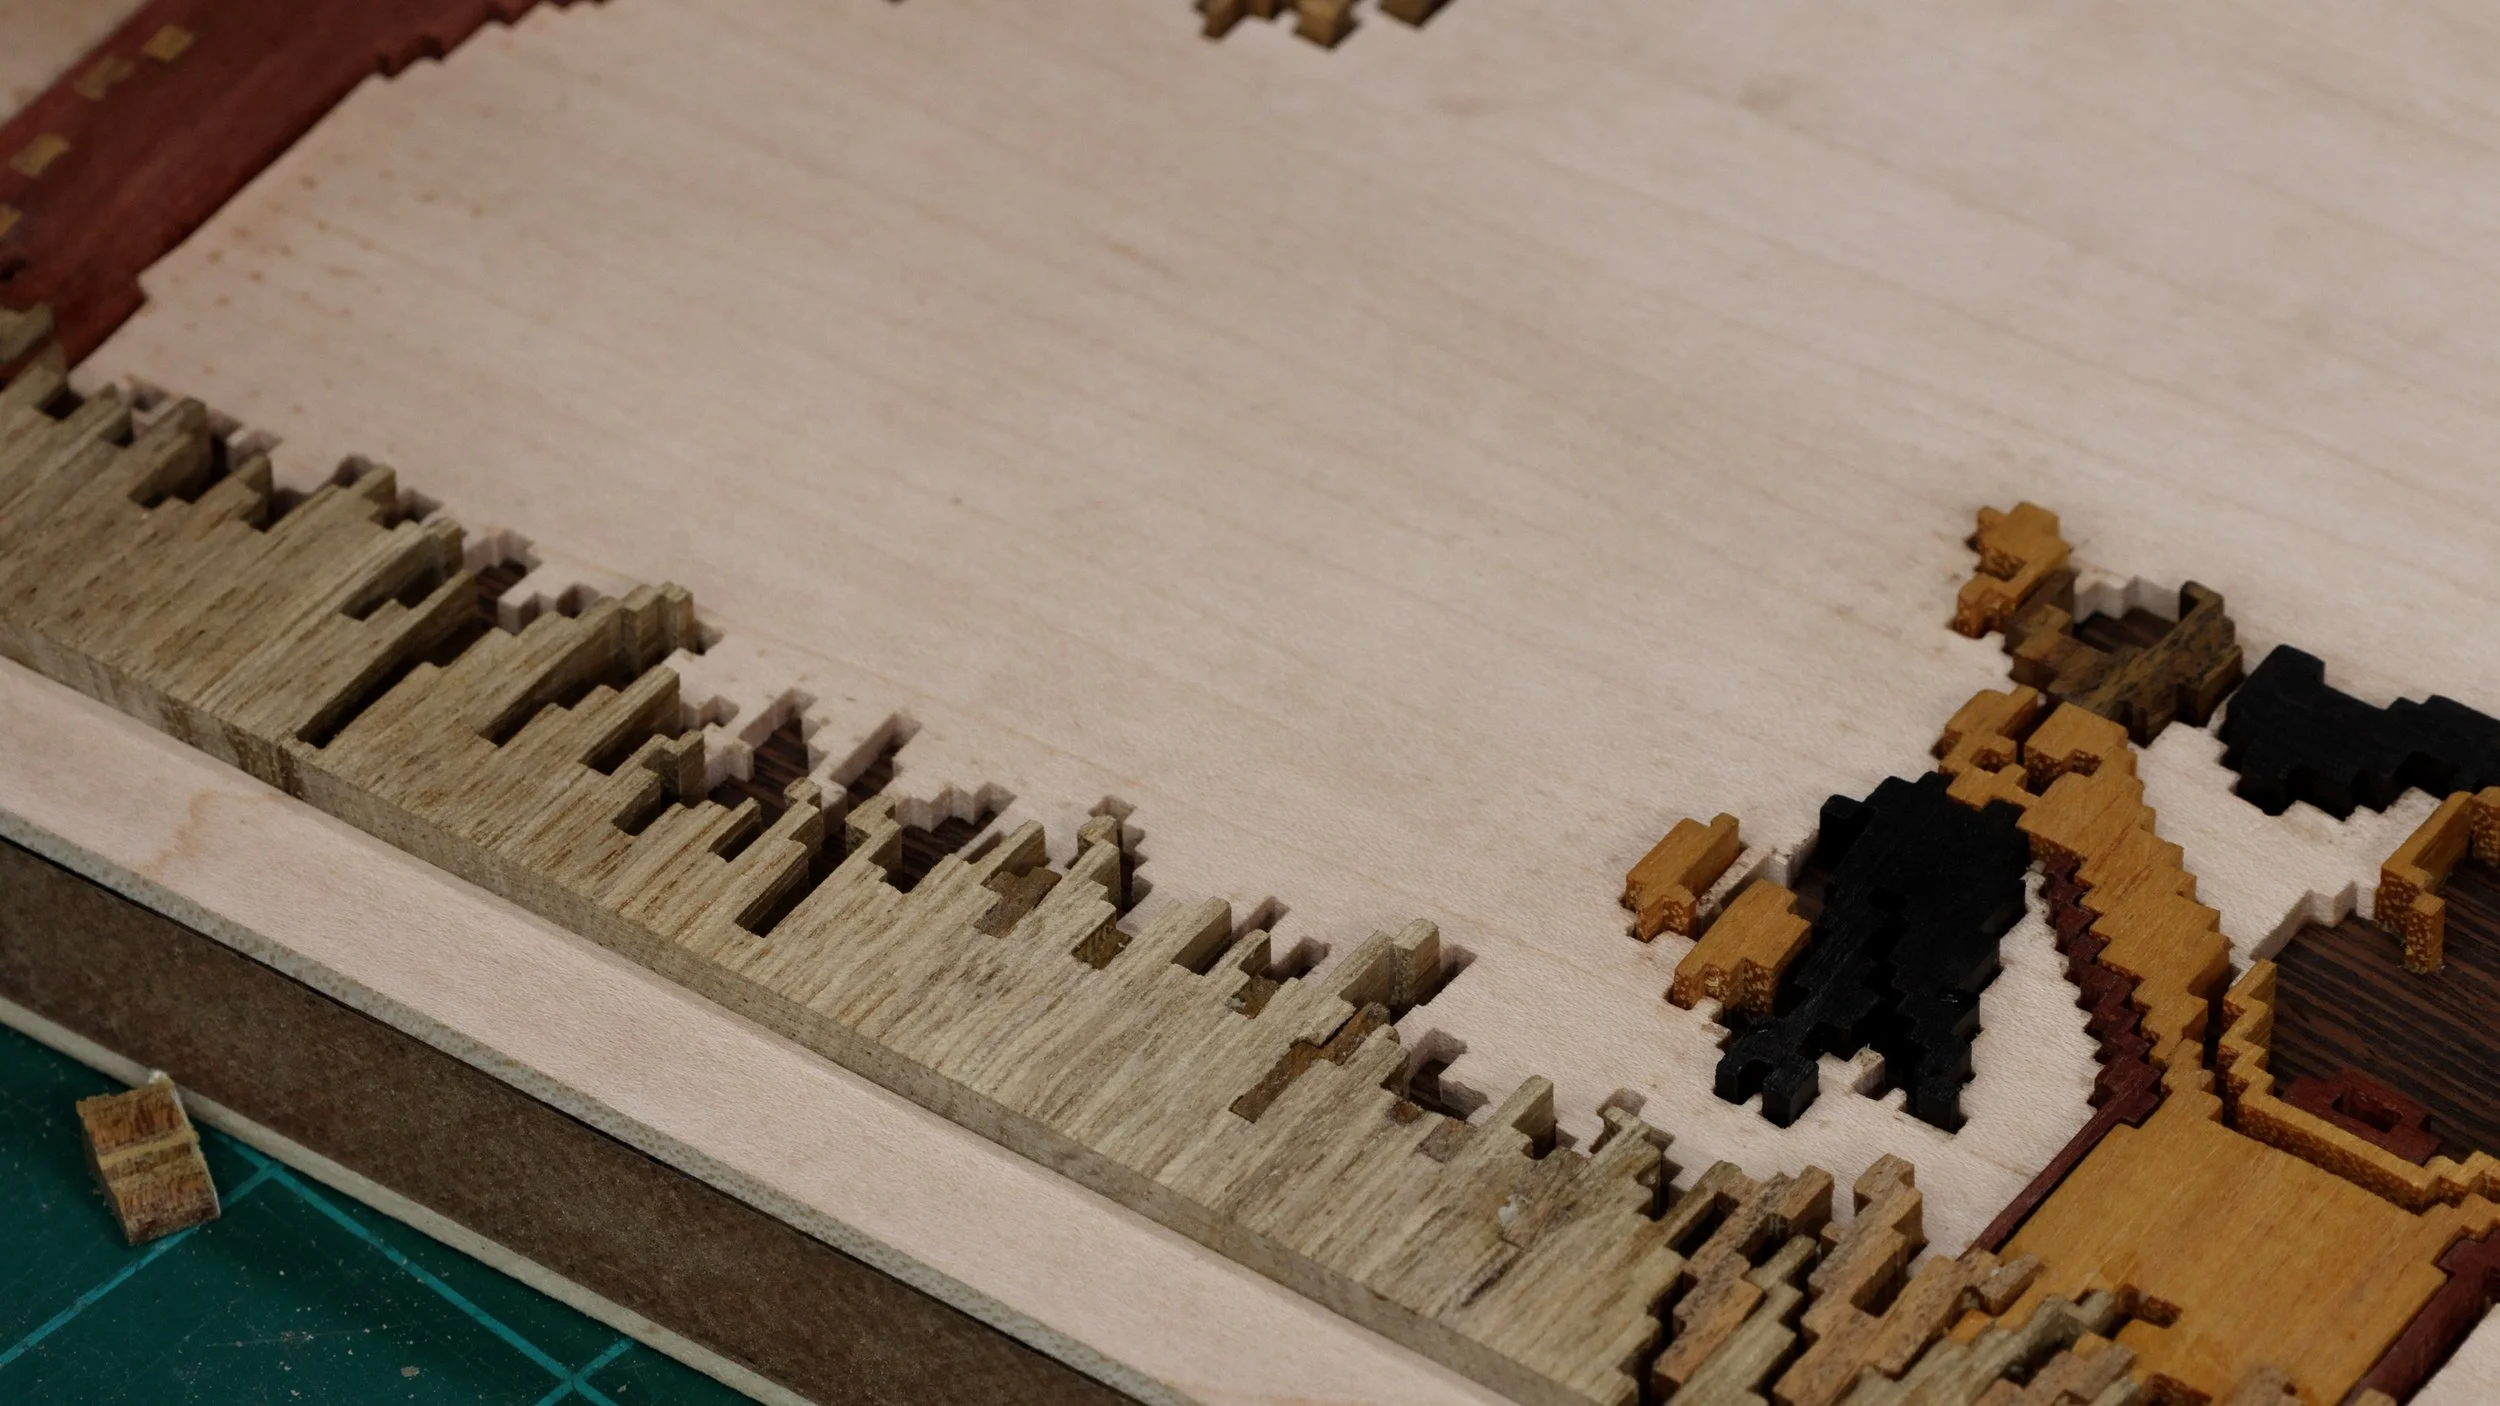
I applied contact paper to my maple panel and stuck the artwork to the panel using spray adhesive. Then, it was the simple task of cutting it all out! I cut away the artwork, leaving just the background. This gave me a negative version of the art.
Once done, I glued the maple background on top of the wenge. Again, if you glue something on one side of a panel, you should do the same to the other side. I glued a thin piece of poplar to the back.
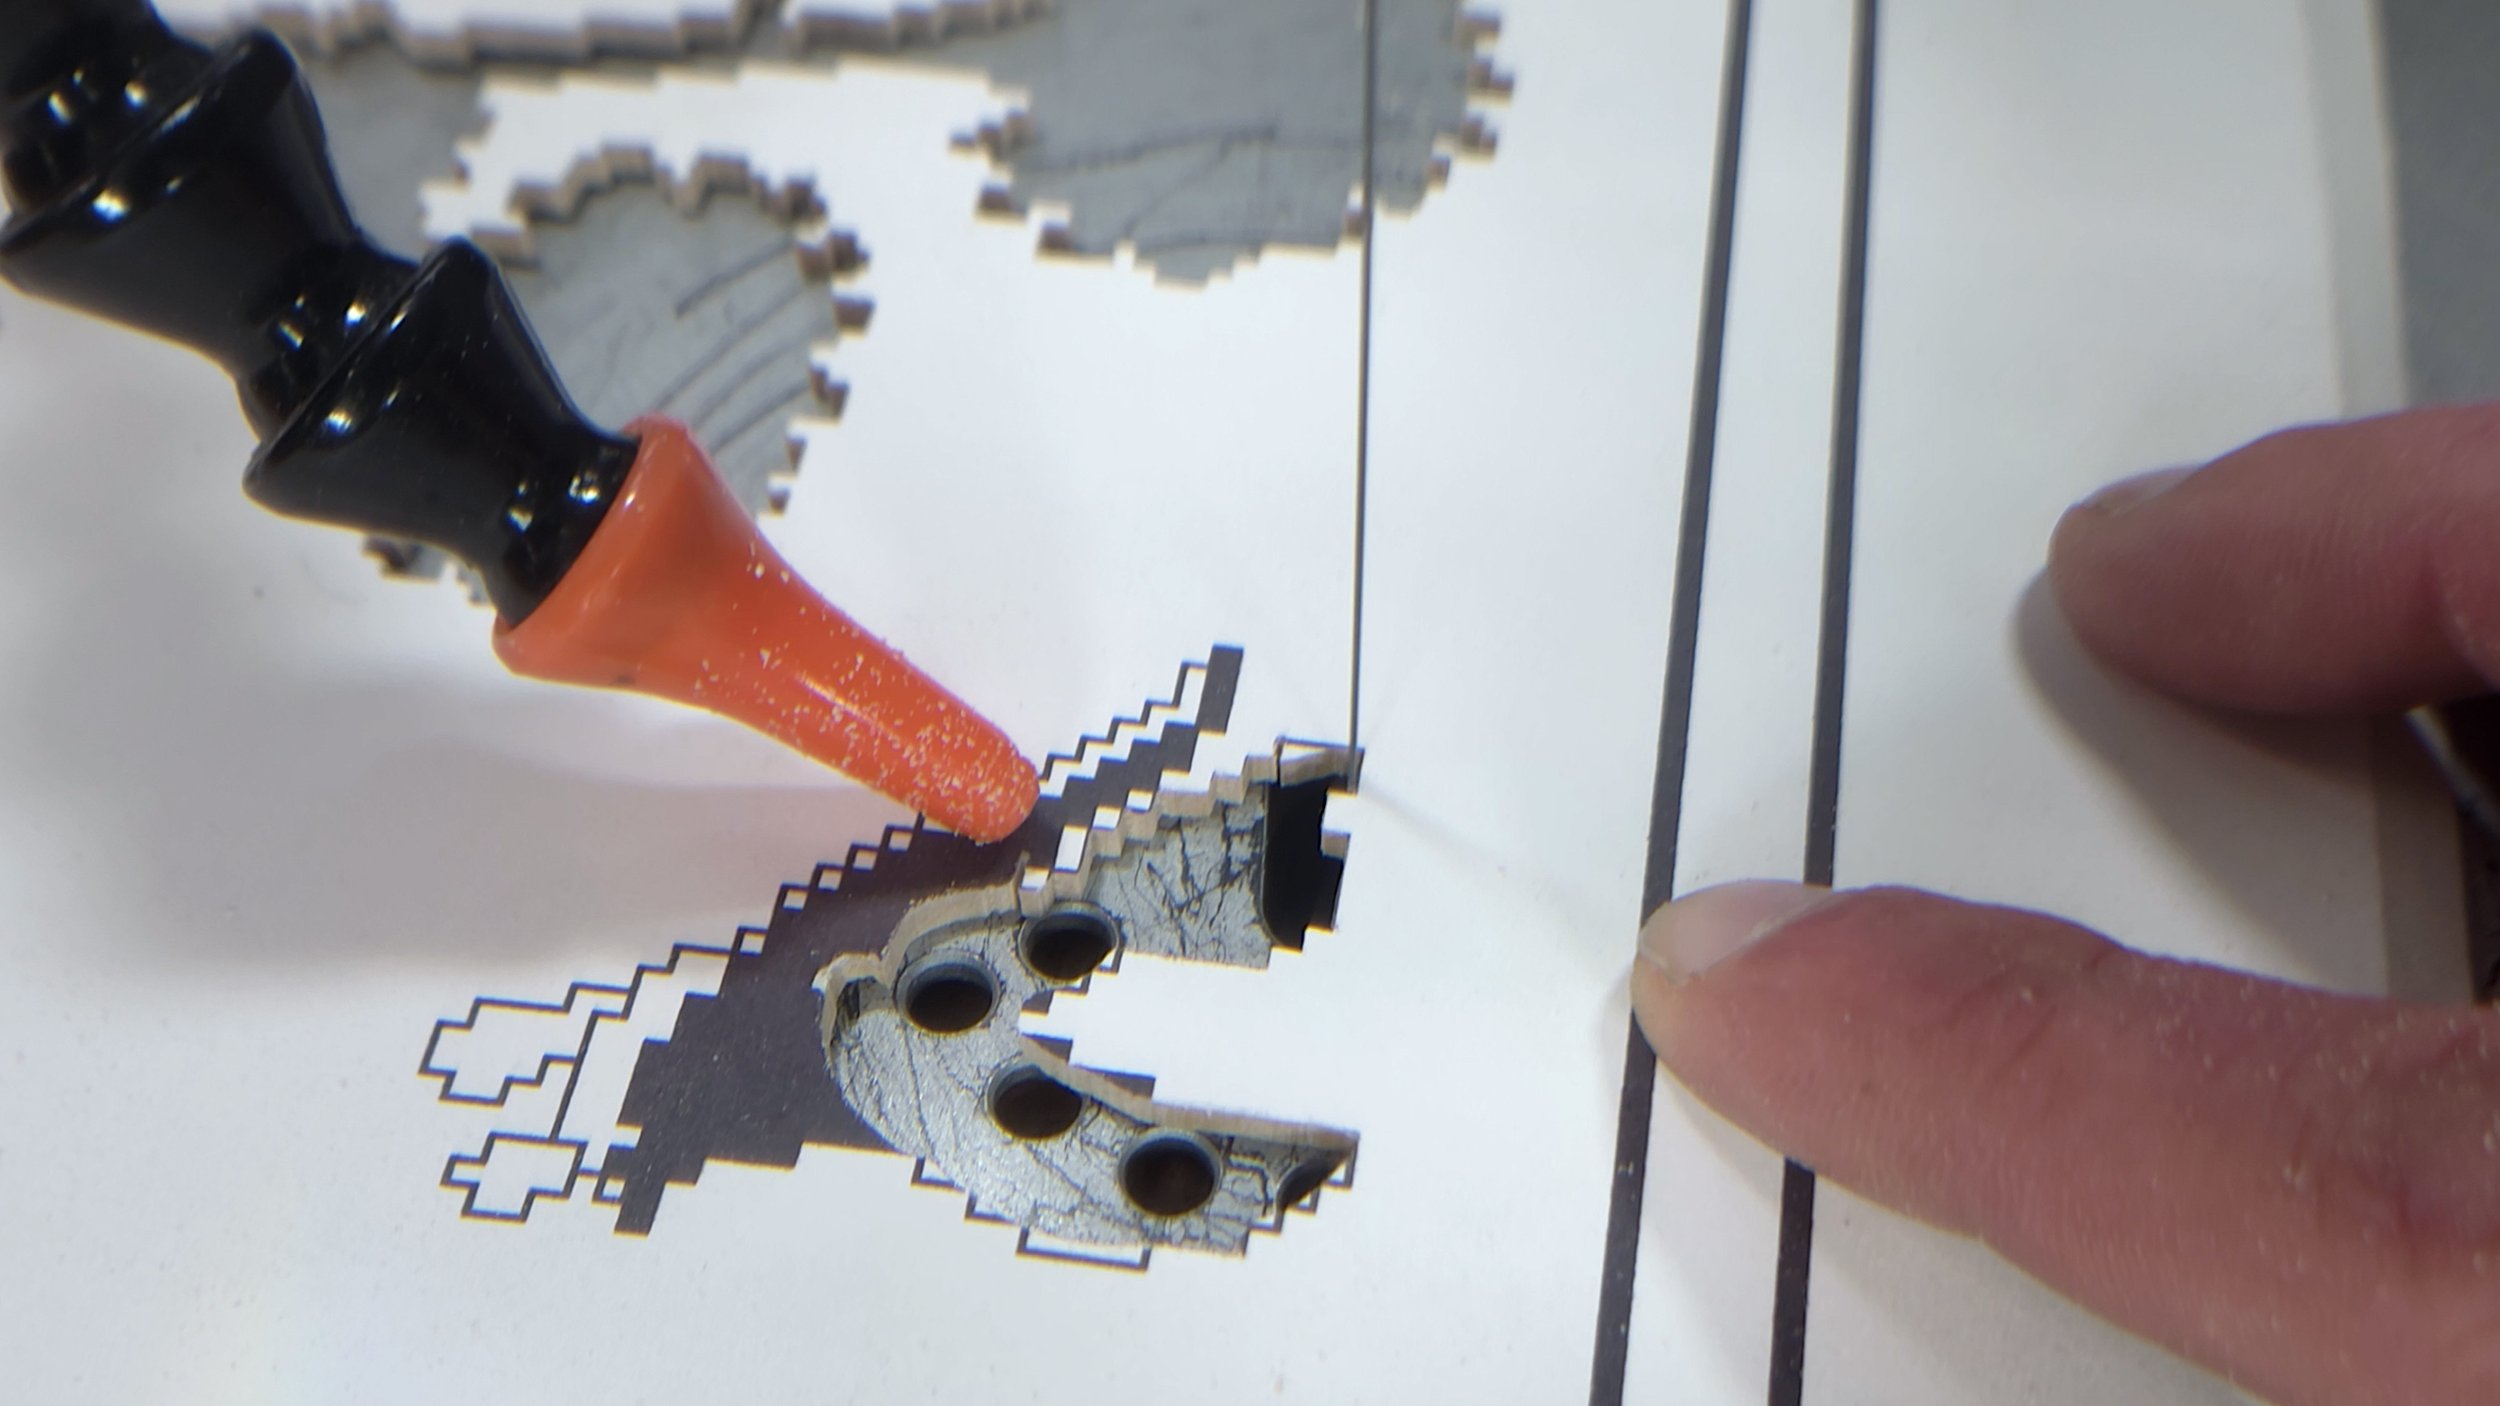
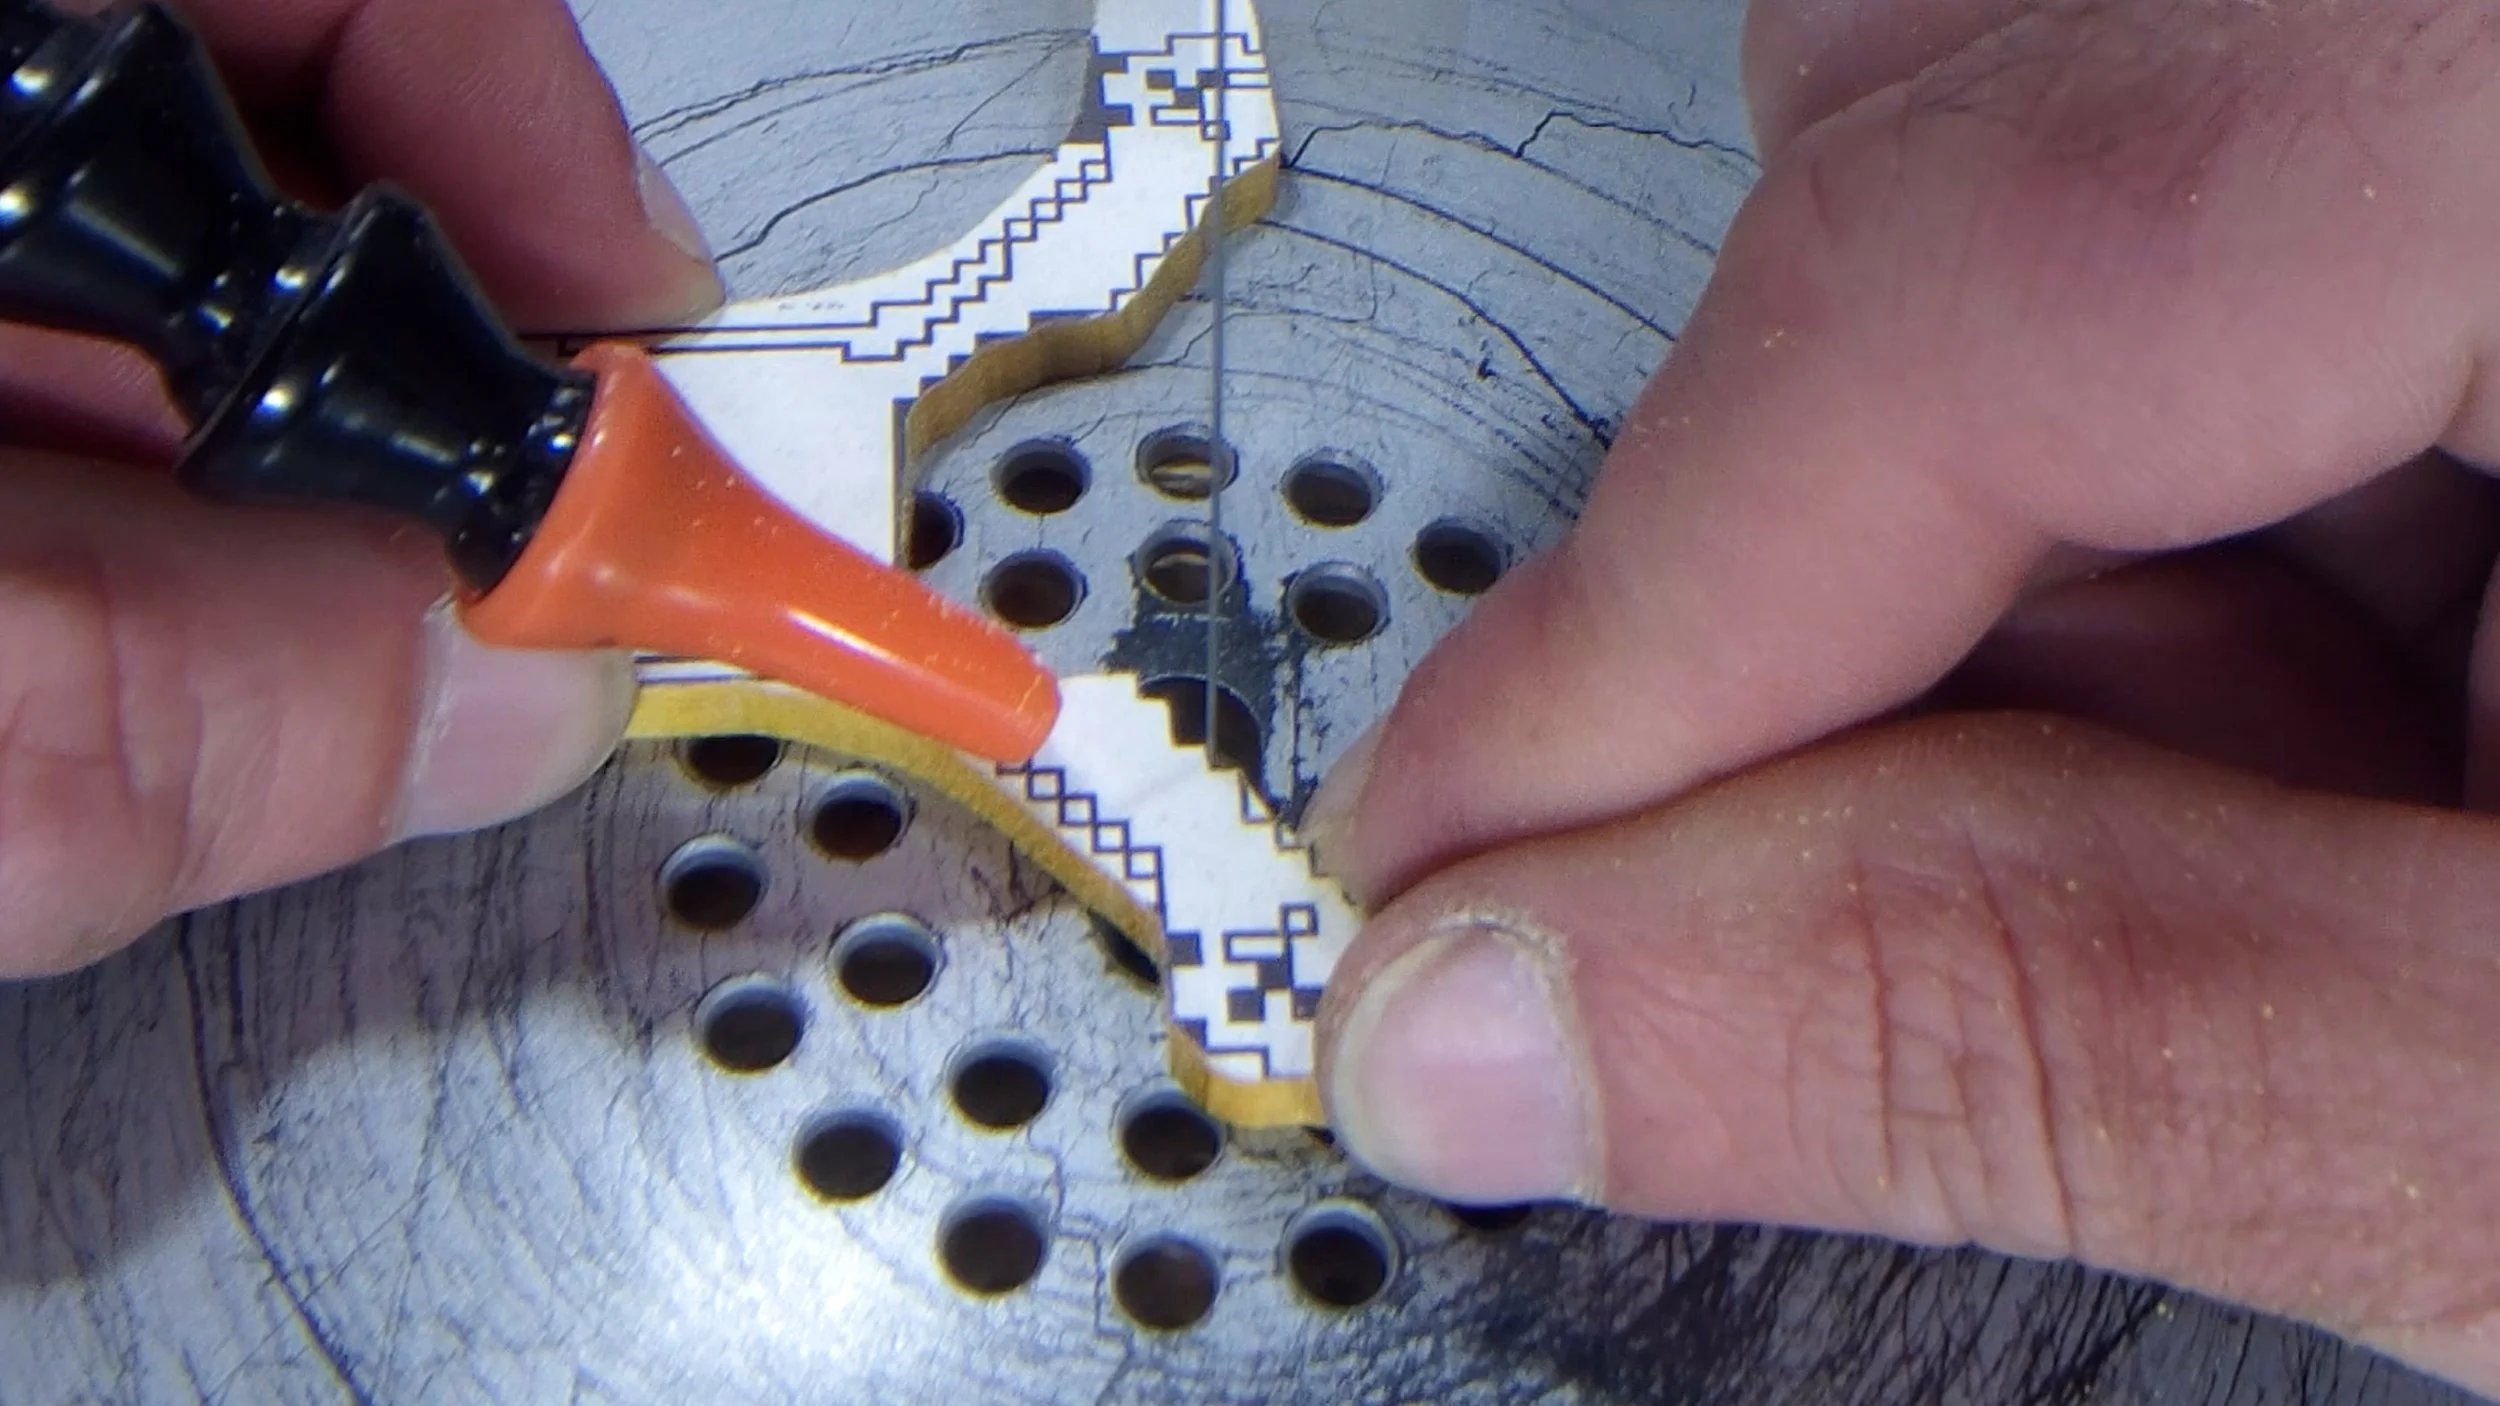
Cutting Scroll Saw Pieces
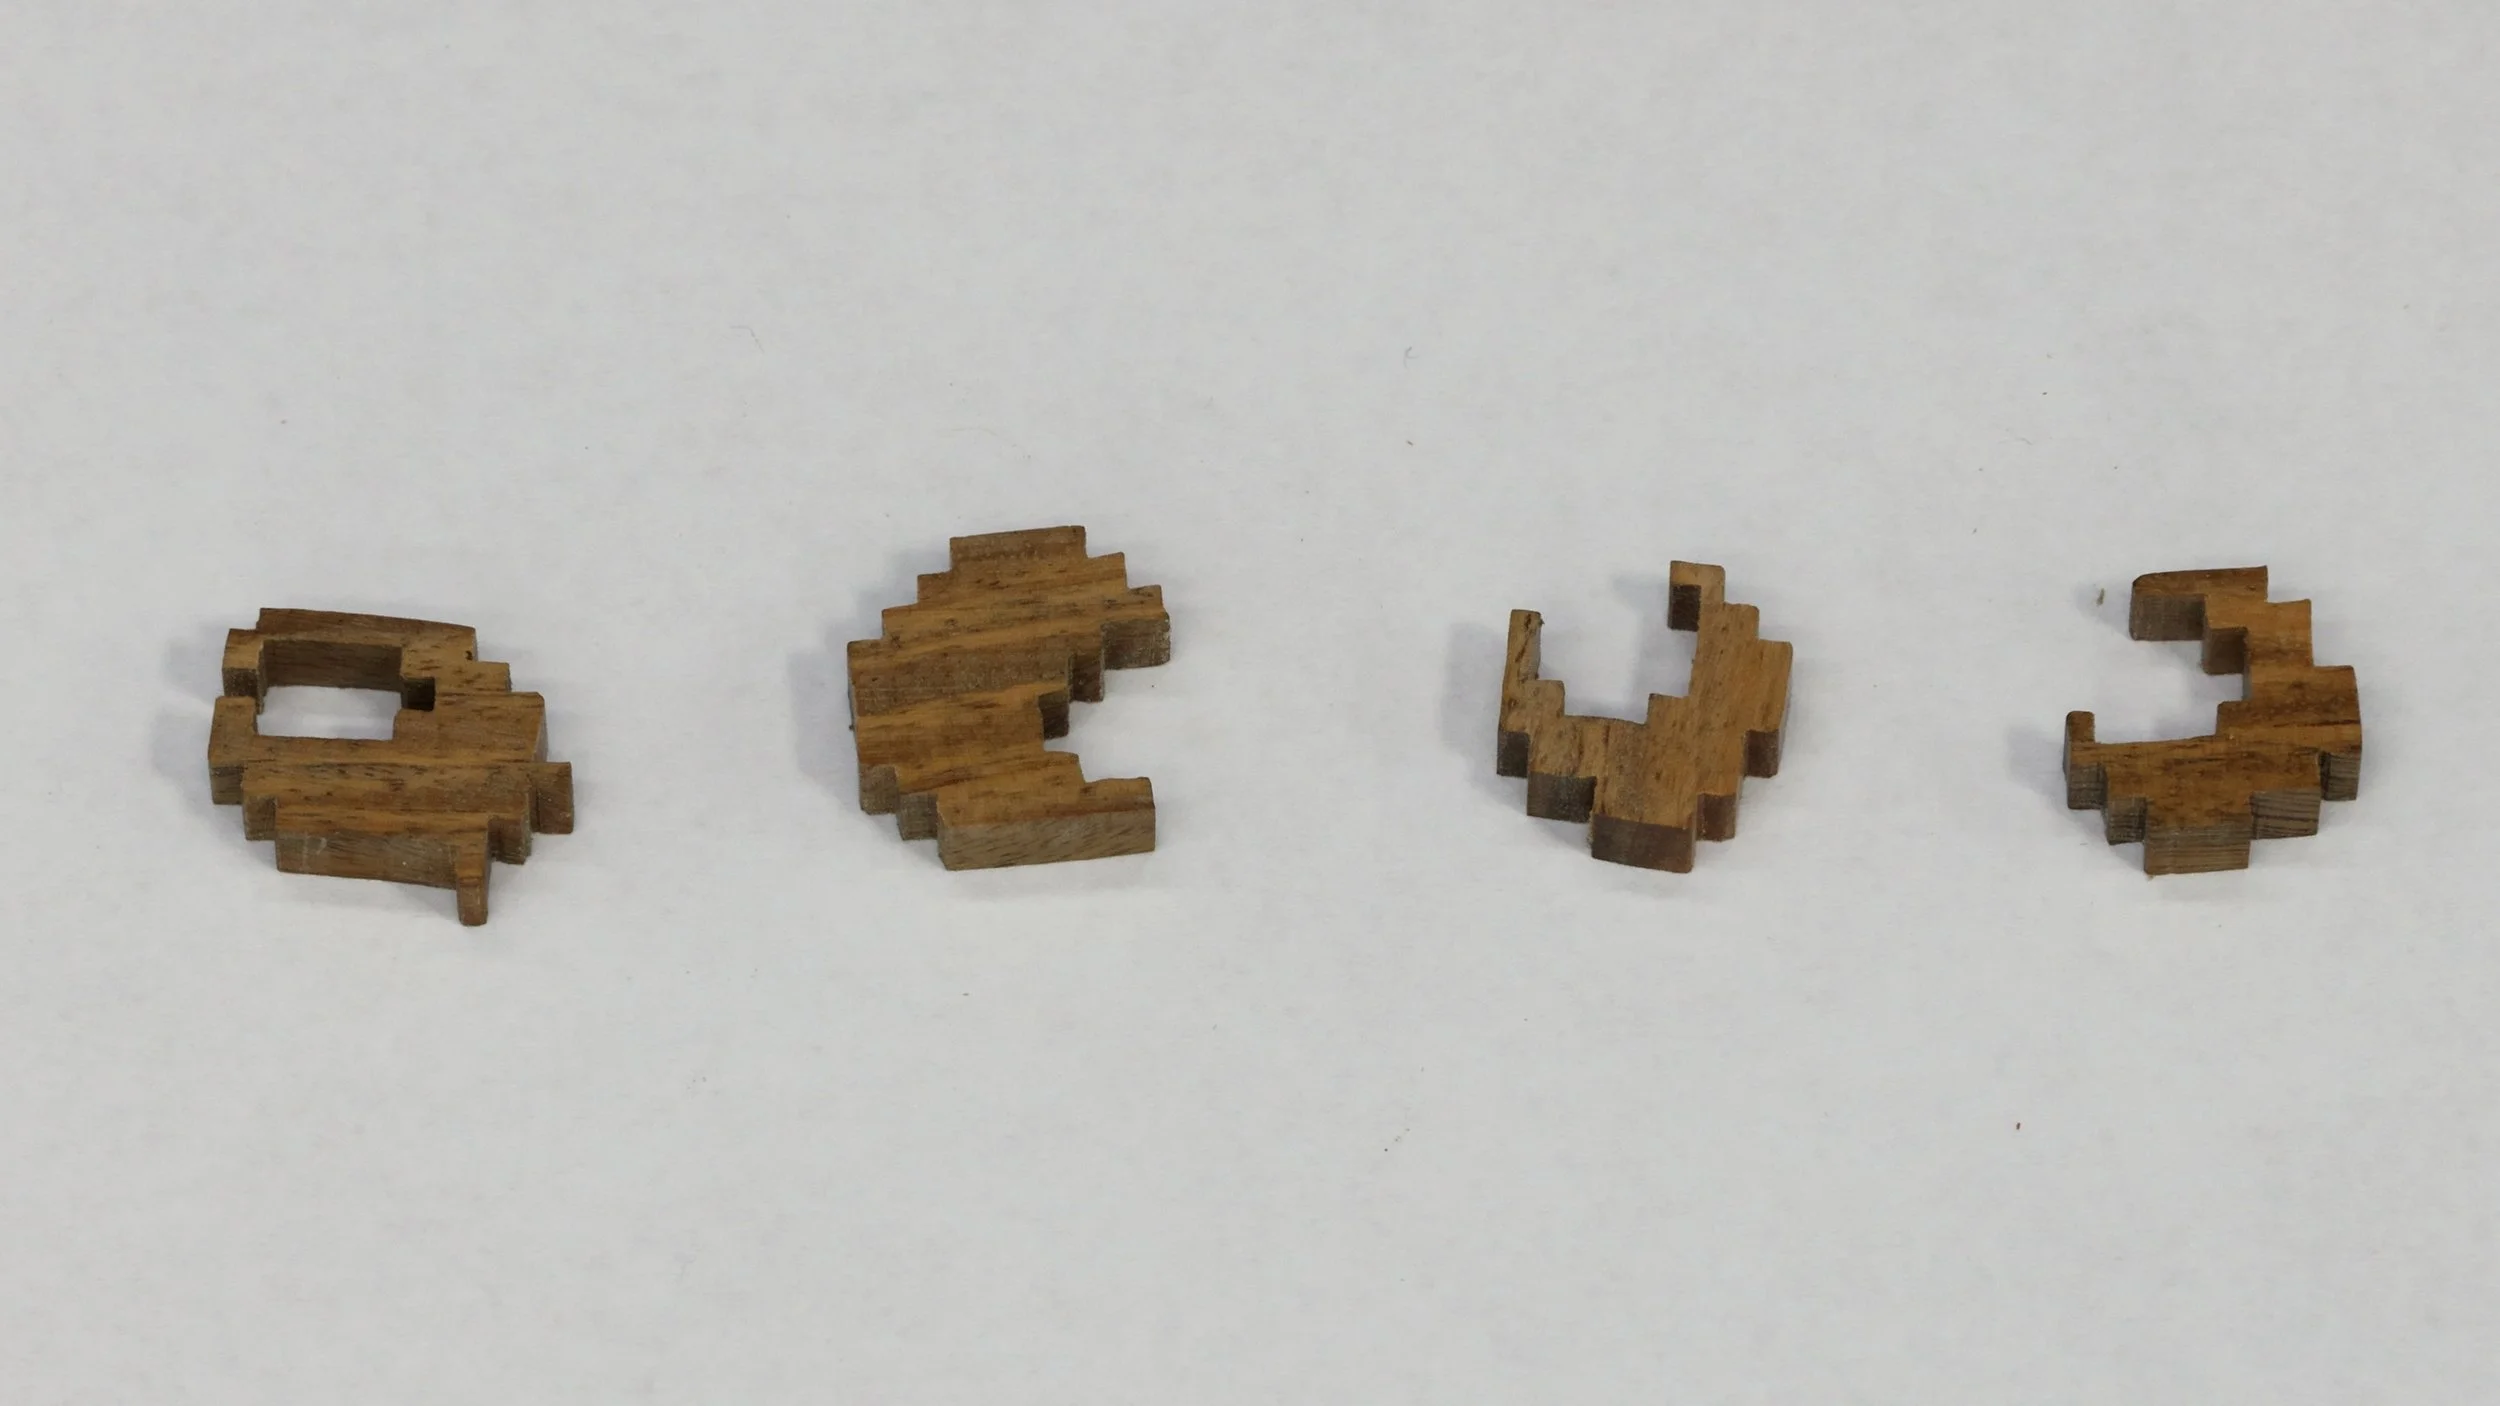
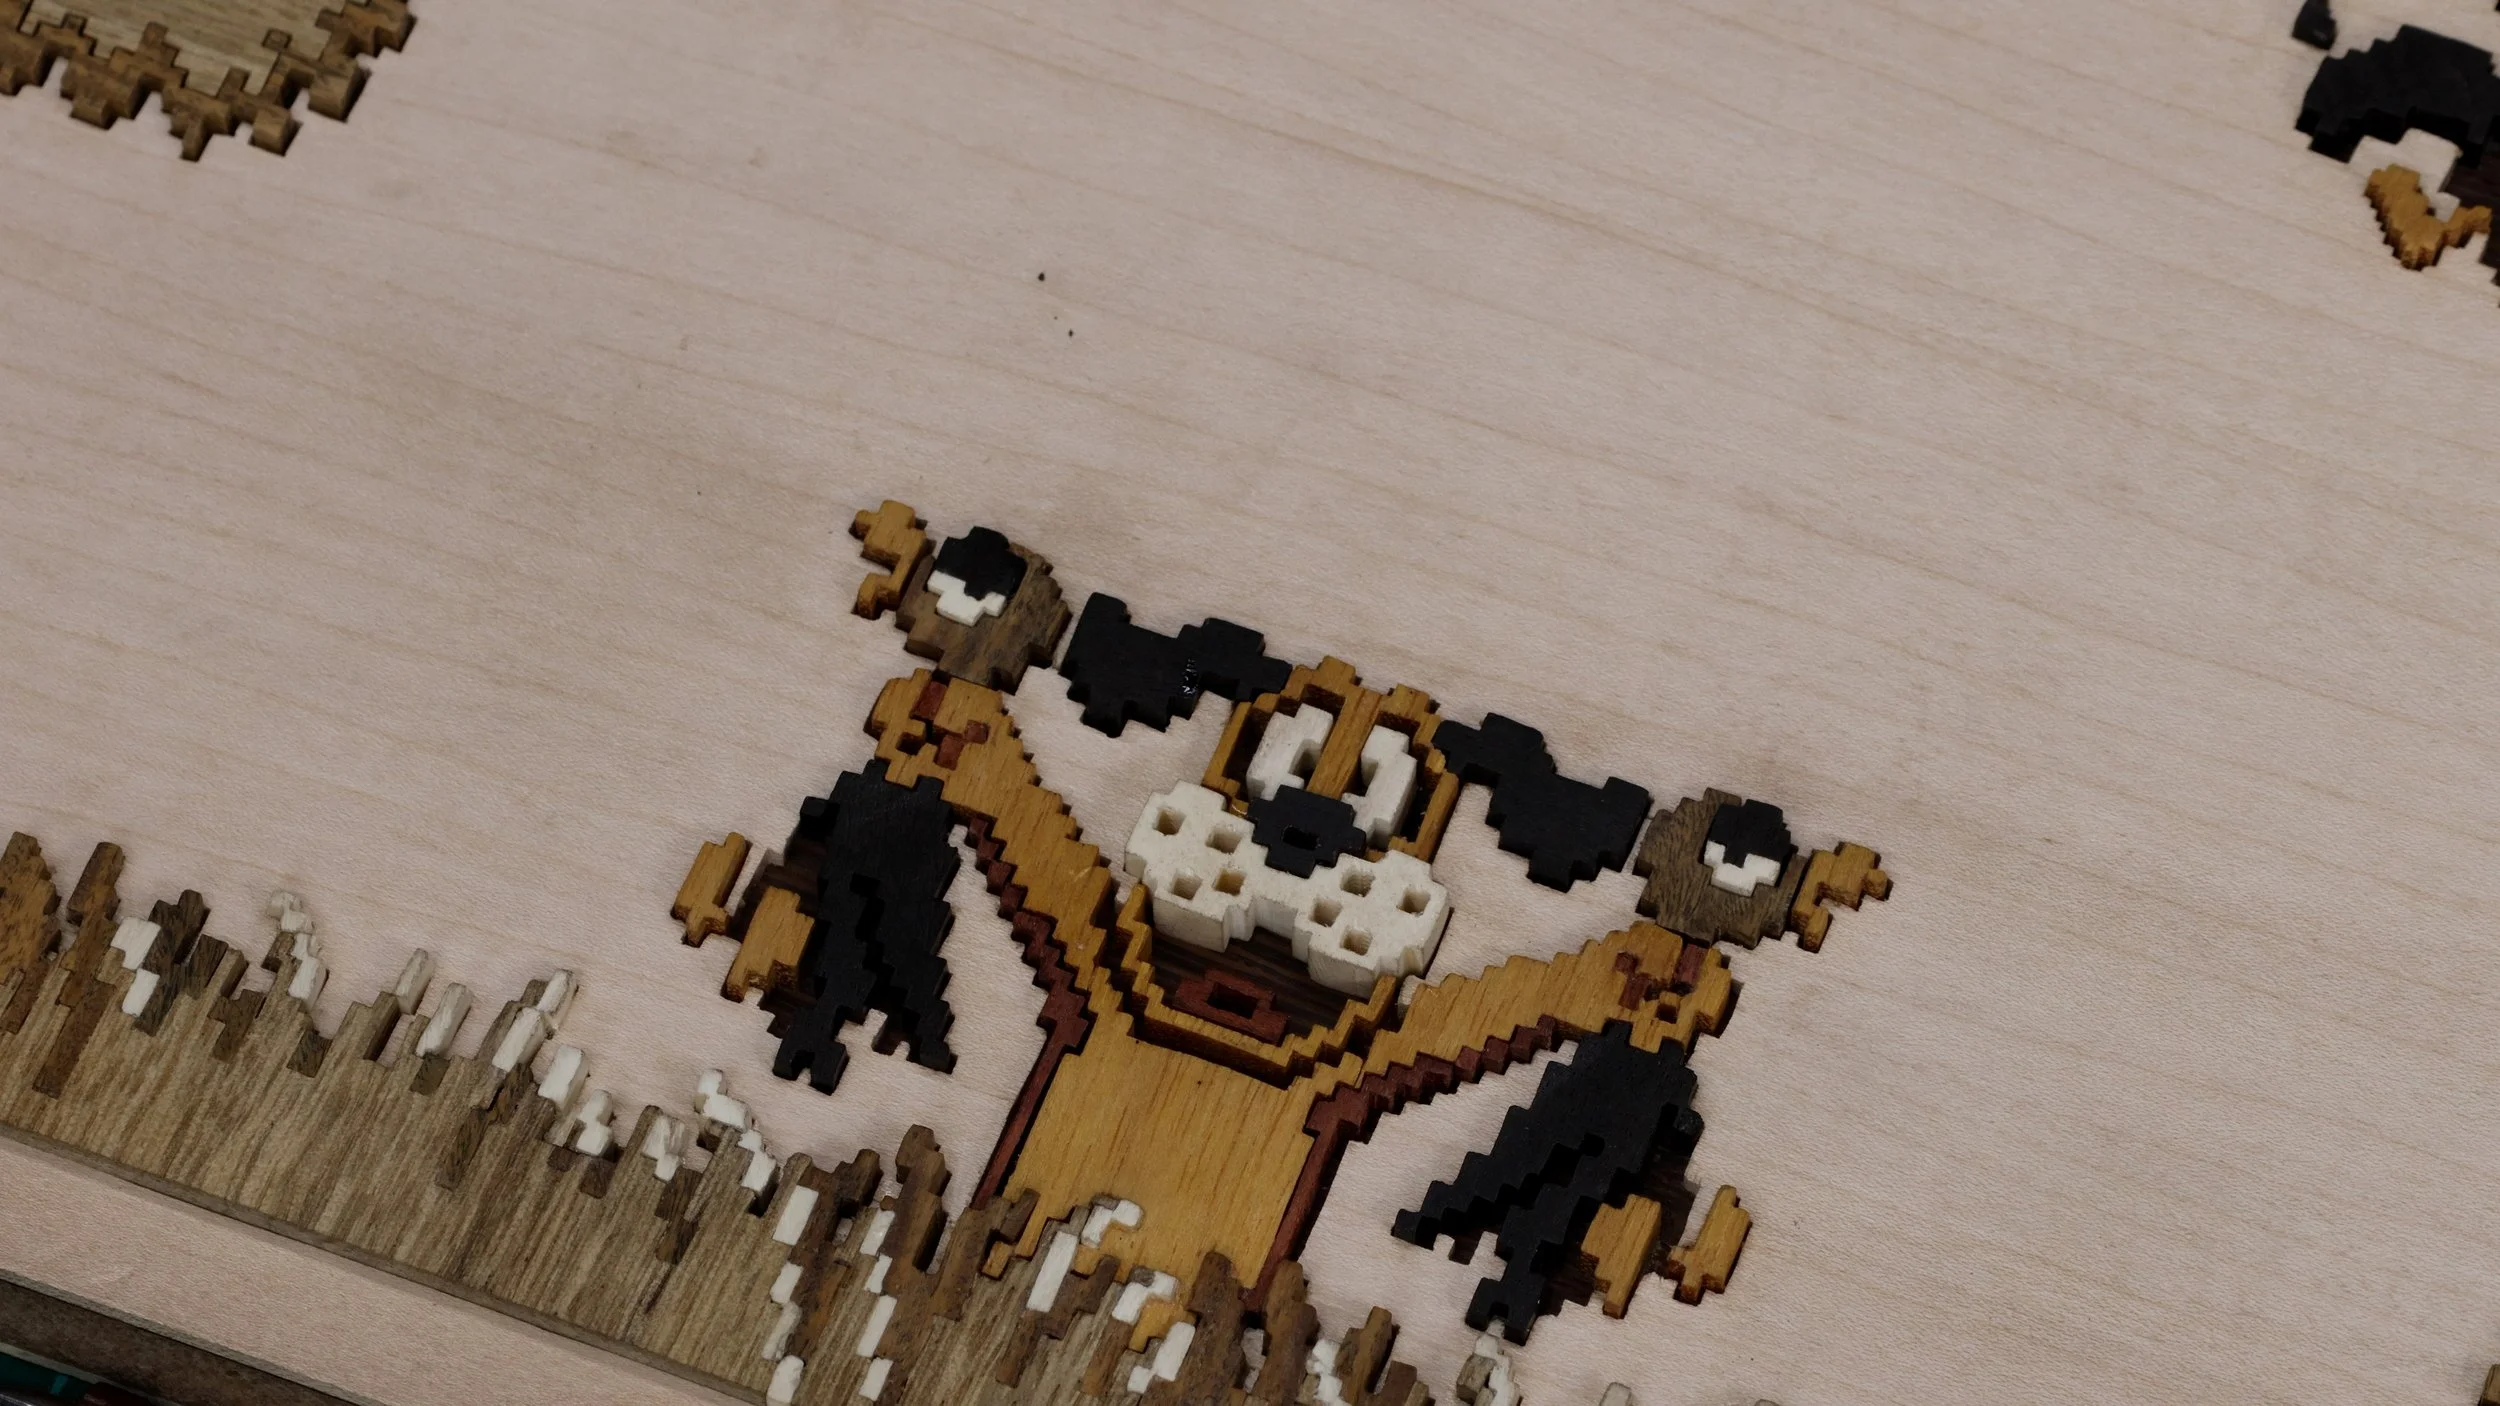
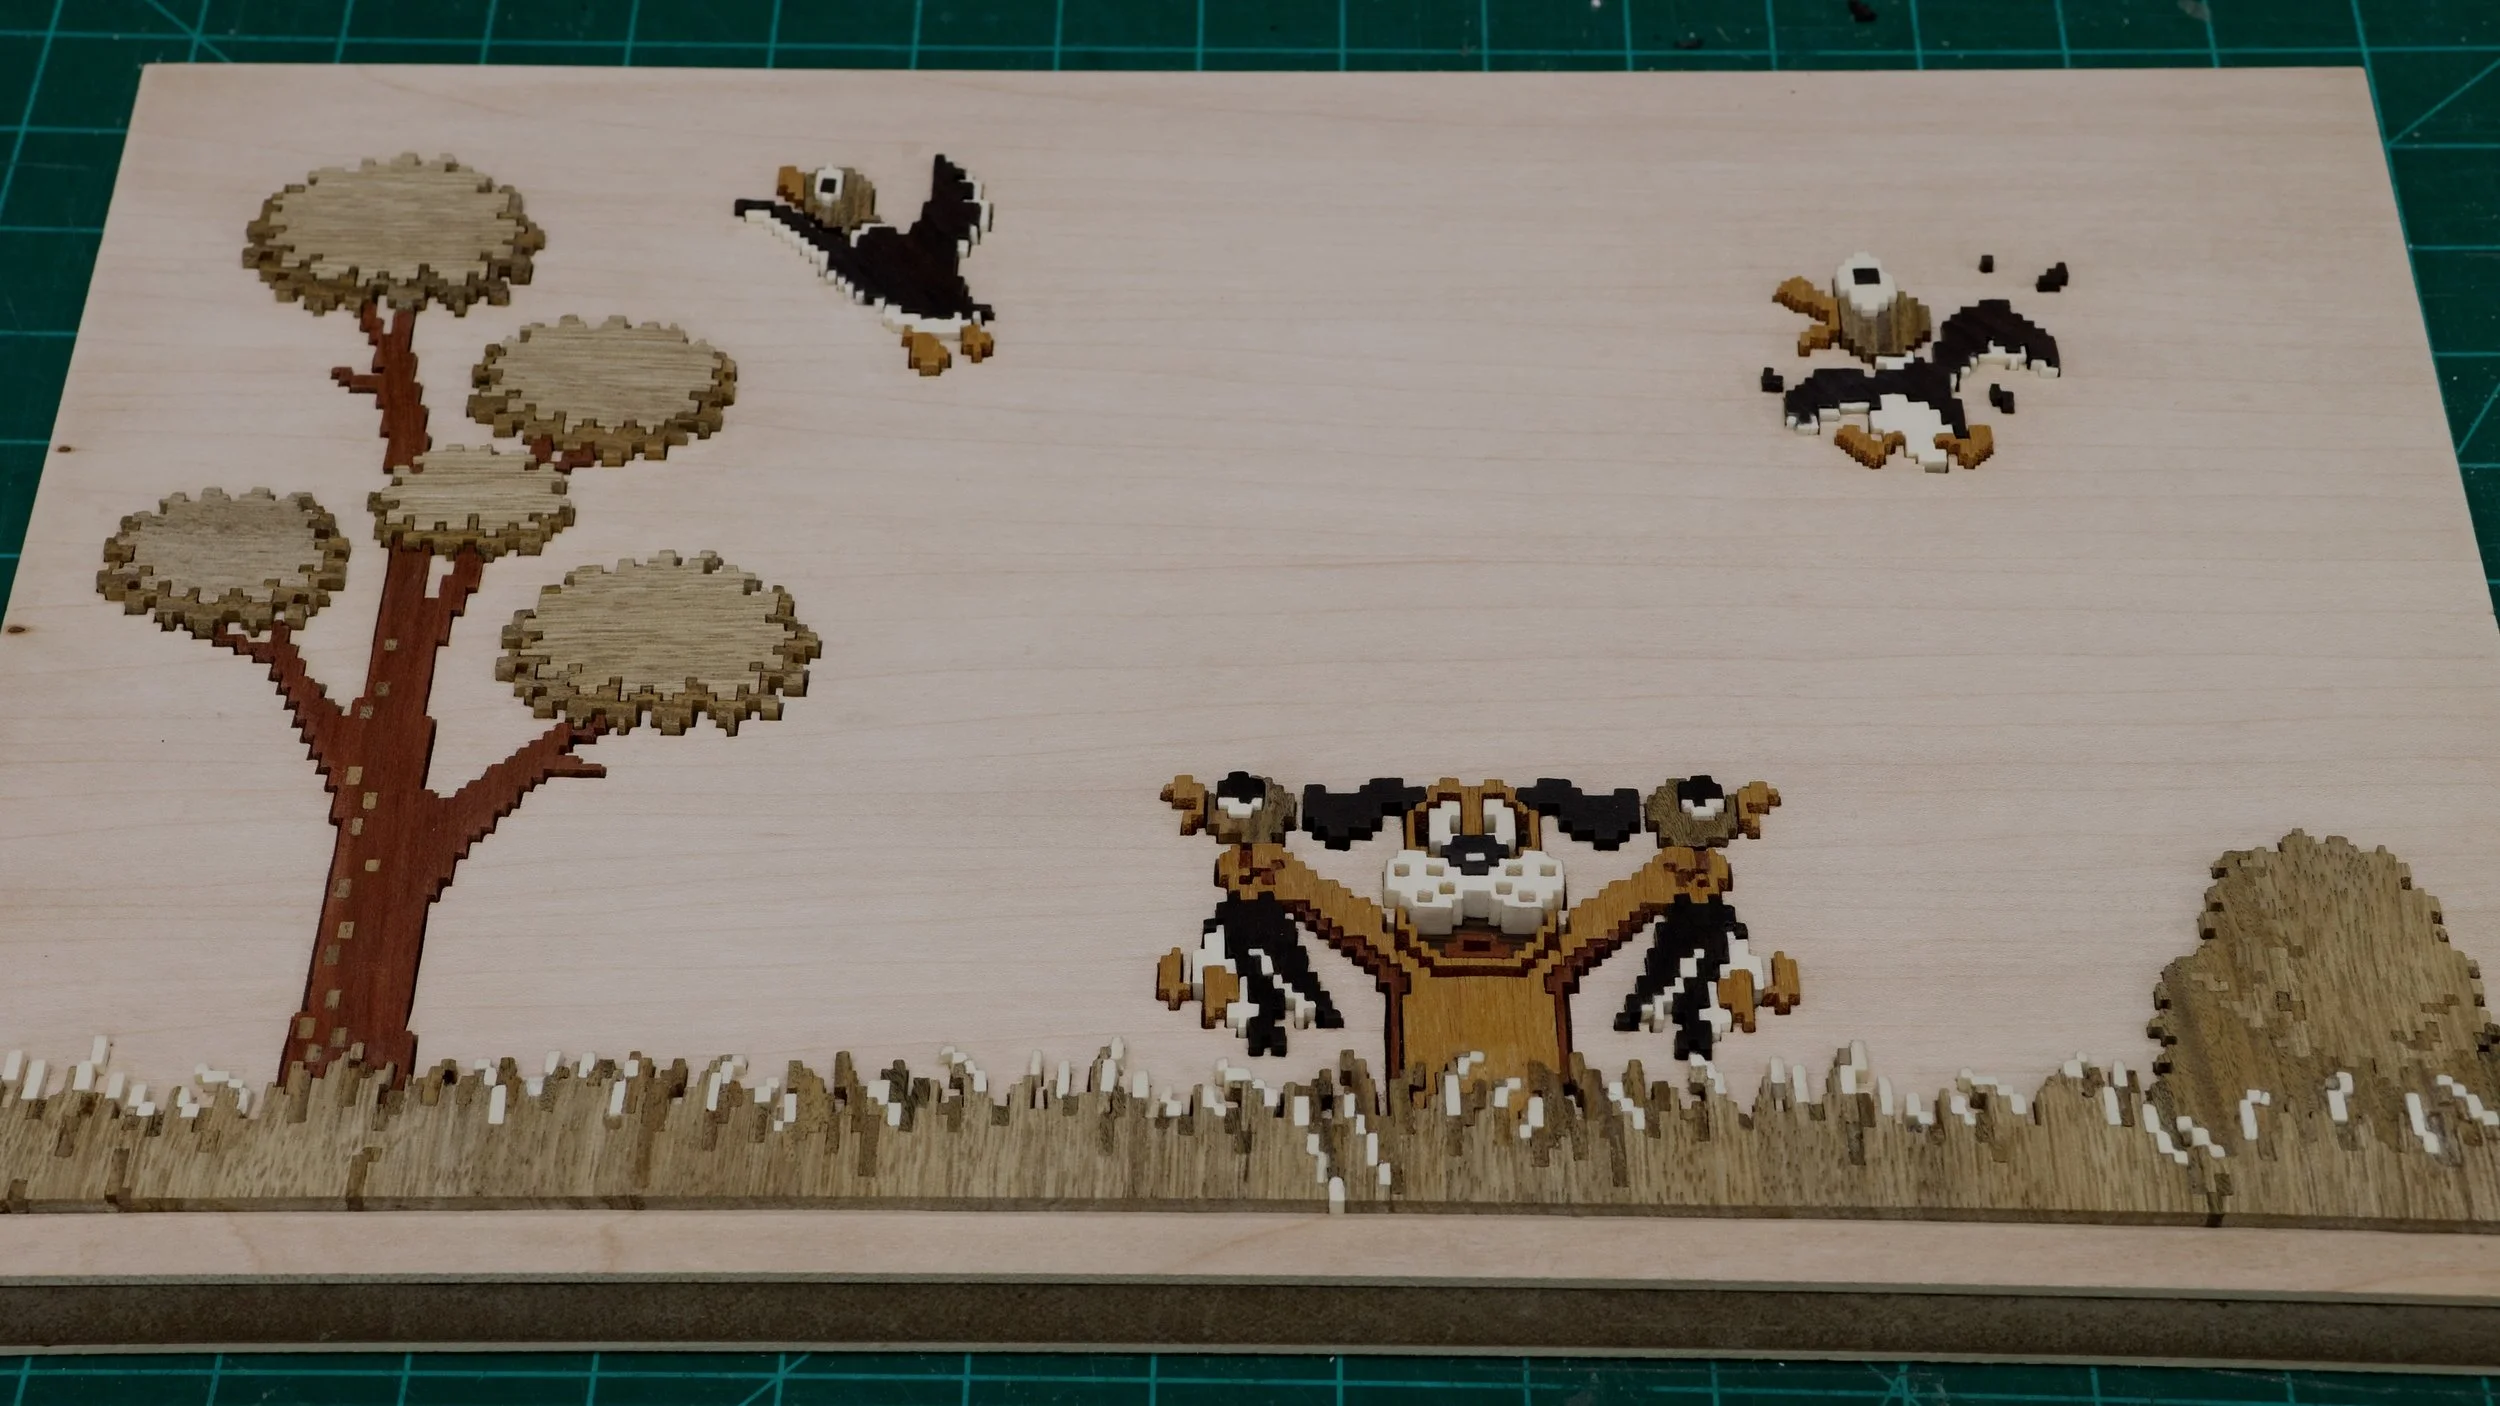
I opted to make the dog and ducks first. This was done using a combination of wood species. The dog is osage orange wood and his shadow is bloodwood. The dog’s ears and ducks’ bodies are ebony. I saved the white areas for last. Sometimes, the saw dust from bright woods can stain lighter ones. I wanted the whole artwork completed before adding the white details.
Green Colored Lumber?
Lignum vitae is a naturally green looking wood. I have an article devoted to the different color wood species I use and where I buy them.
https://www.newtonmakes.com/blog/scroll-saw-wood-species
What’s cool about lignum vitae is that it can darken with exposure to UV light. I wanted the duck heads to be green. At first, my boards looked pale and tan. After letting them sit under a light for a few days they turned into a darker green color. I didn’t use any fancy bulb. It’s just a regular lamp.
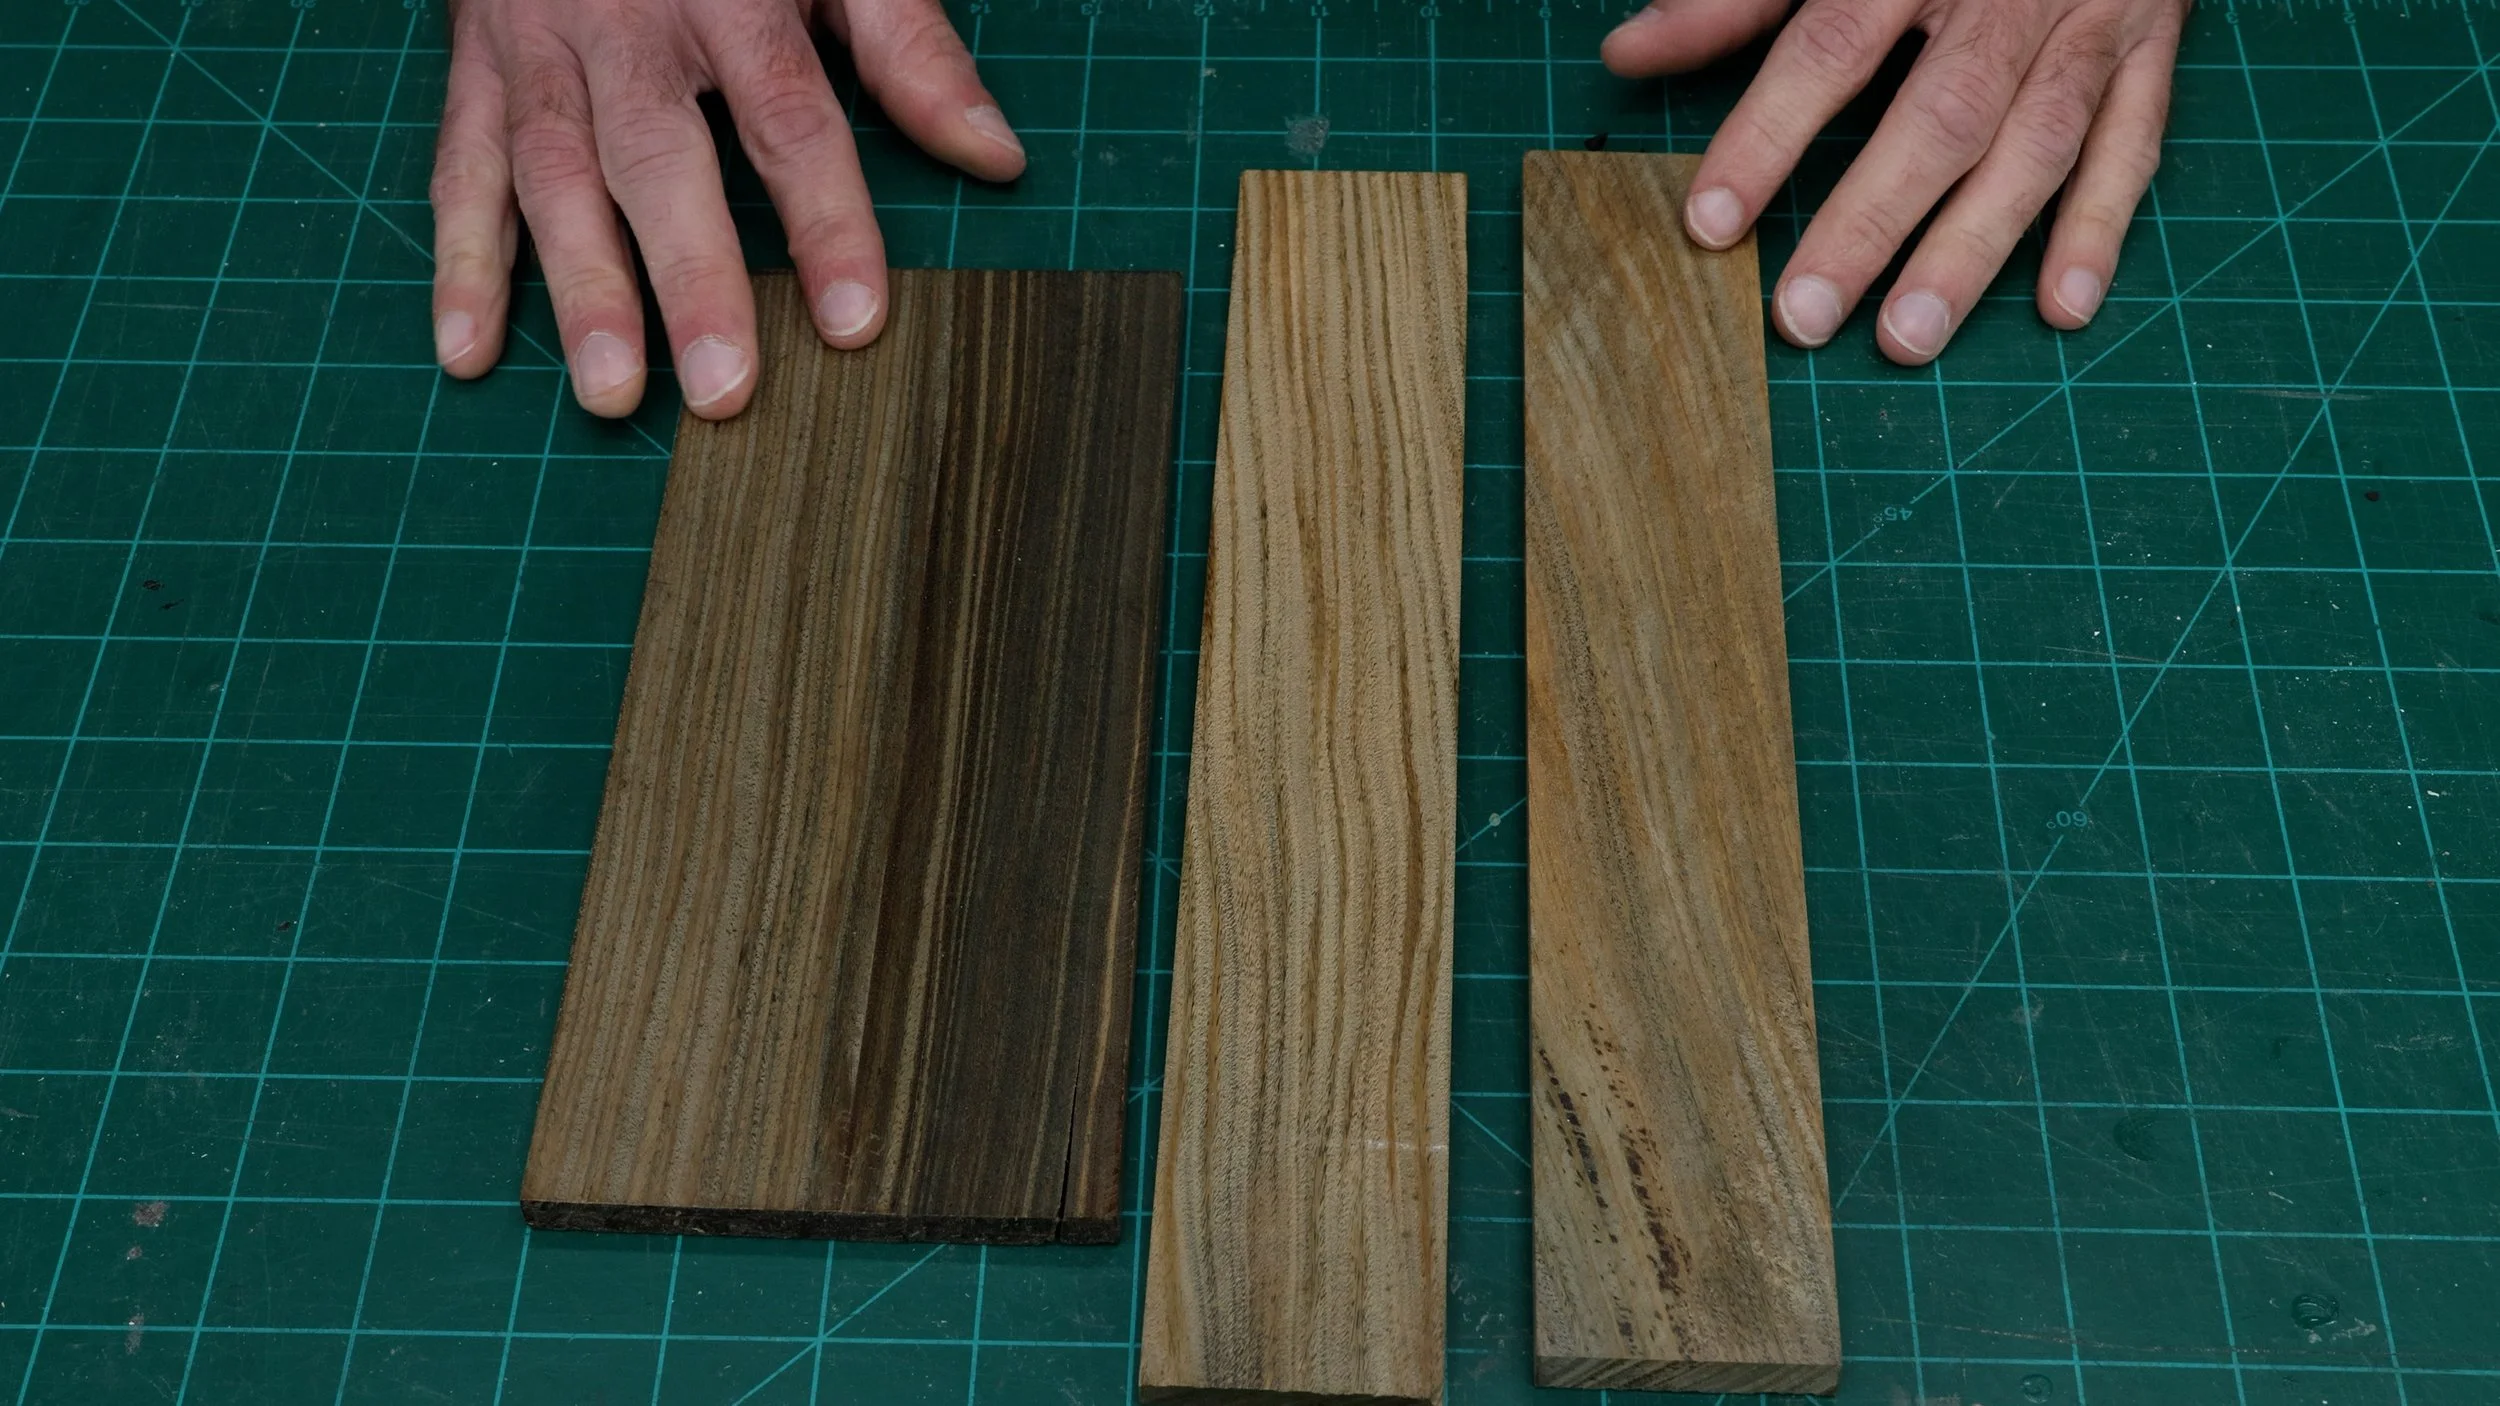
Lignum Vitae Green Colored Wood
Lignum Vitae before UV Exposure

Lignum Vitae after UV Exposure
Making the Landscape
The tree, bush, and grass are a combination of light and dark green. I used lignum vitae for the dark green, but what about the lighter shade? I decided to try white limba. I have a piece with a green tint. It may turn more towards brown over time; however, we can use an optical illusion. By placing it next to the rich, dark green lignum vitae, the limba will trick the eye and look more green than brown.
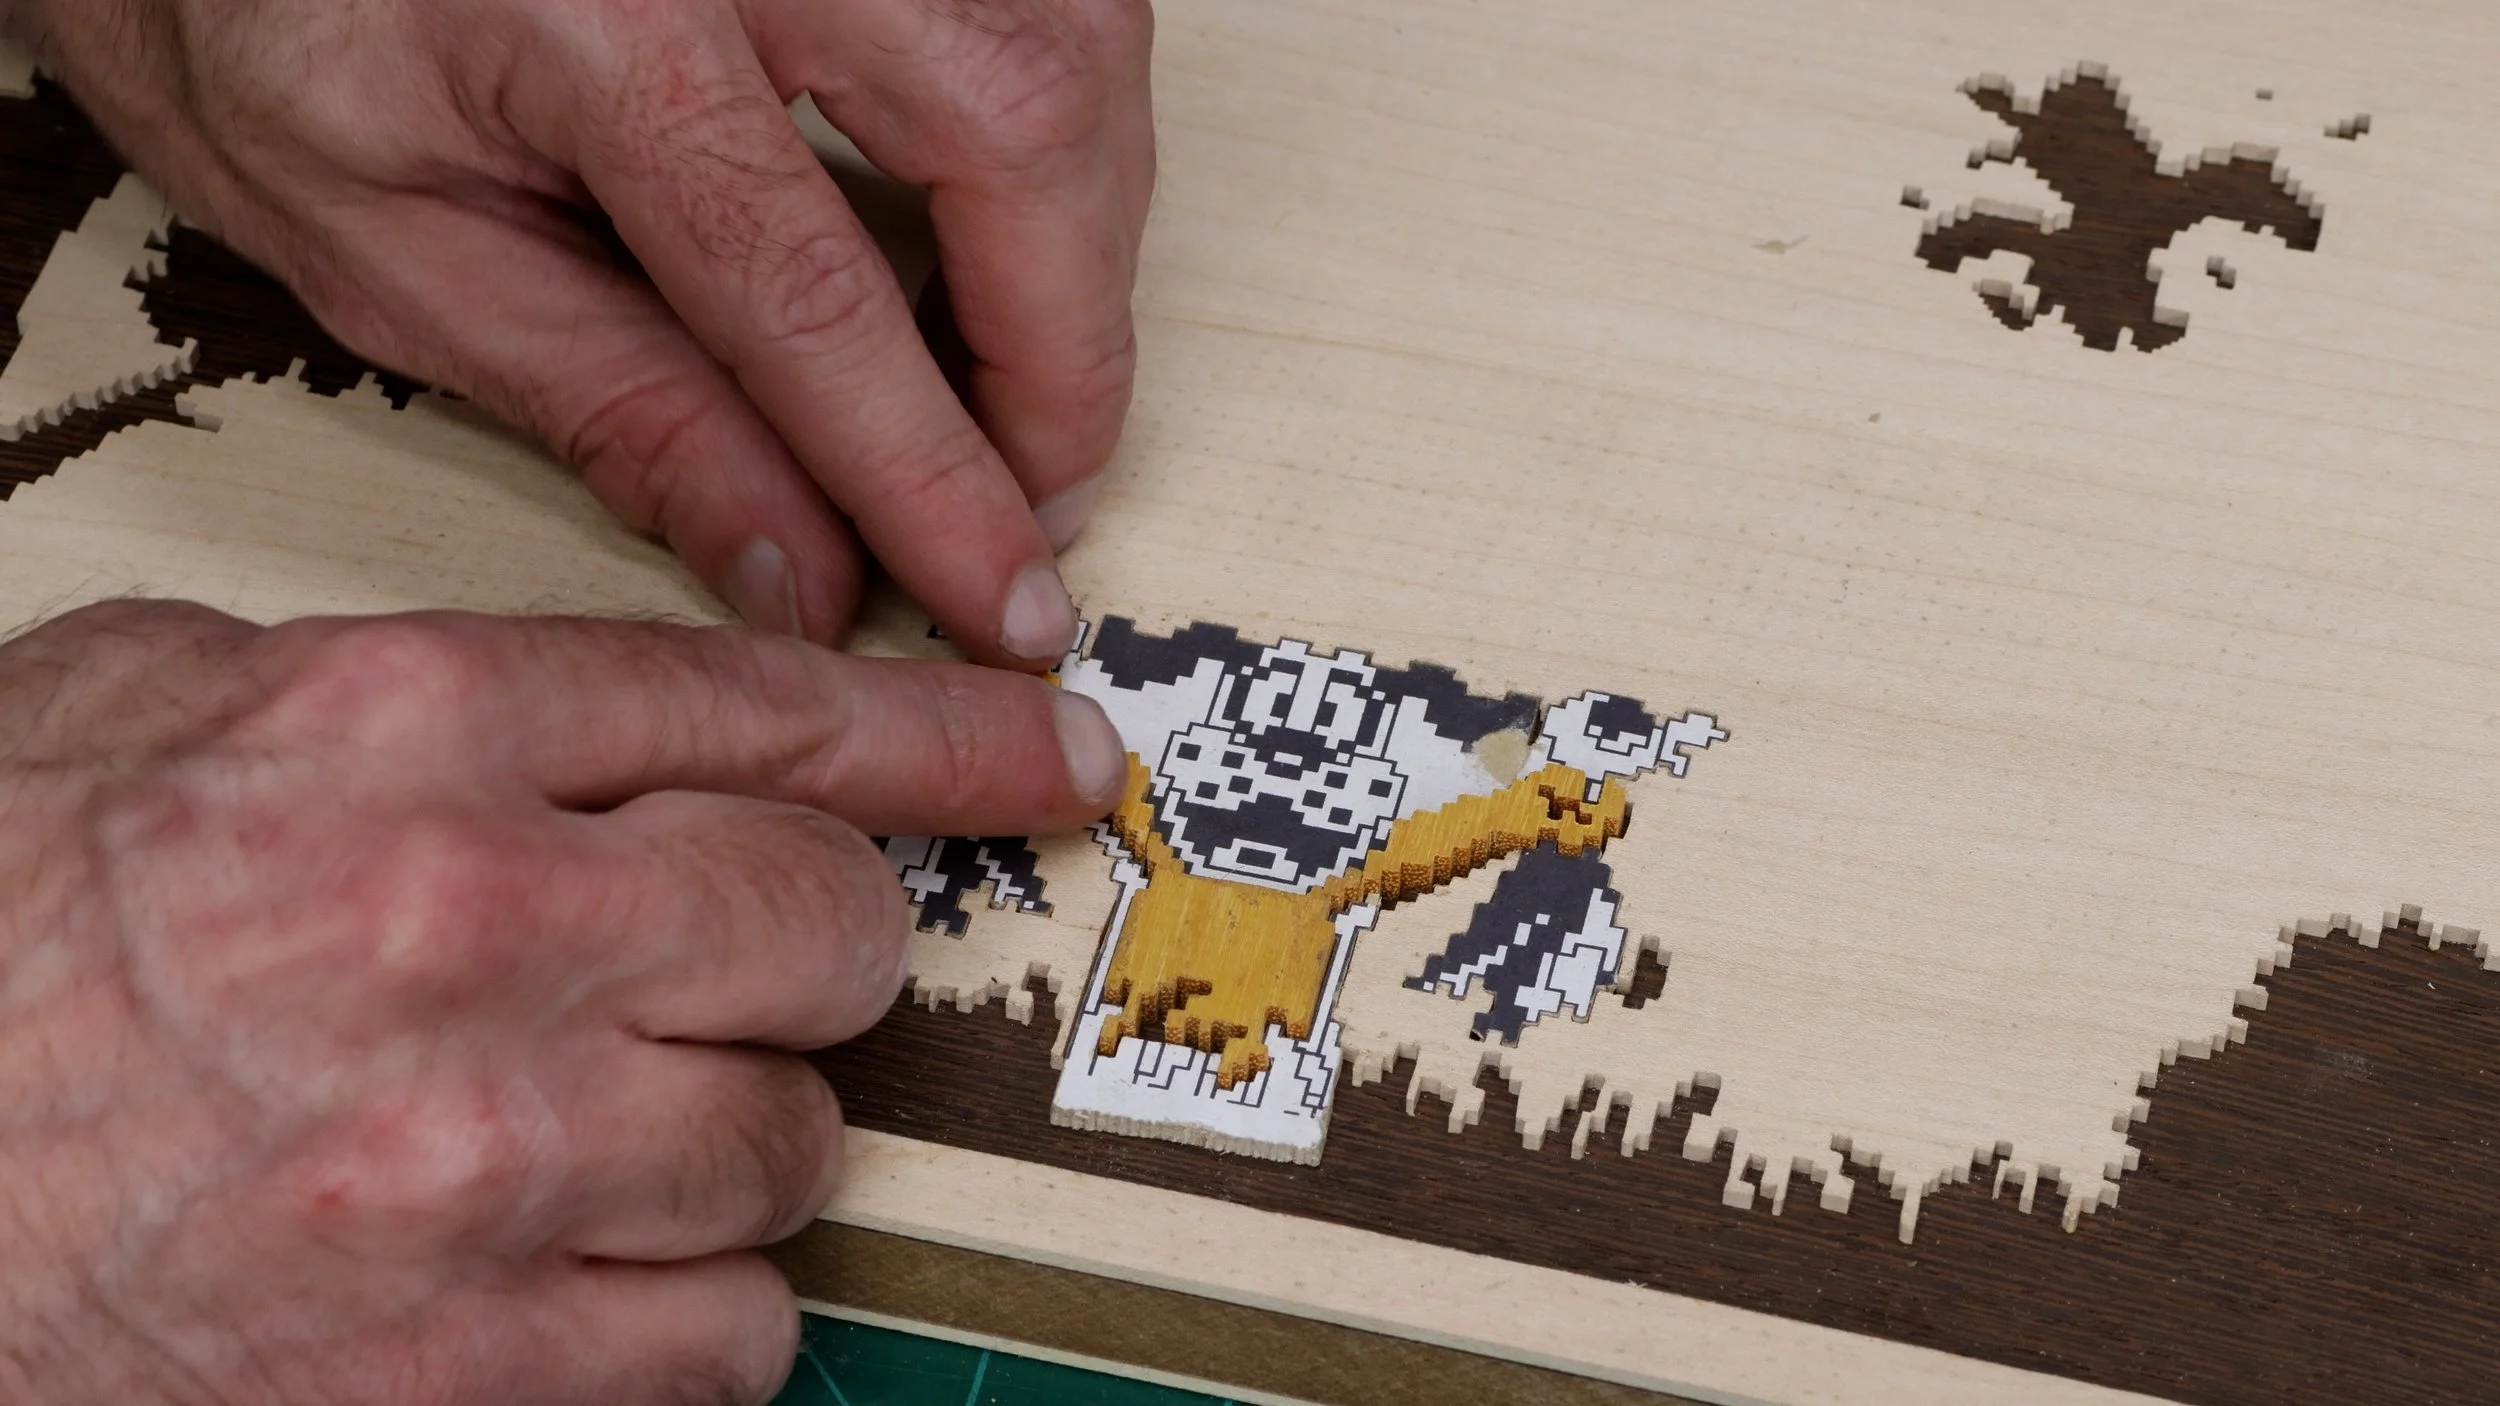
Adding the White Pieces
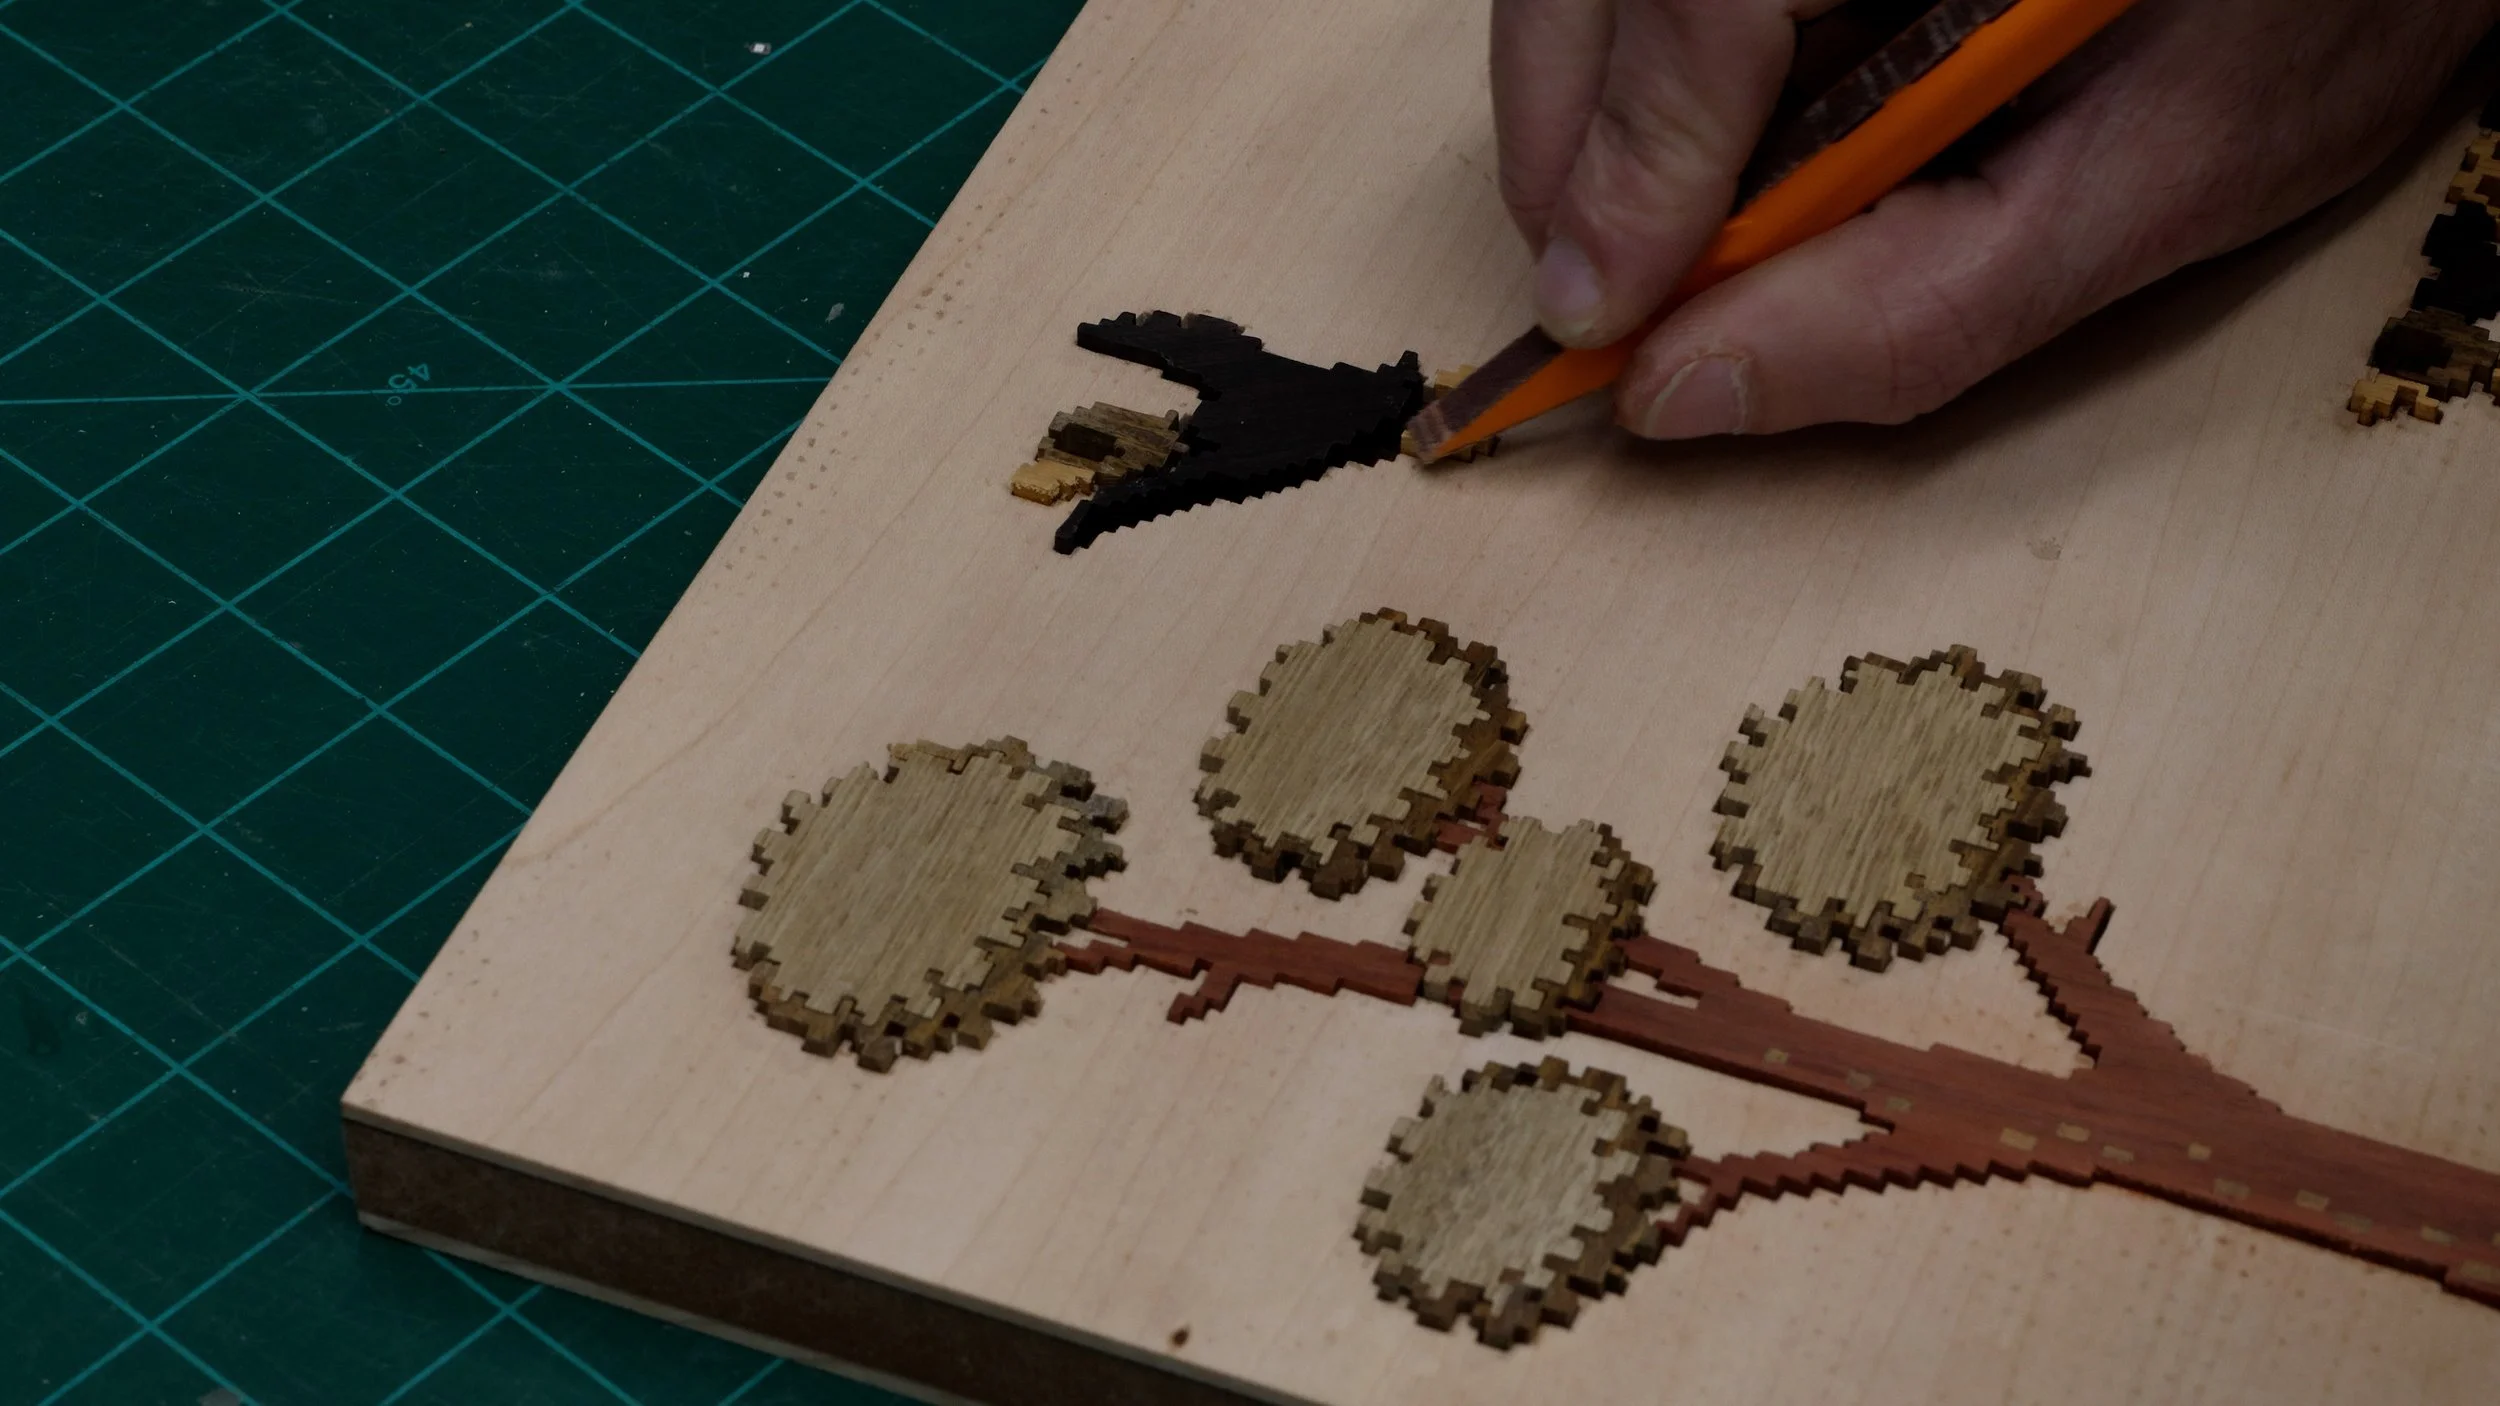
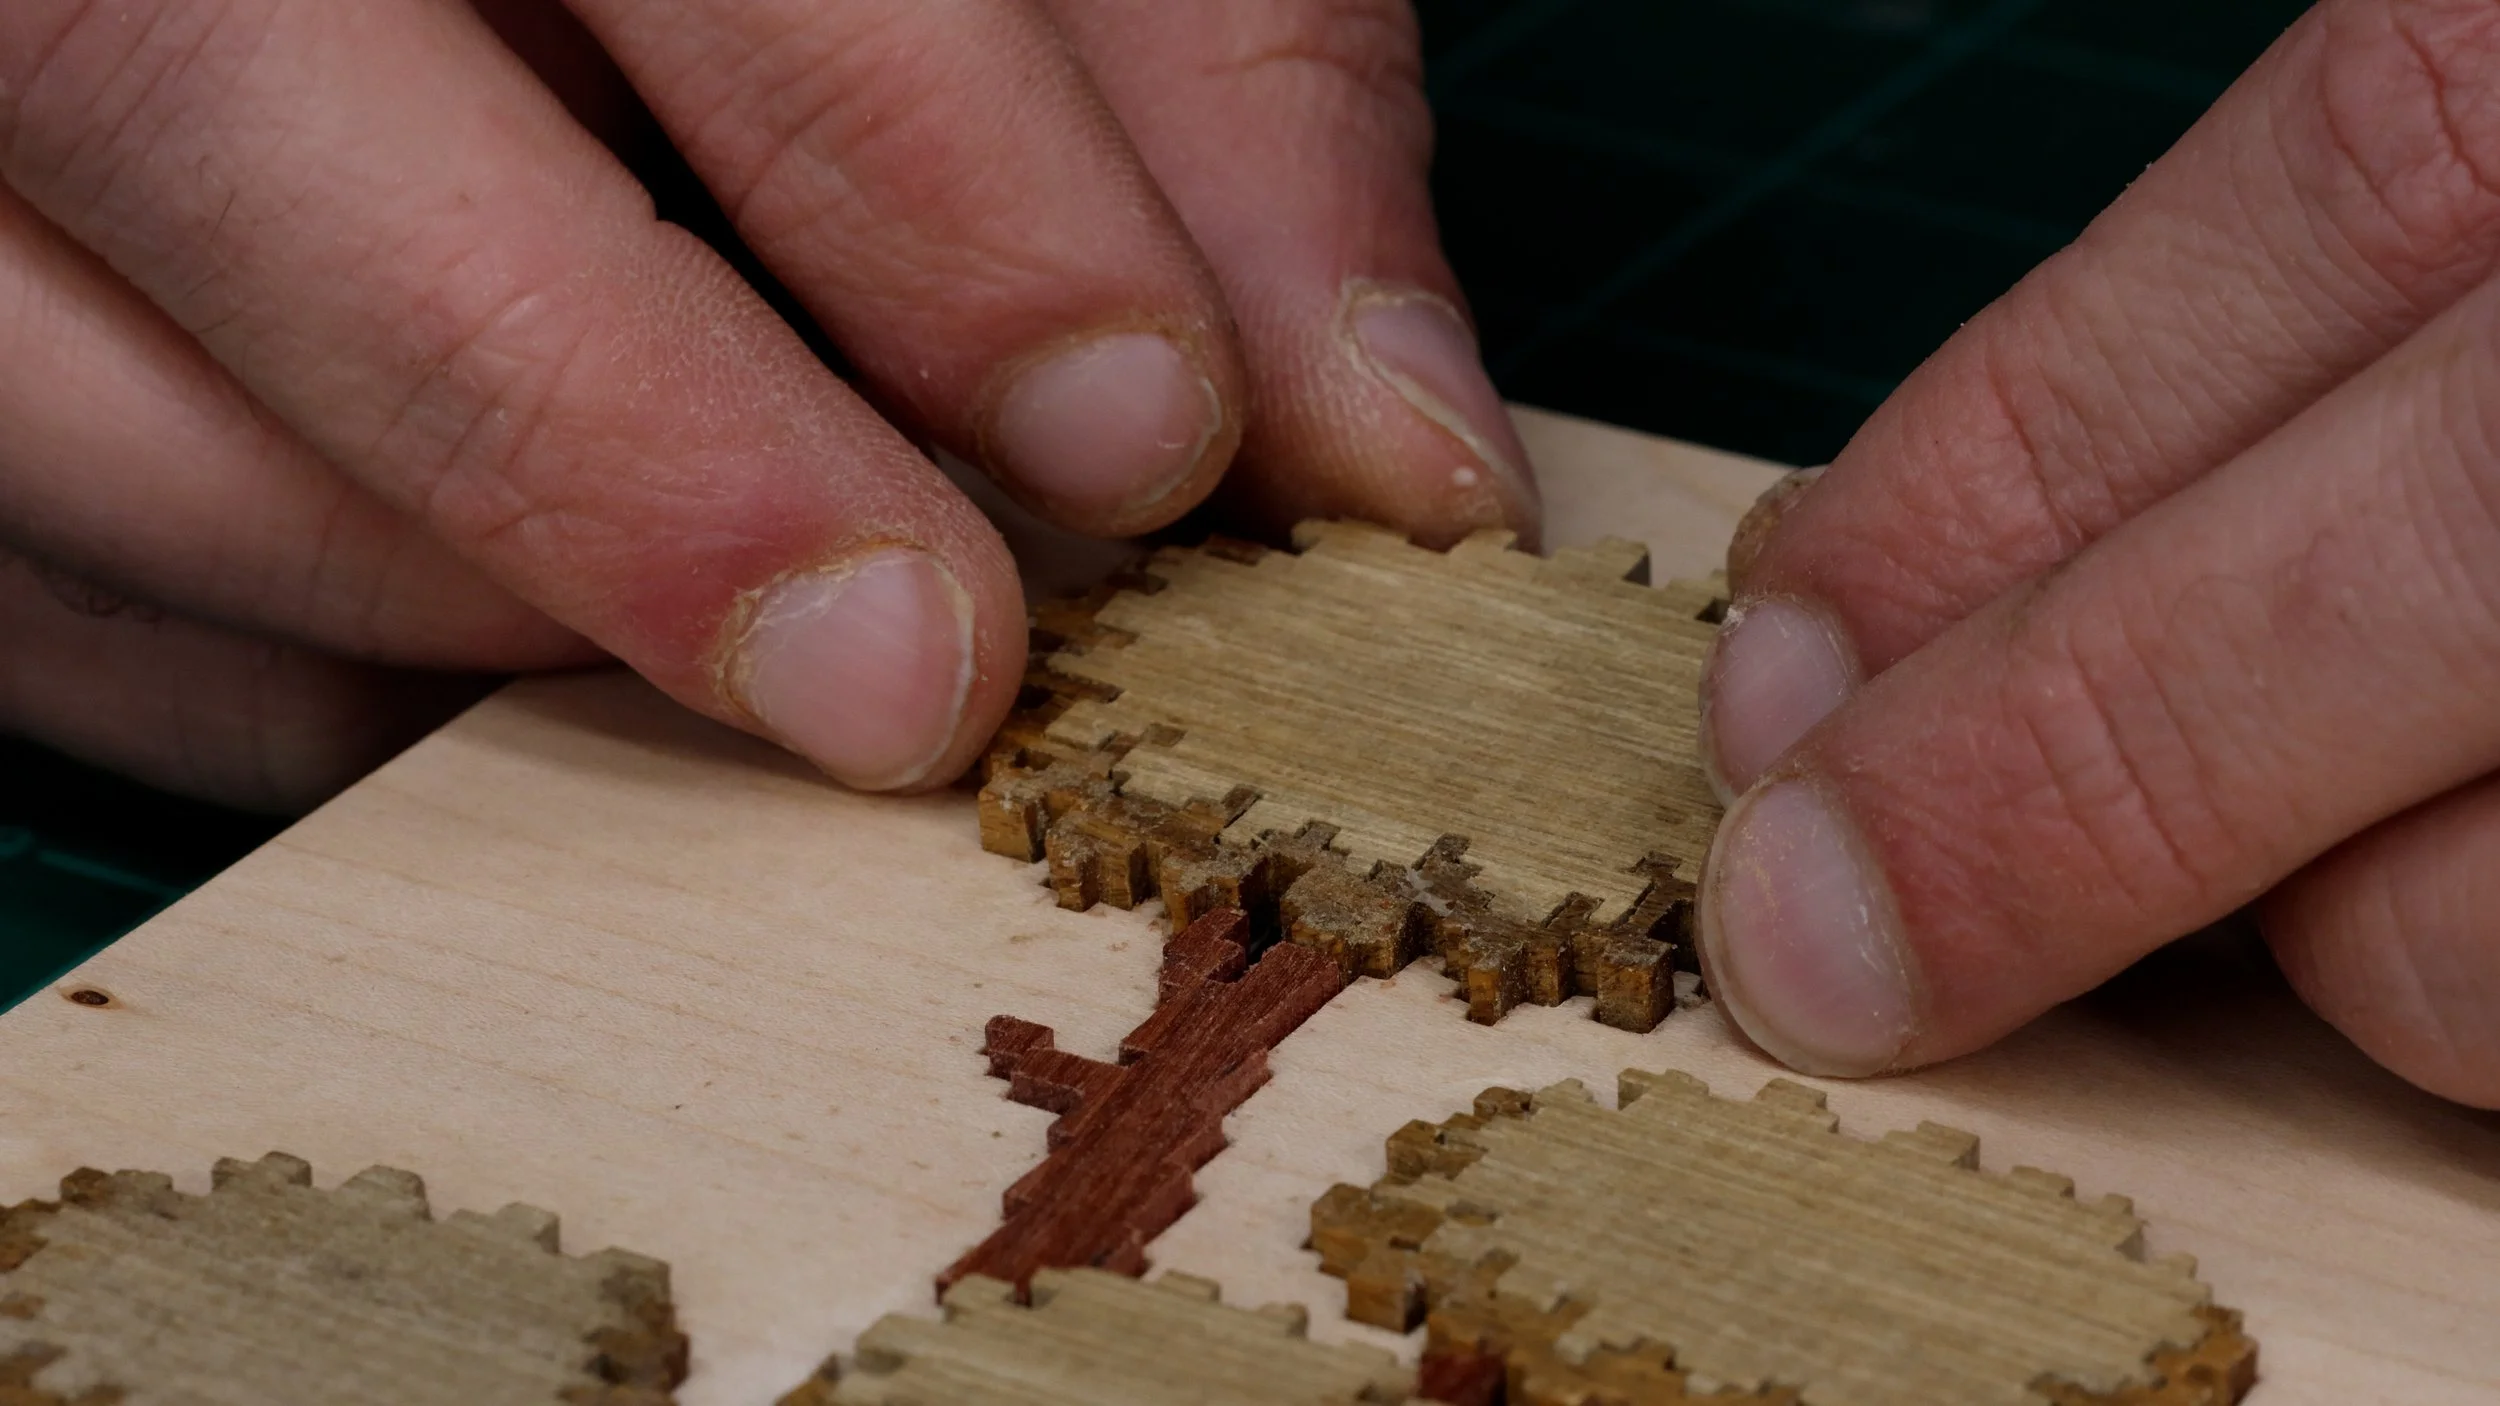
Once everything was assembled, I sanded the artwork, vacuumed the dust, and wiped it down with mineral spirits. At this point, I added in the white aspects of the art. This included the dog’s snout and ducks’ bodies. All of the white areas are made from holly.
The grass took a long time to make! There are little pieces of holly sprinkled throughout to add highlights. It was time consuming but provided a cool look in the end.
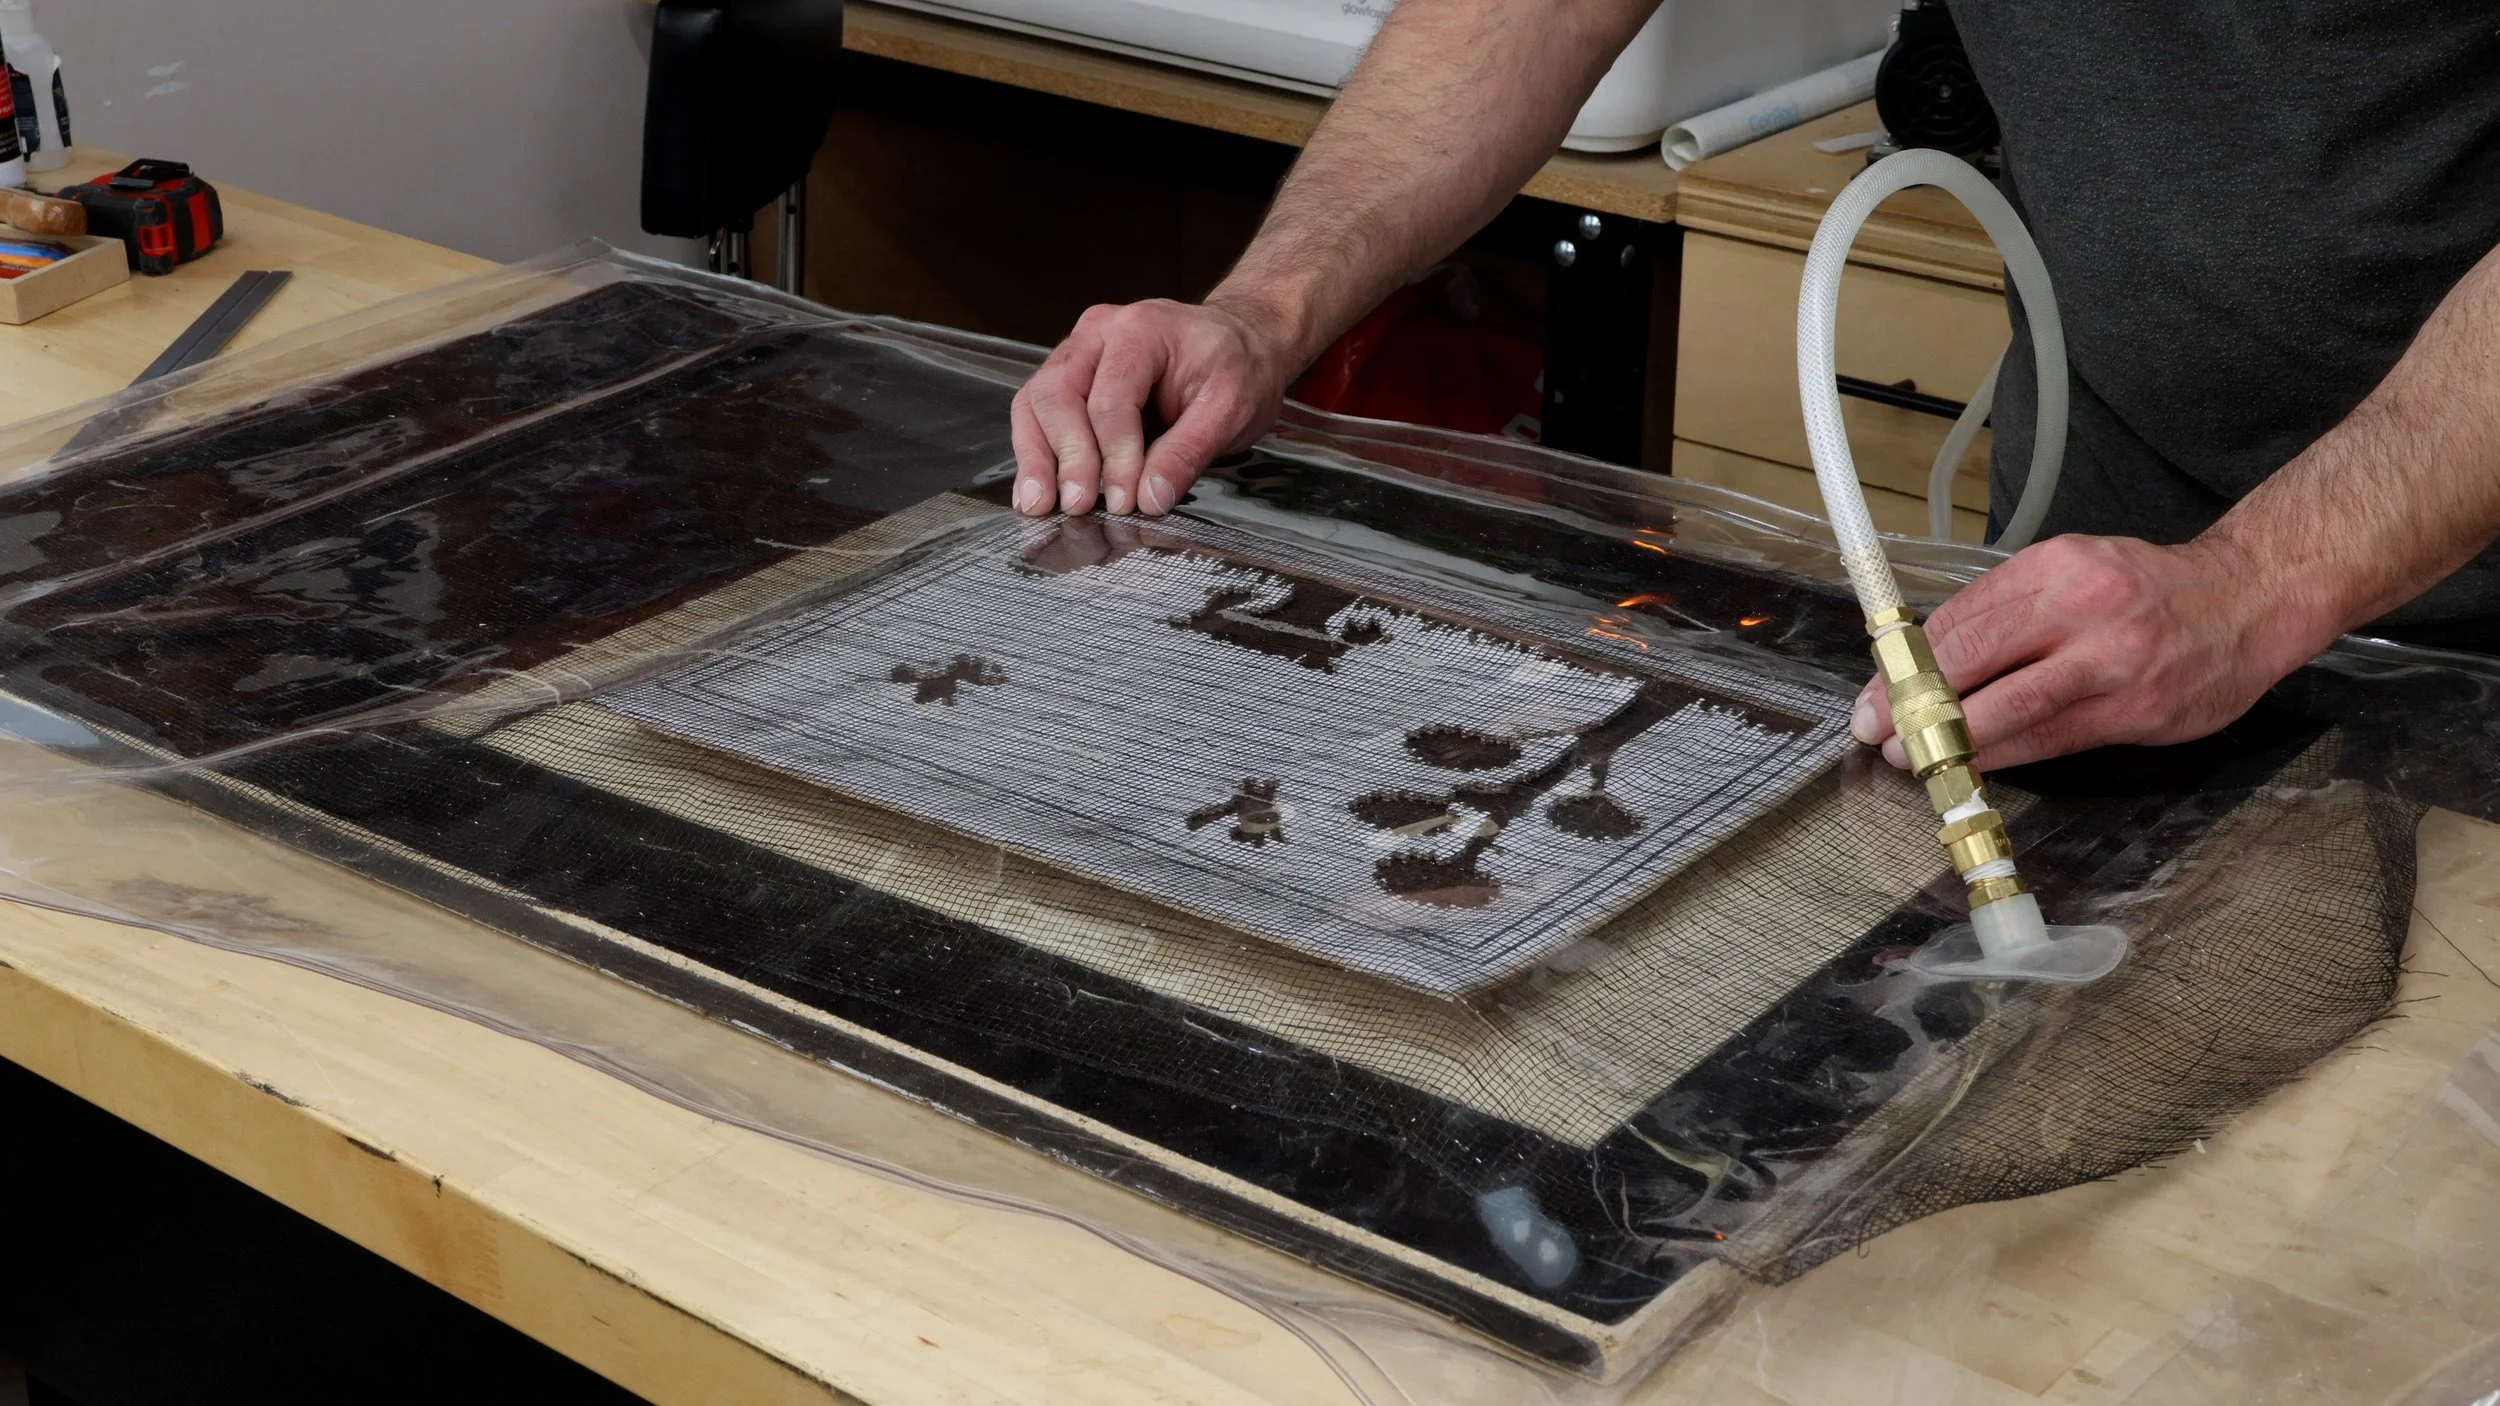
Wood Finish for Scroll Saw Projects
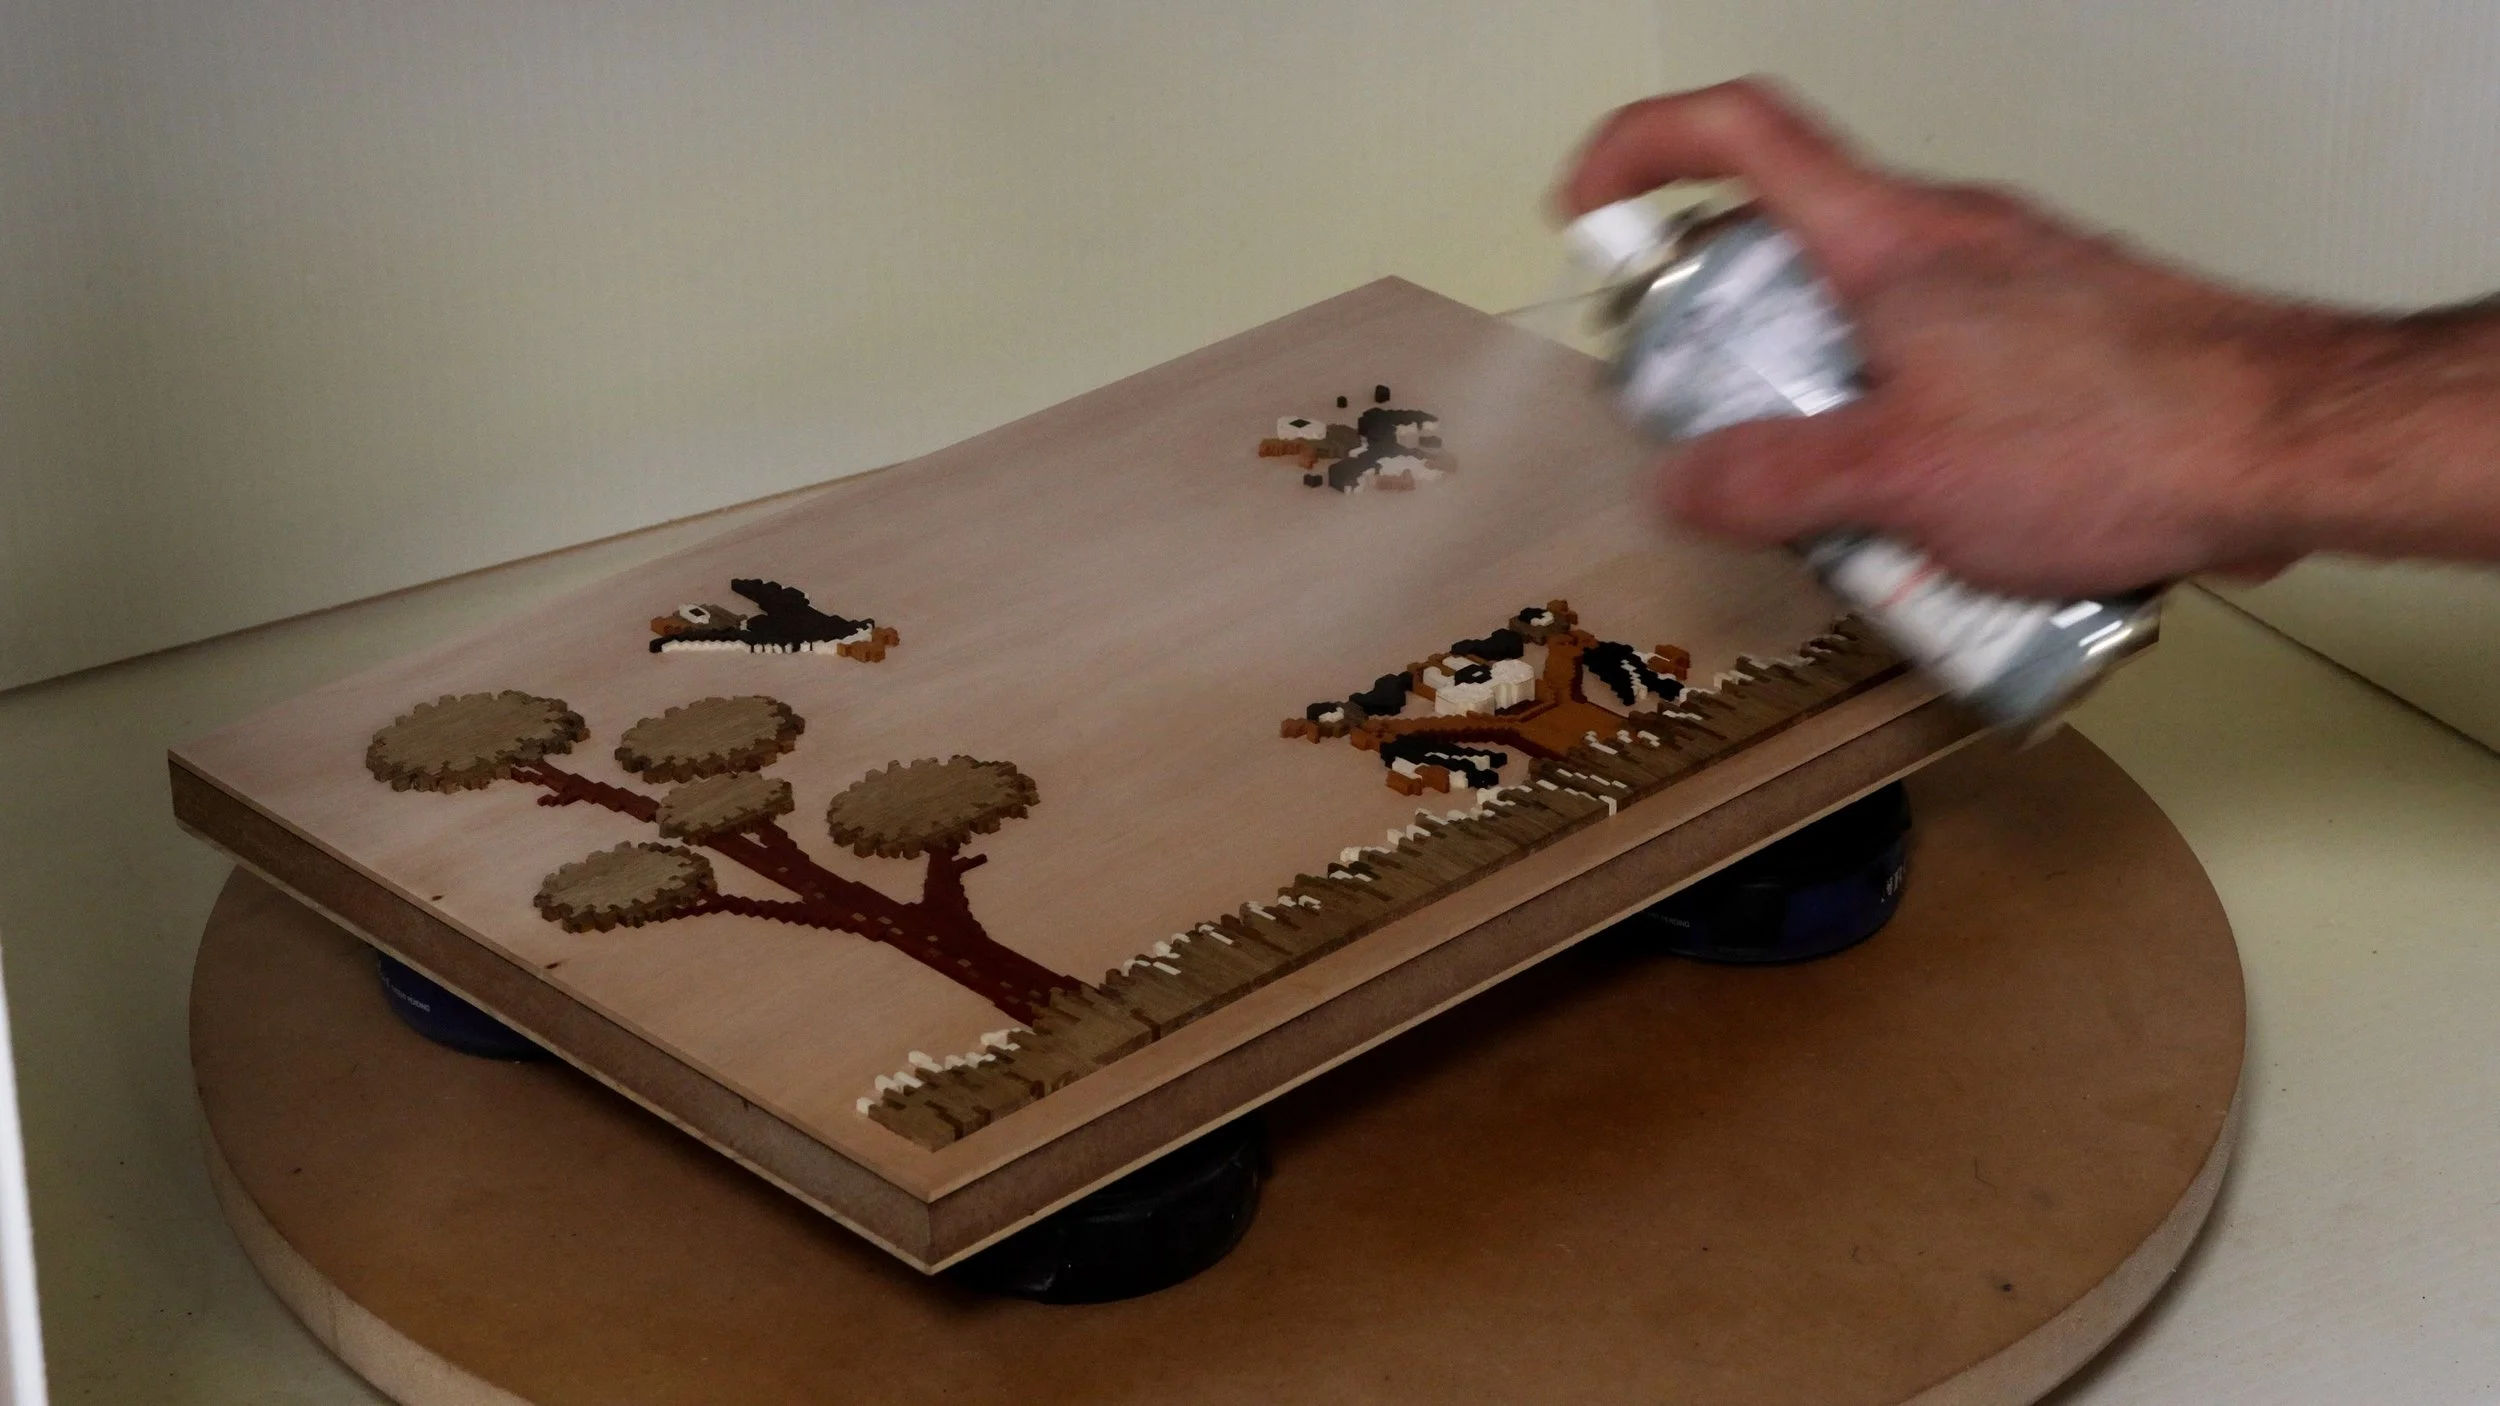
You can use just about any wood finish for scroll saw projects. I’ve used teak oil, tung oil, polyurethane, and other options. My go-to finish is spray lacquer. For this project, I sprayed several coats of matte lacquer. It provides protection while not adding a sheen.
I think this turned out to be a really cool looking scroll saw project. I was able to use some of my favorite wood species, plus try new ones. I recommend thinking about a nostalgic moment of your childhood as inspiration for your next artwork.