Workshop Articulating Arm
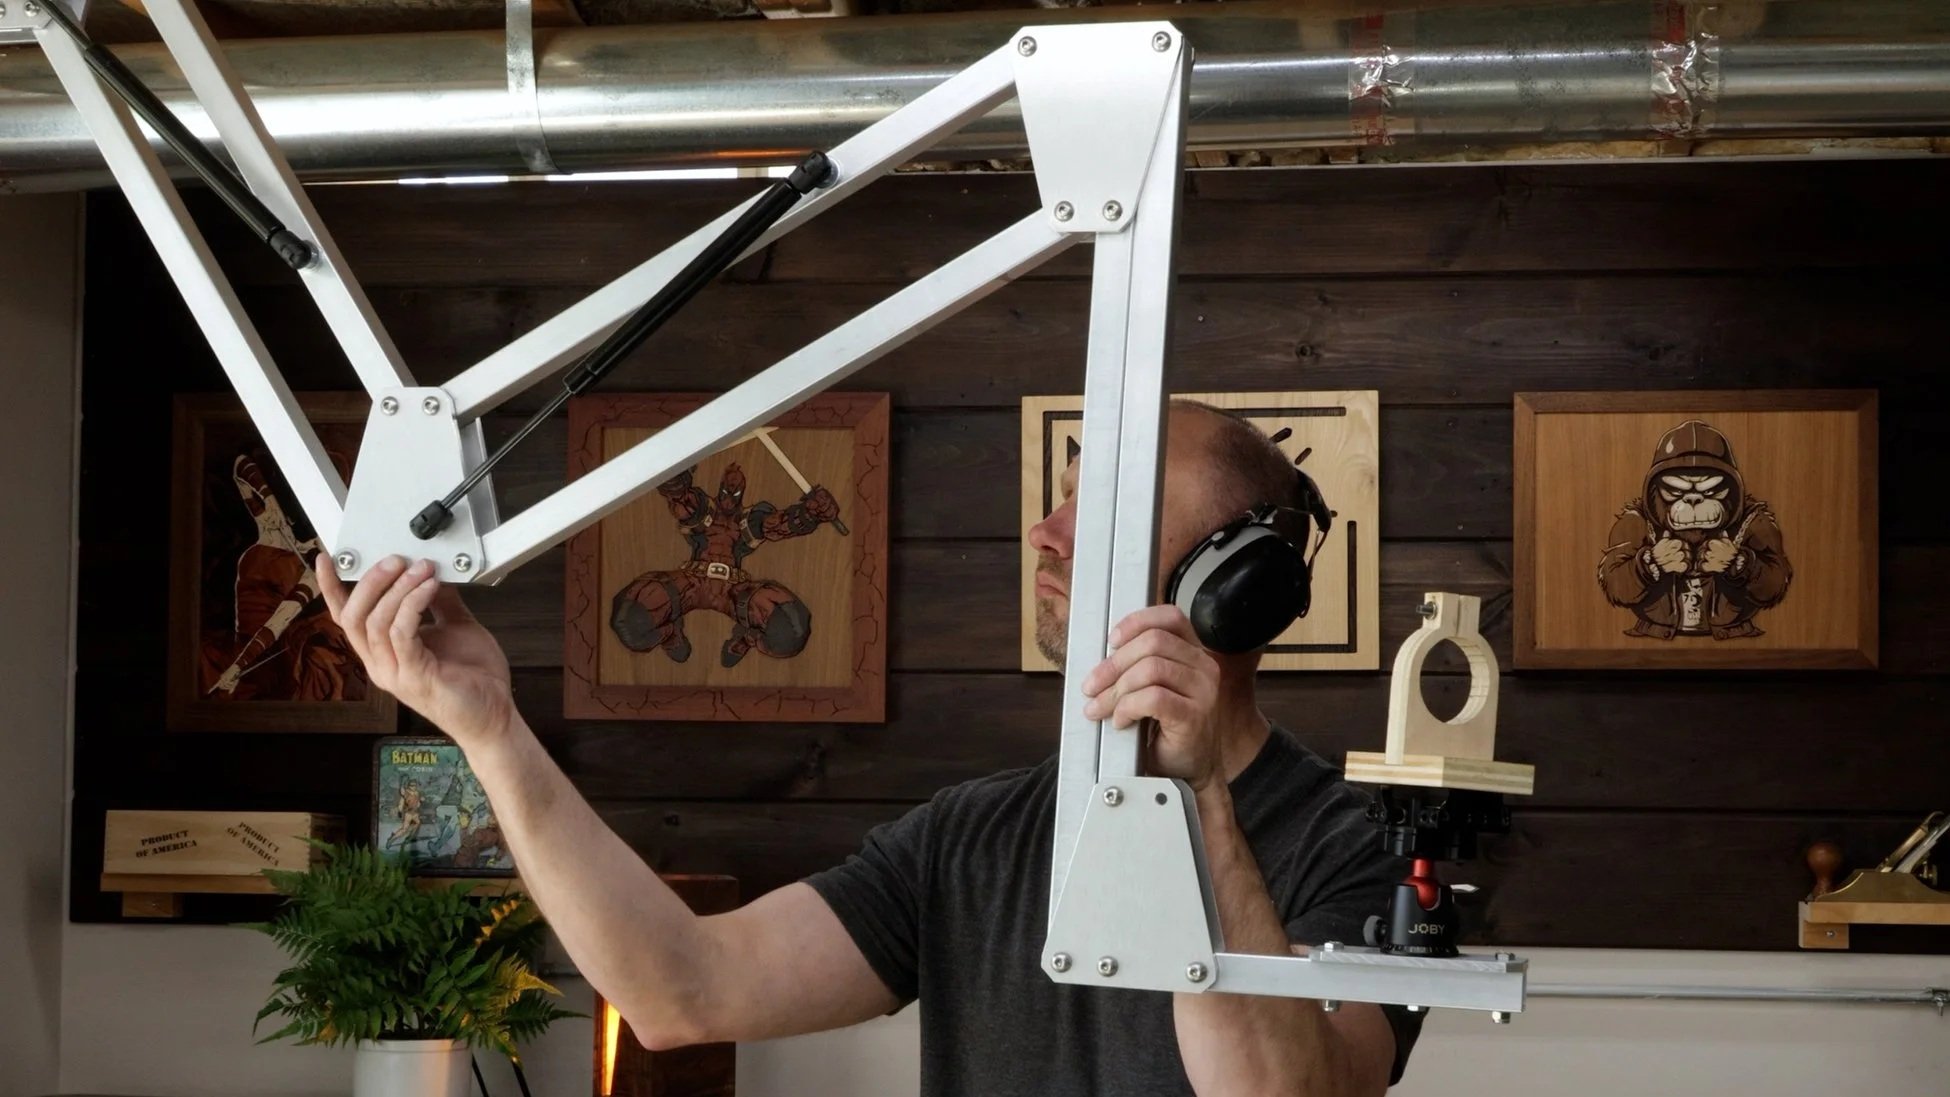
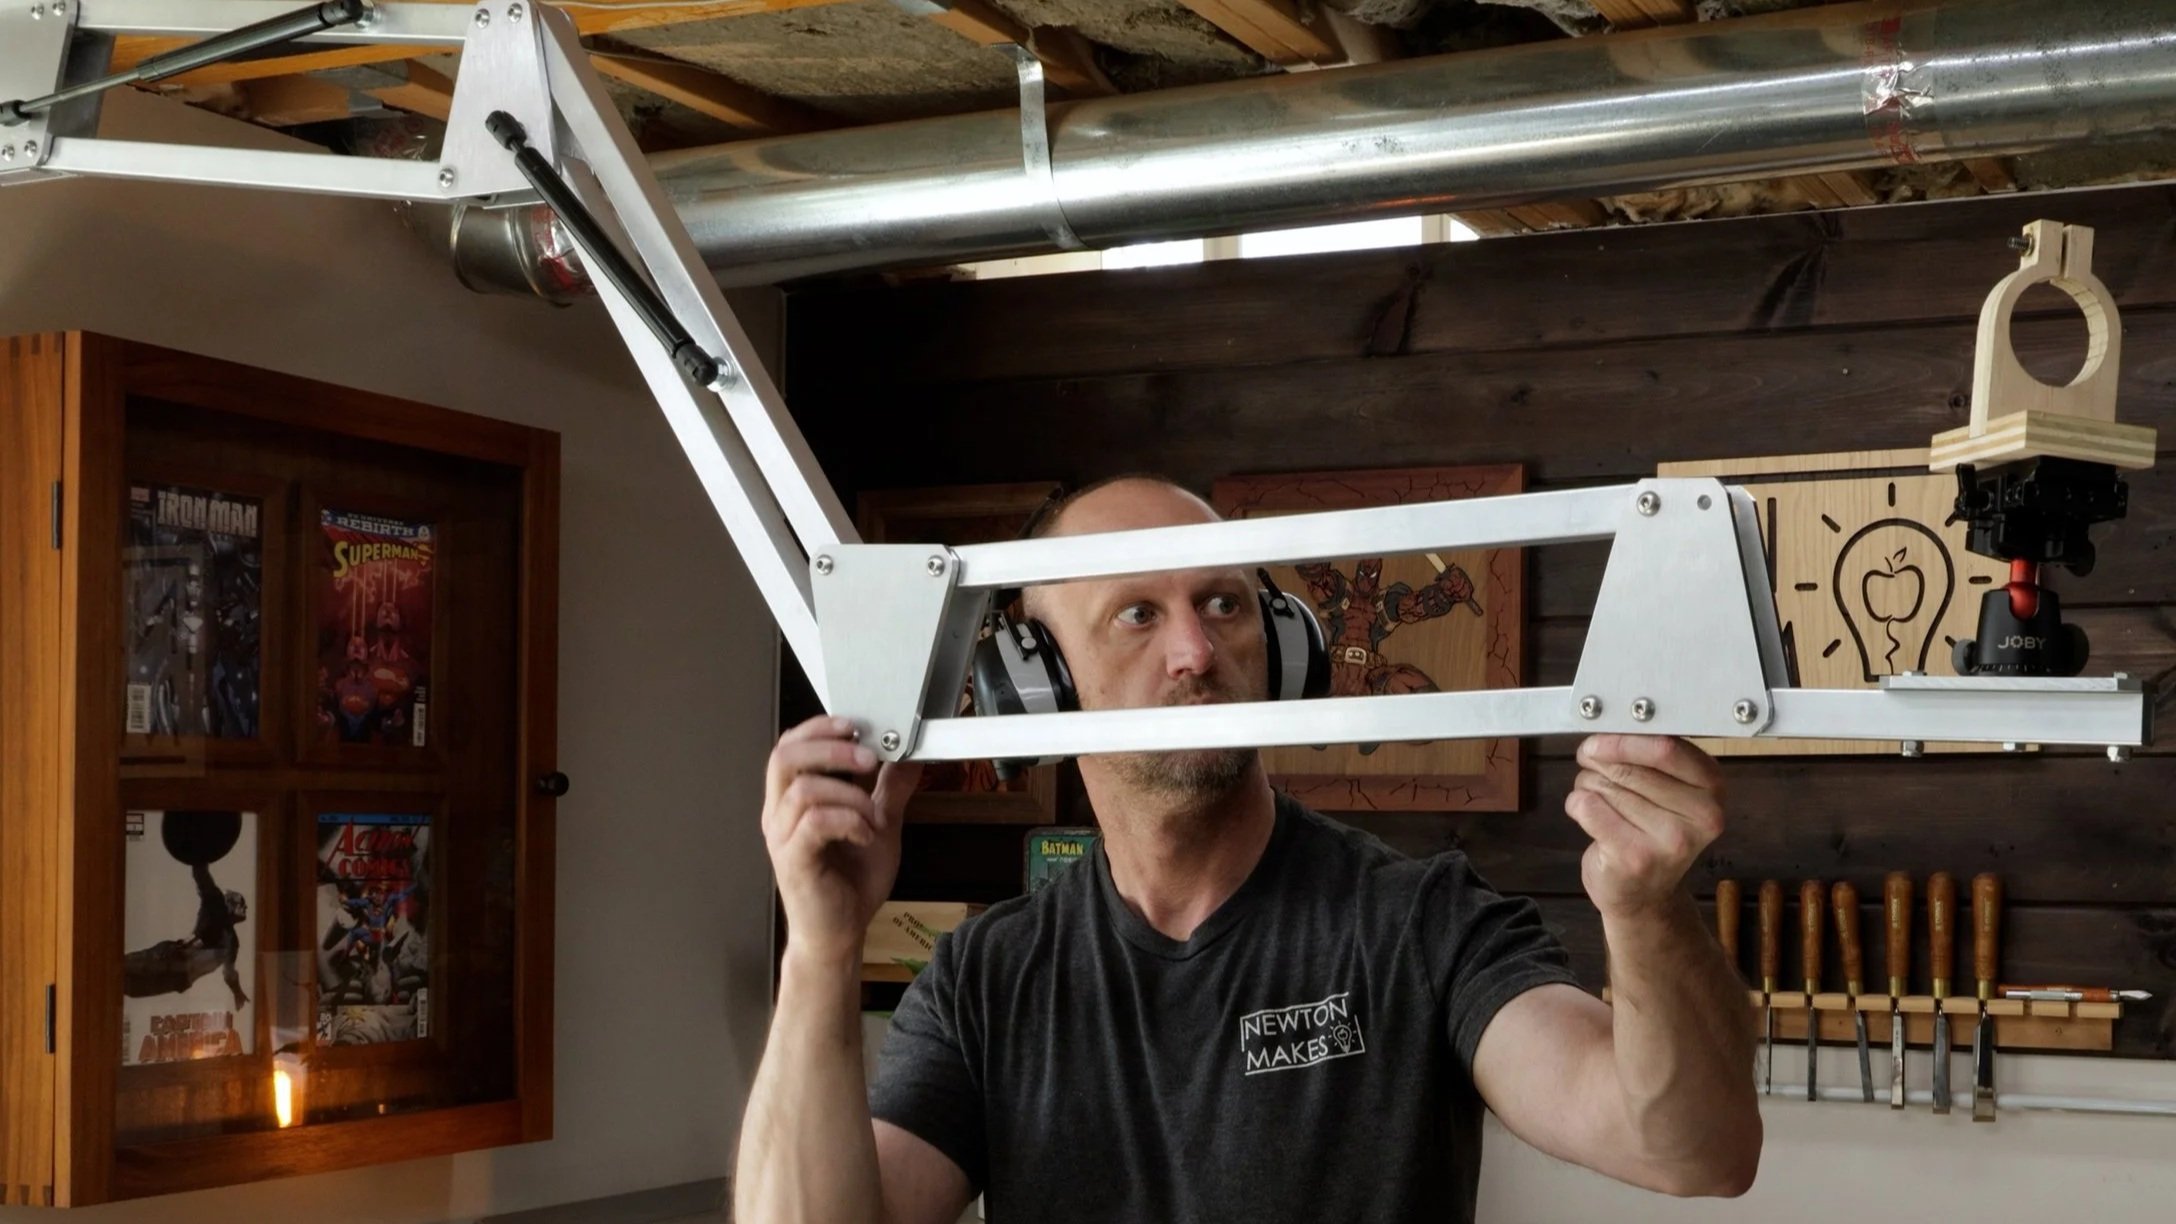
I’m often in need of an extra arm, not just to hold a camera while filming my videos, but for other tools like a shop vac. To solve the problem, I made a crazy long articulating arm that slides across the ceiling and spins 360 degrees.
*I may receive compensation for affiliate links.
The Materials
I’ve used a few wood versions of adjustable arms and they do a fine job. In this case, I wanted something really strong, yet lightweight, so I went with aluminum. The articulating arm uses aluminum square tube and 1/4” thick aluminum sheets. We also have bolts, washers, nuts, and other assorted hardware.
Arms & Brackets
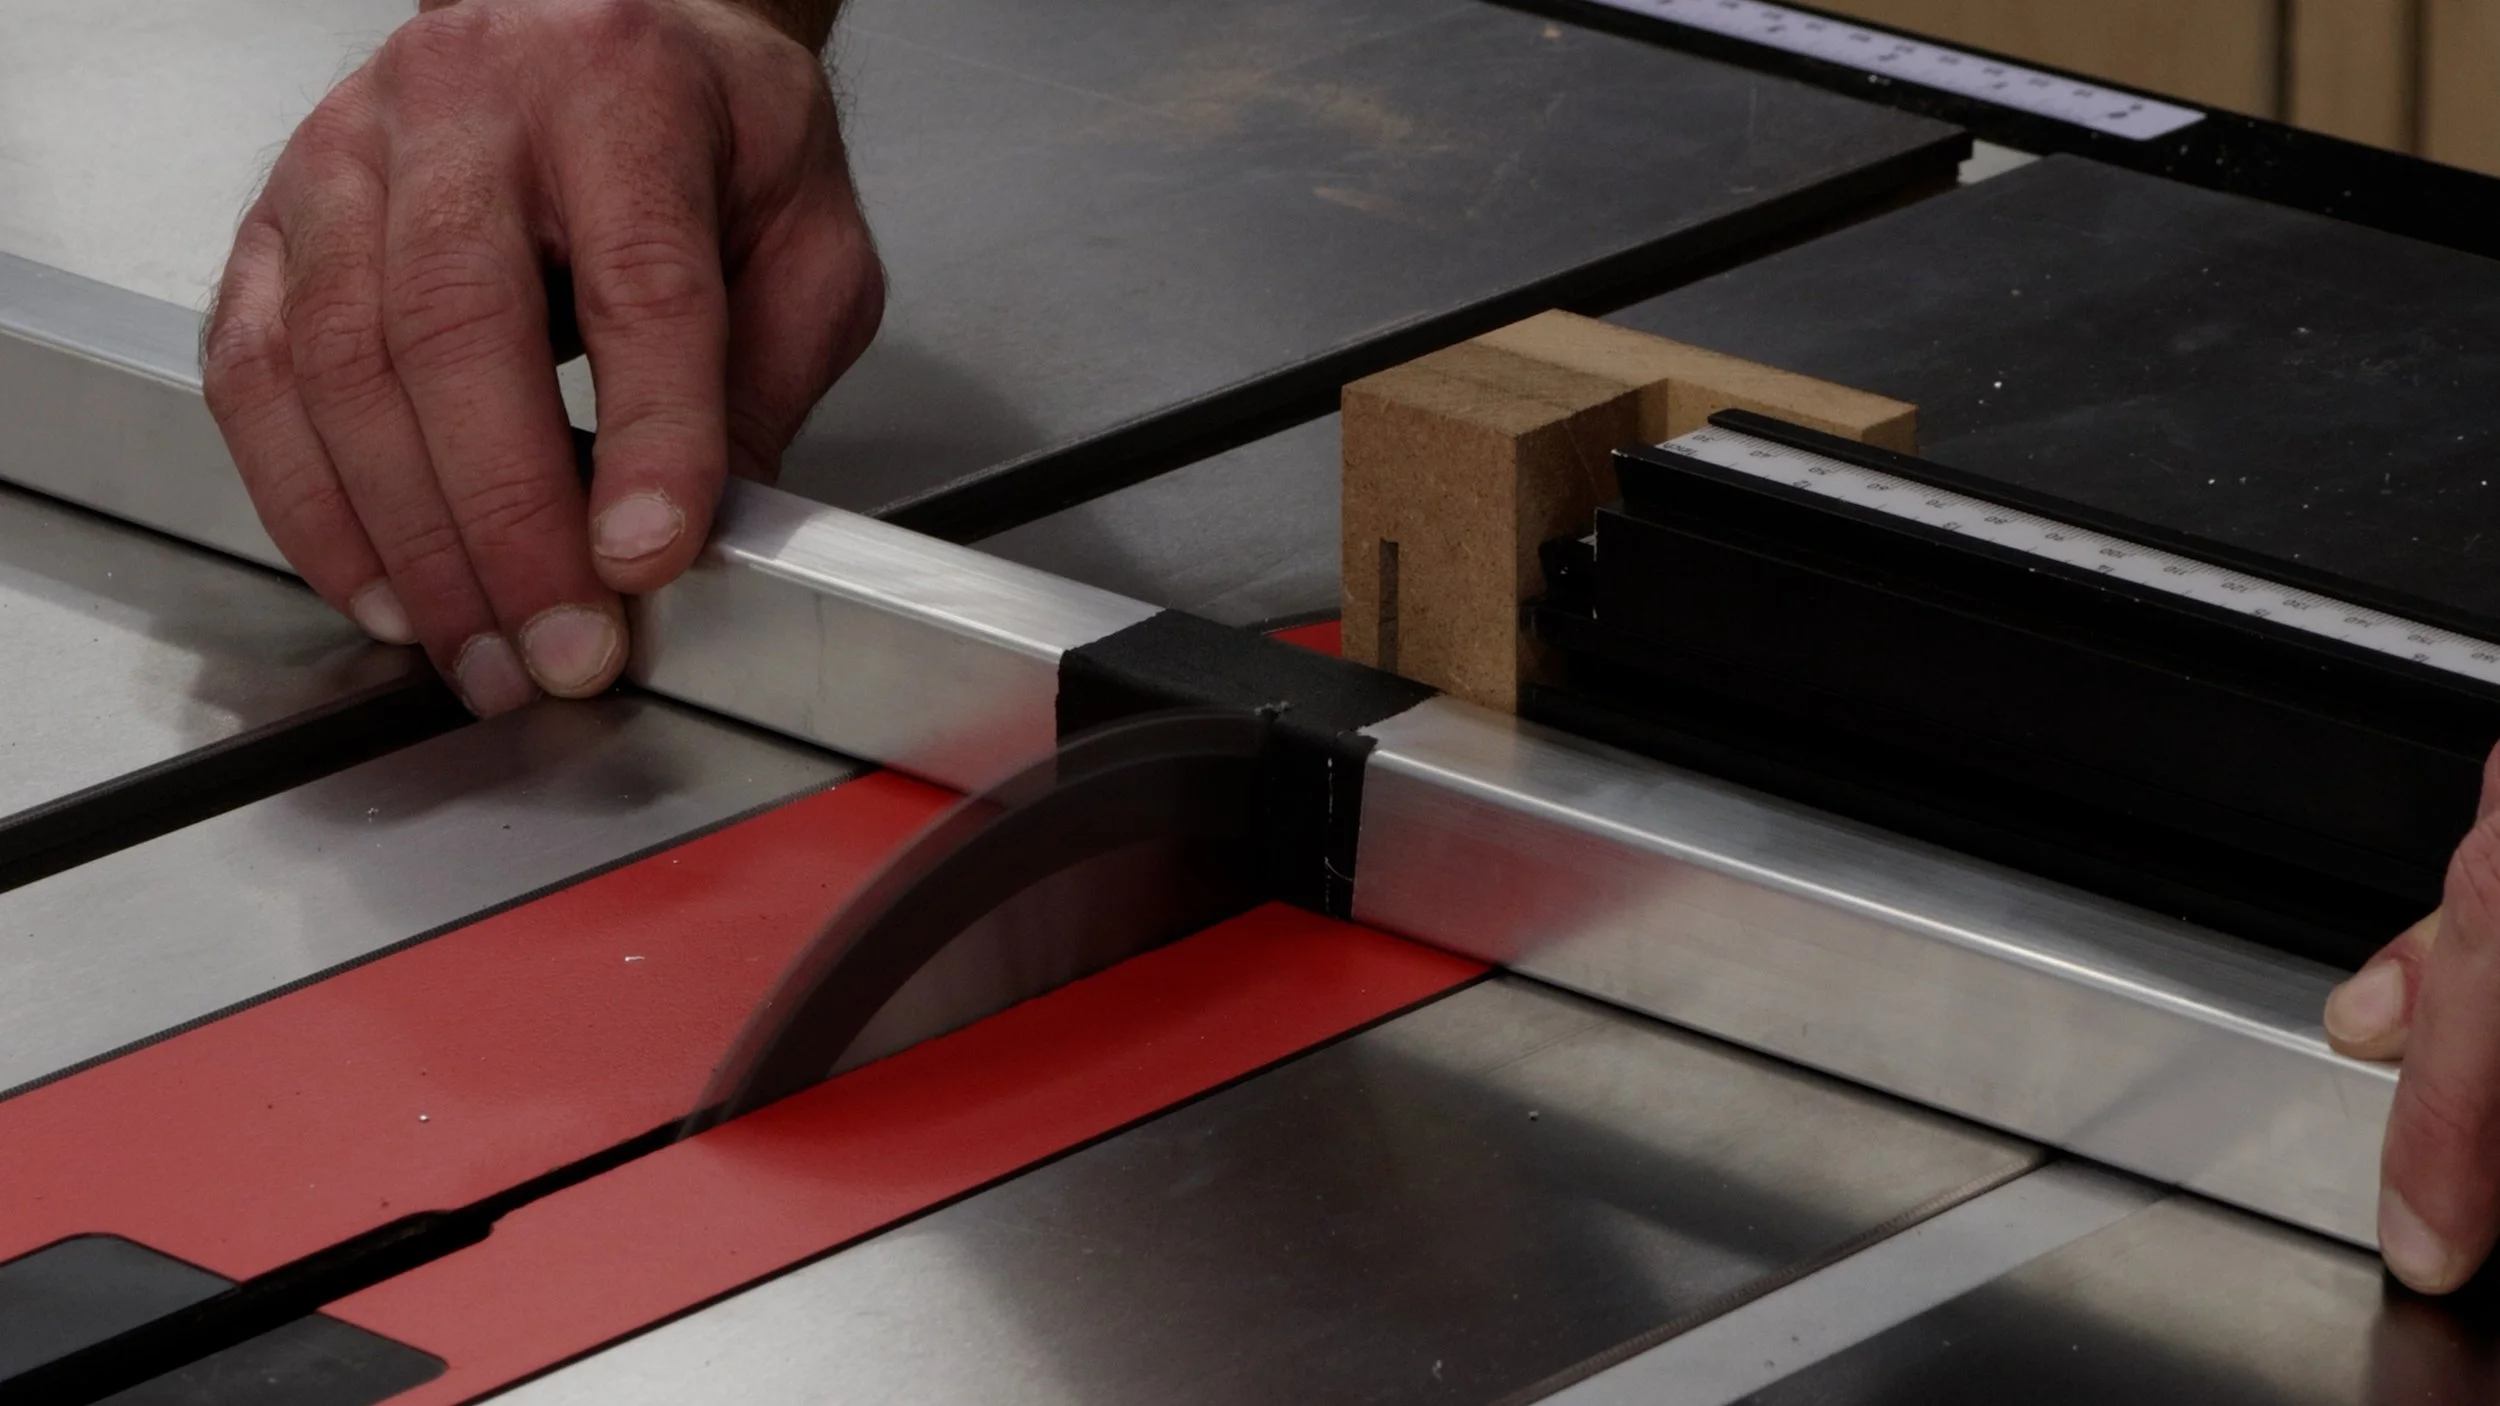
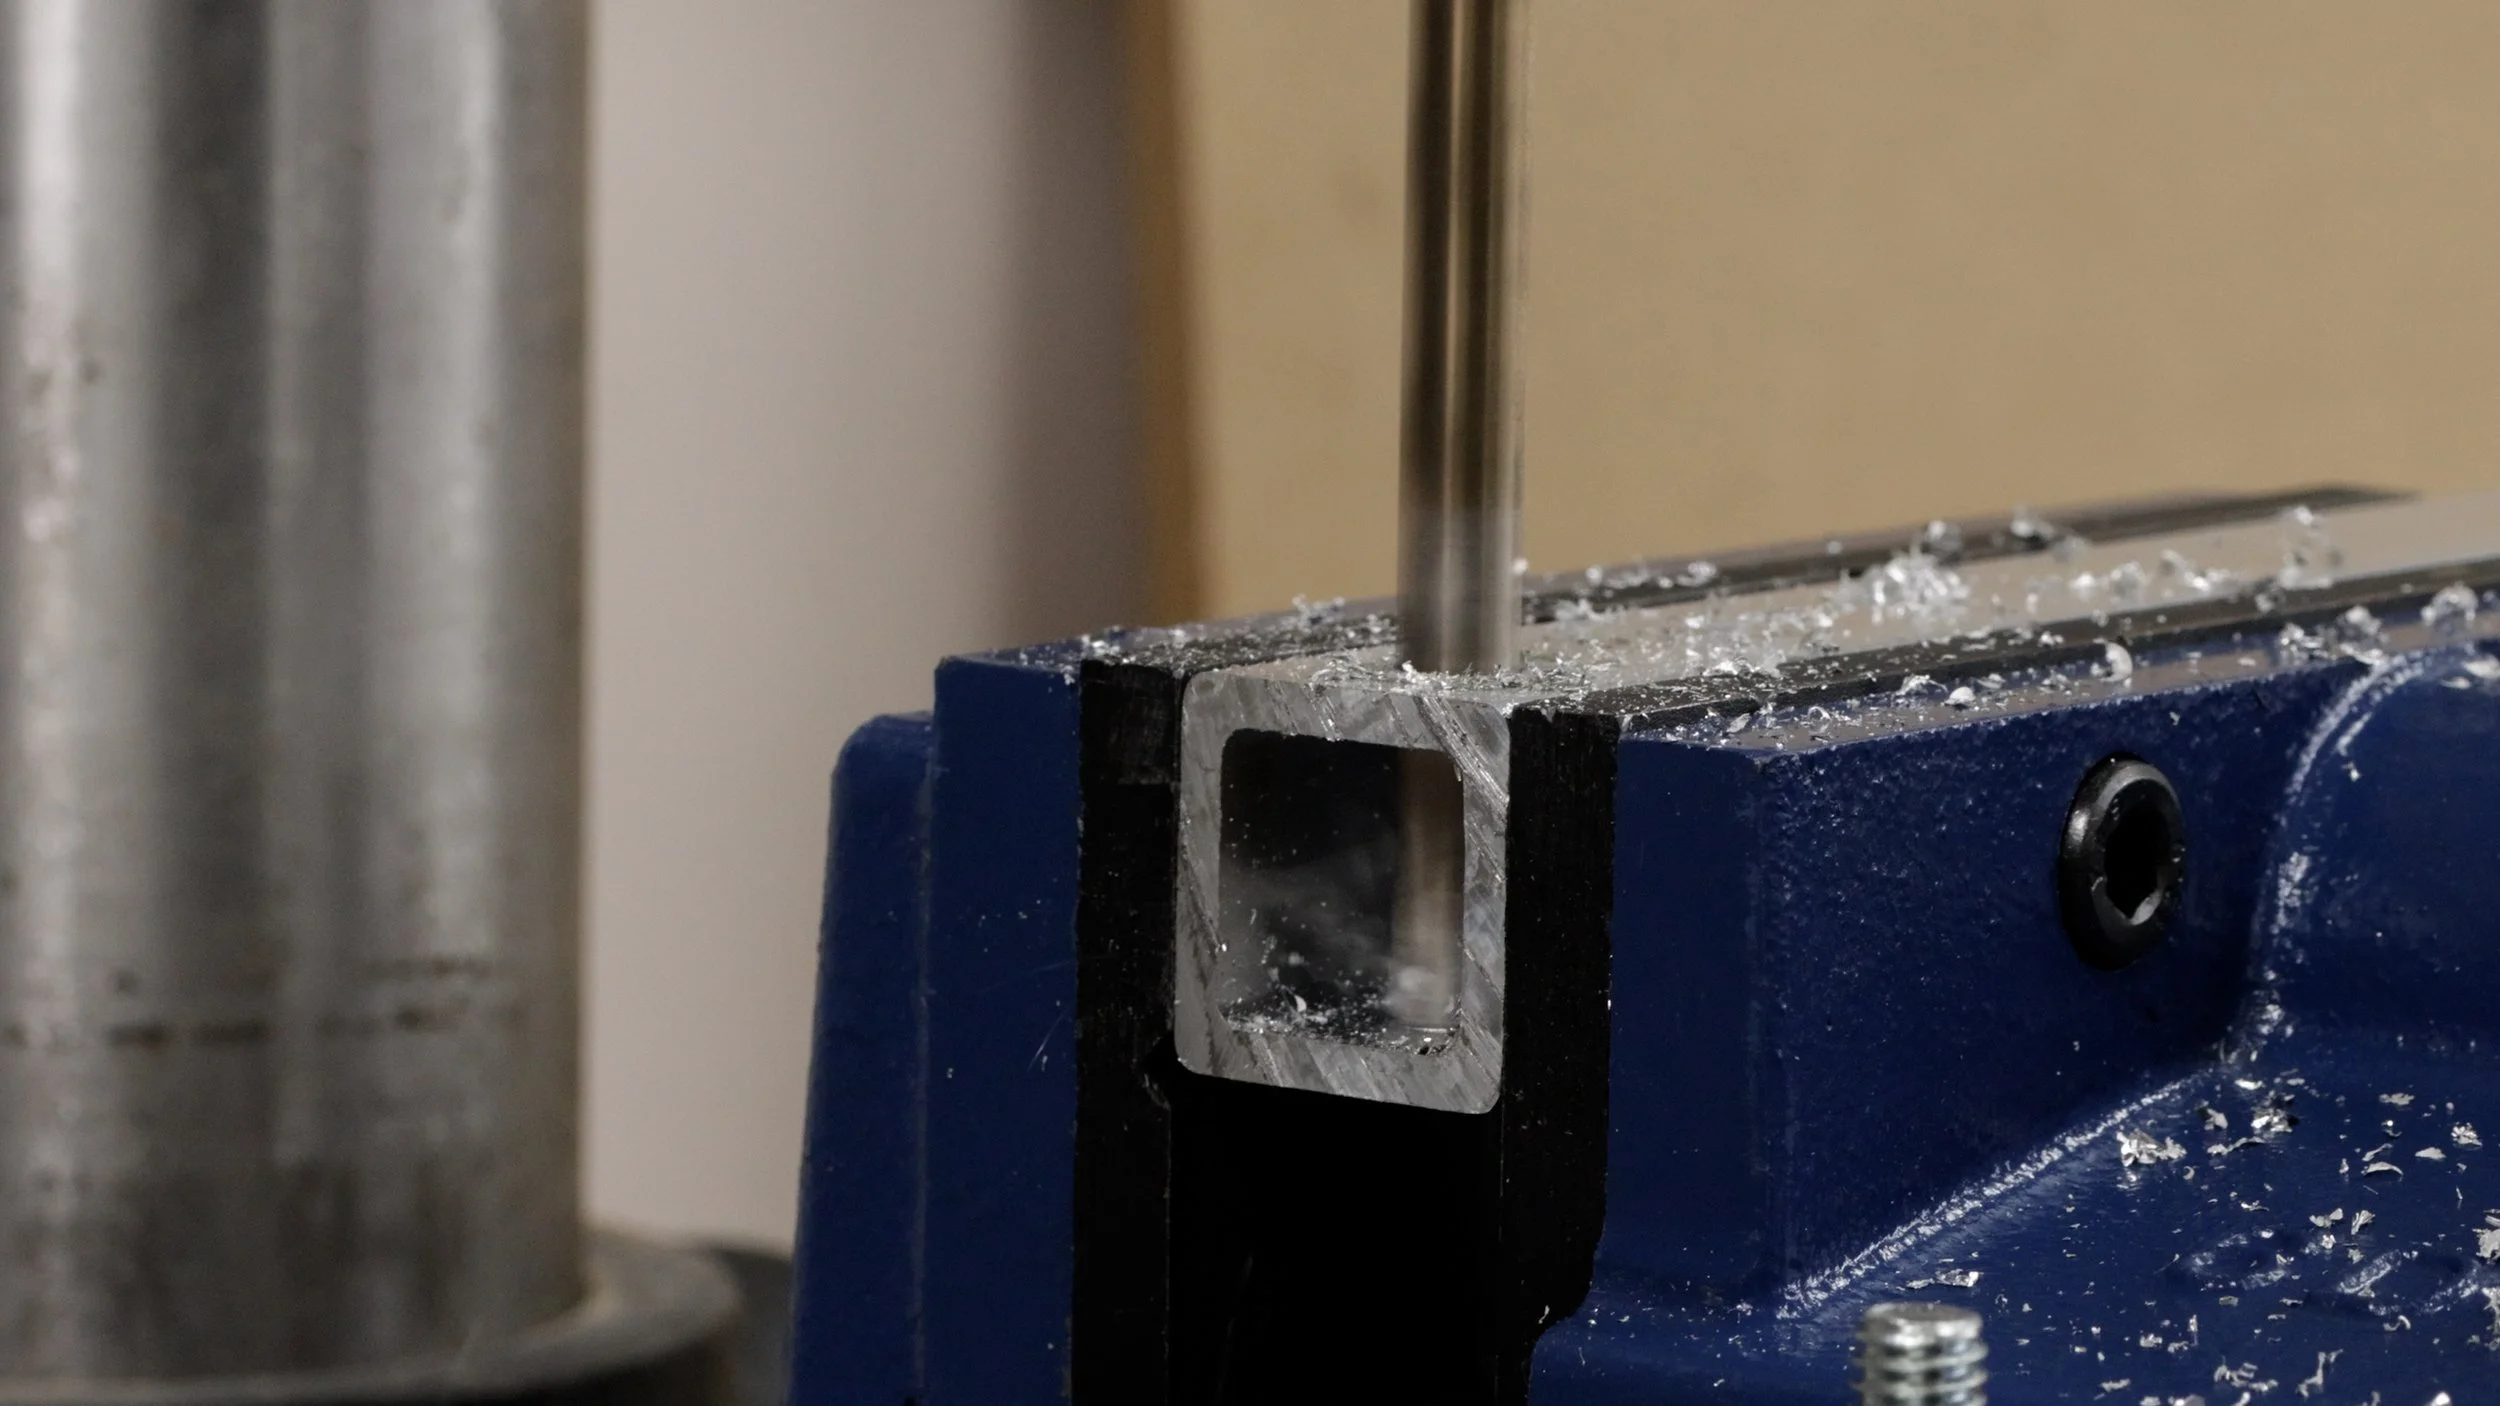
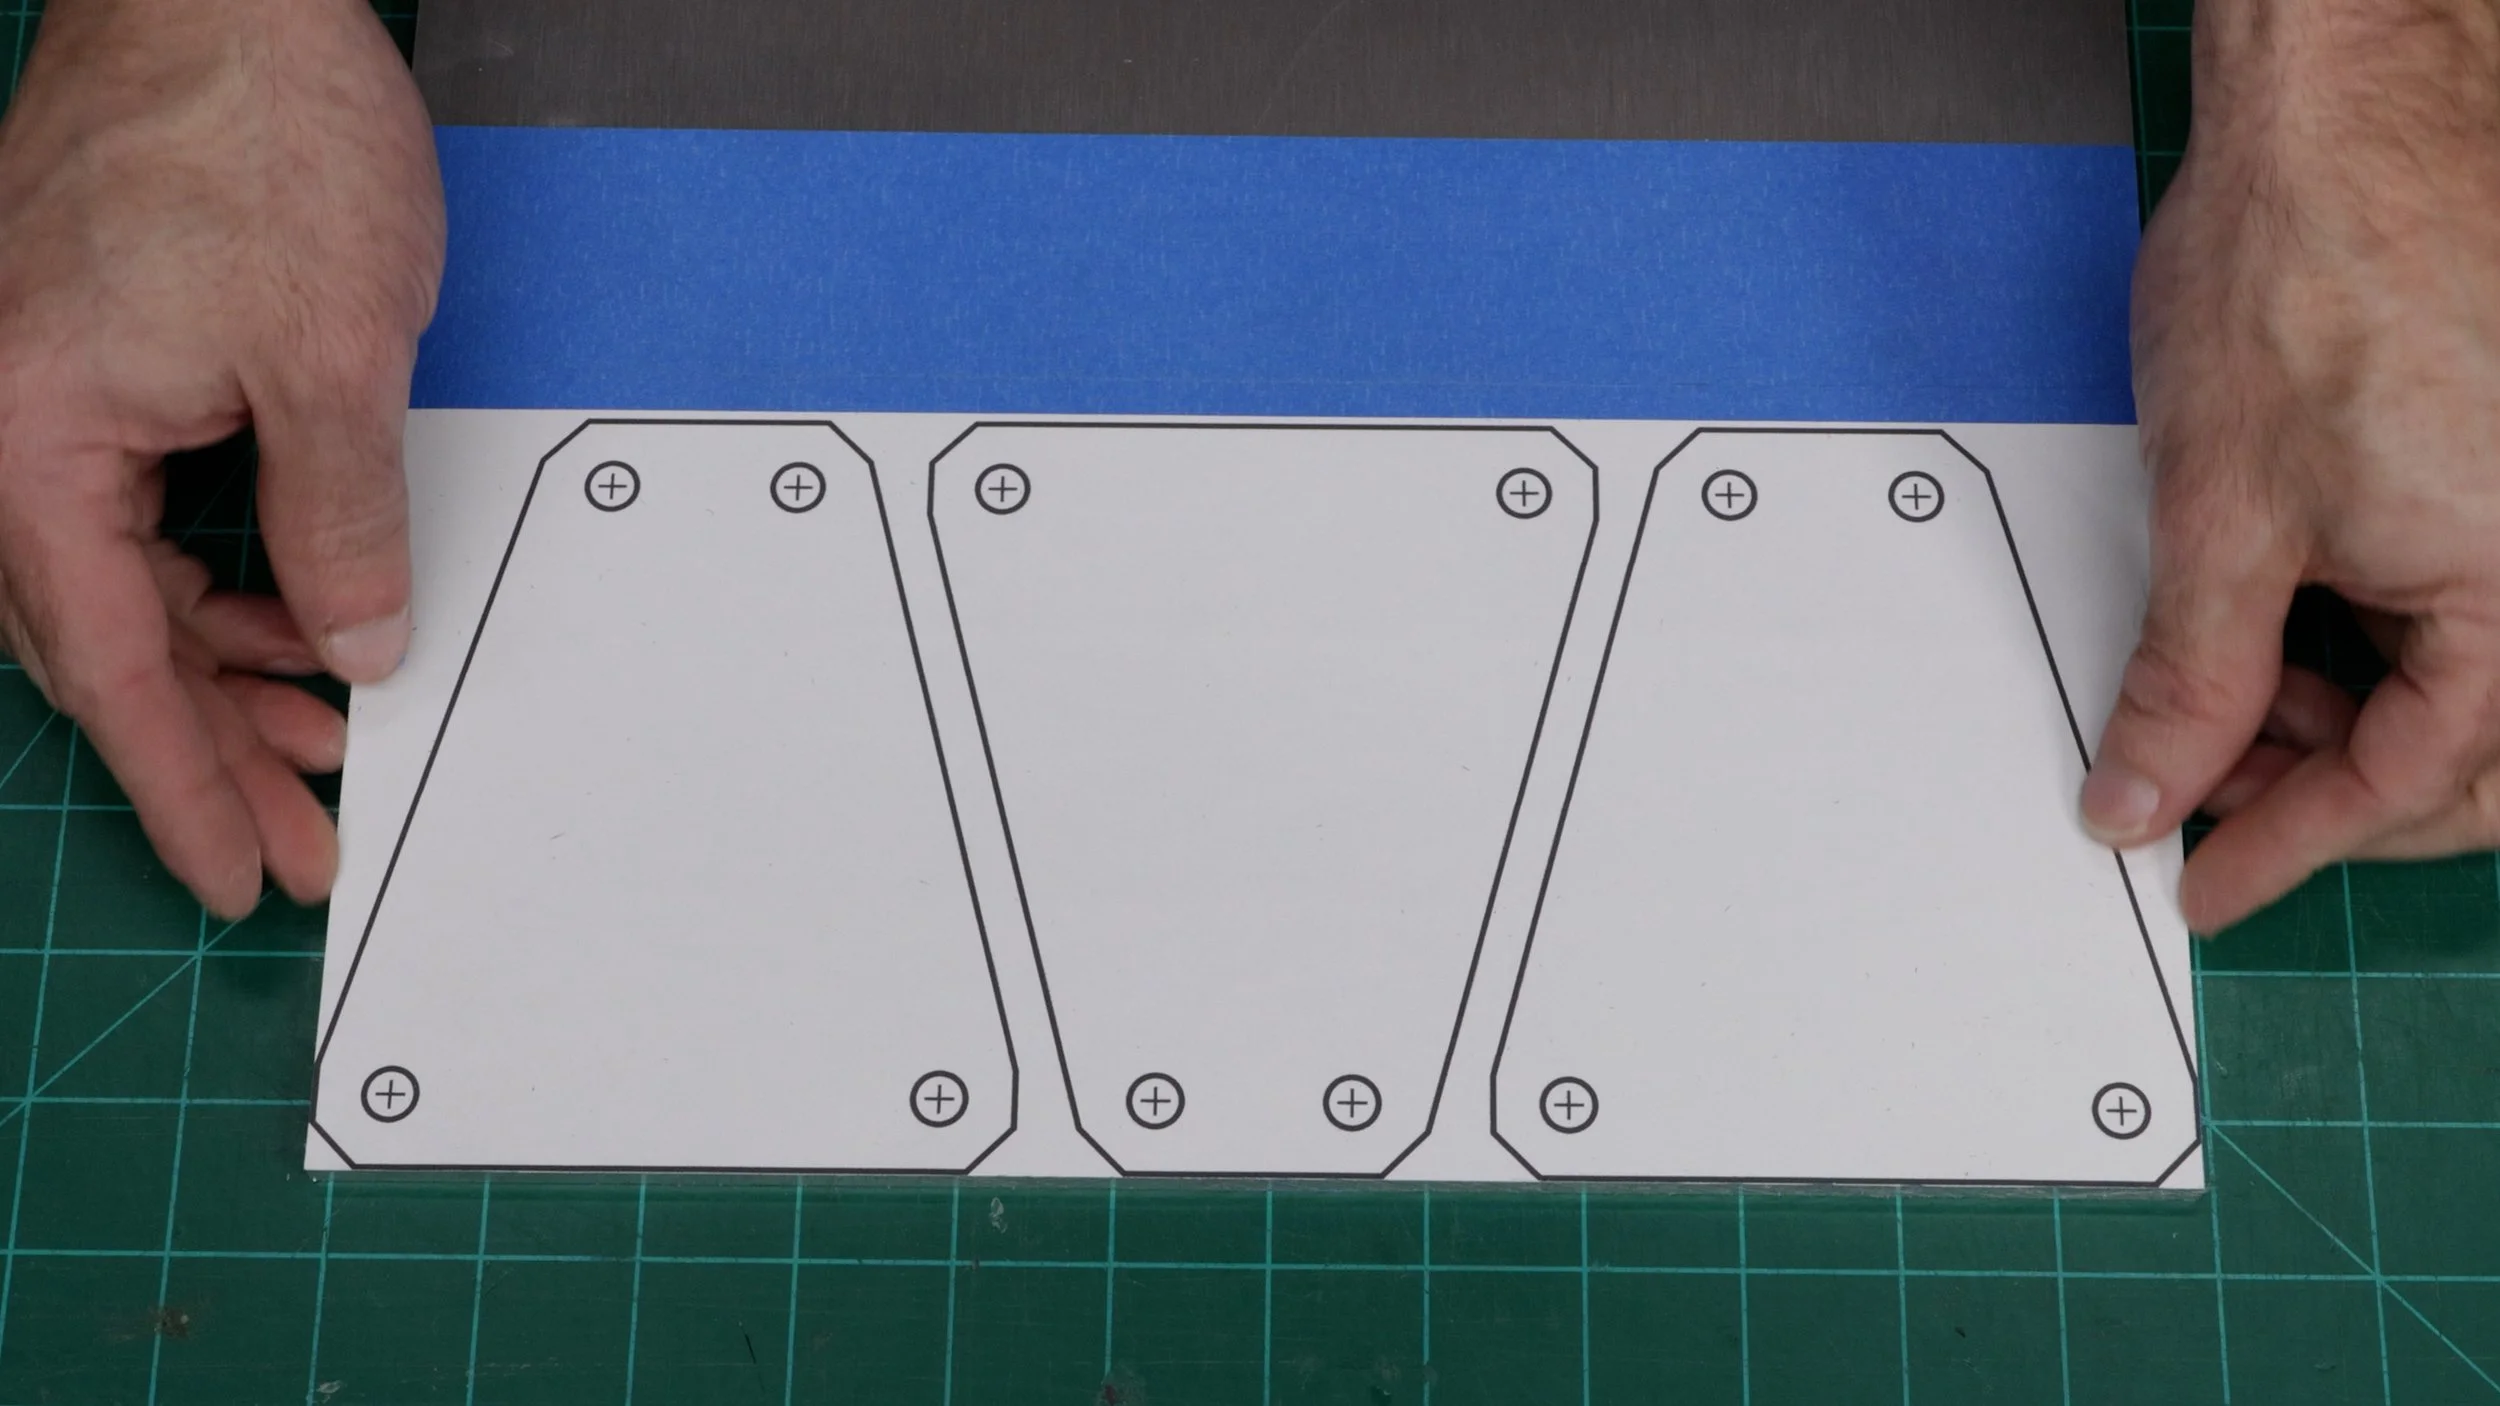
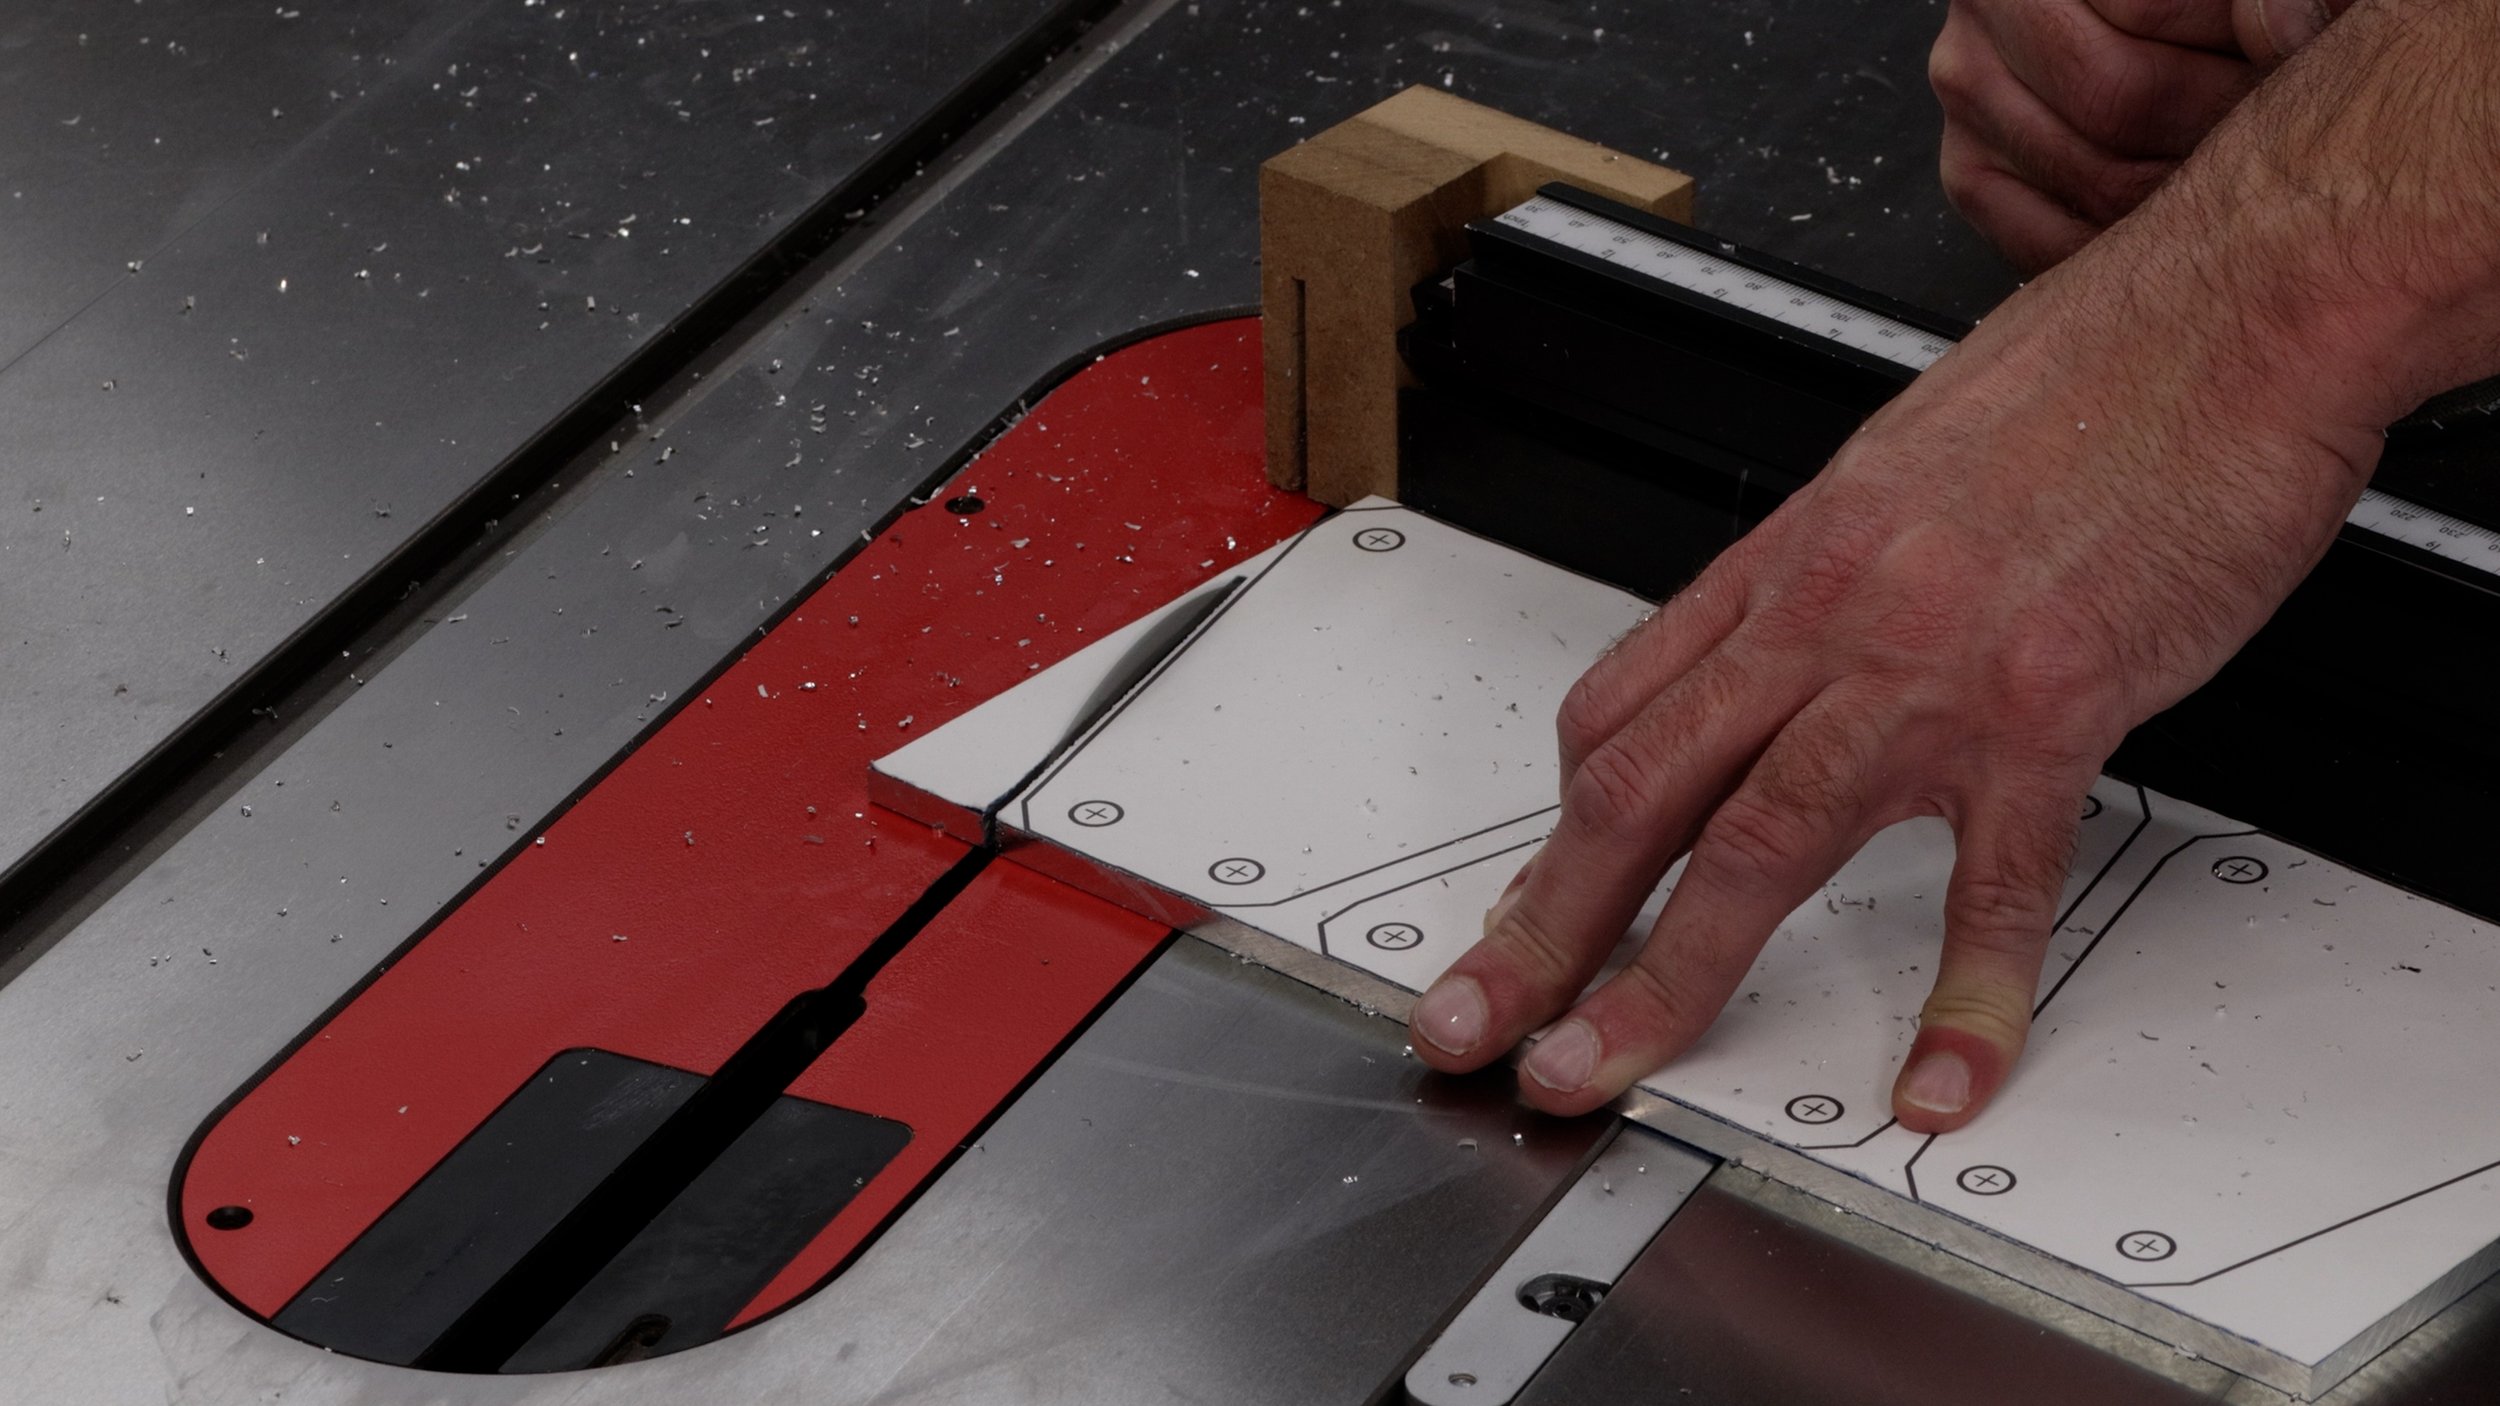
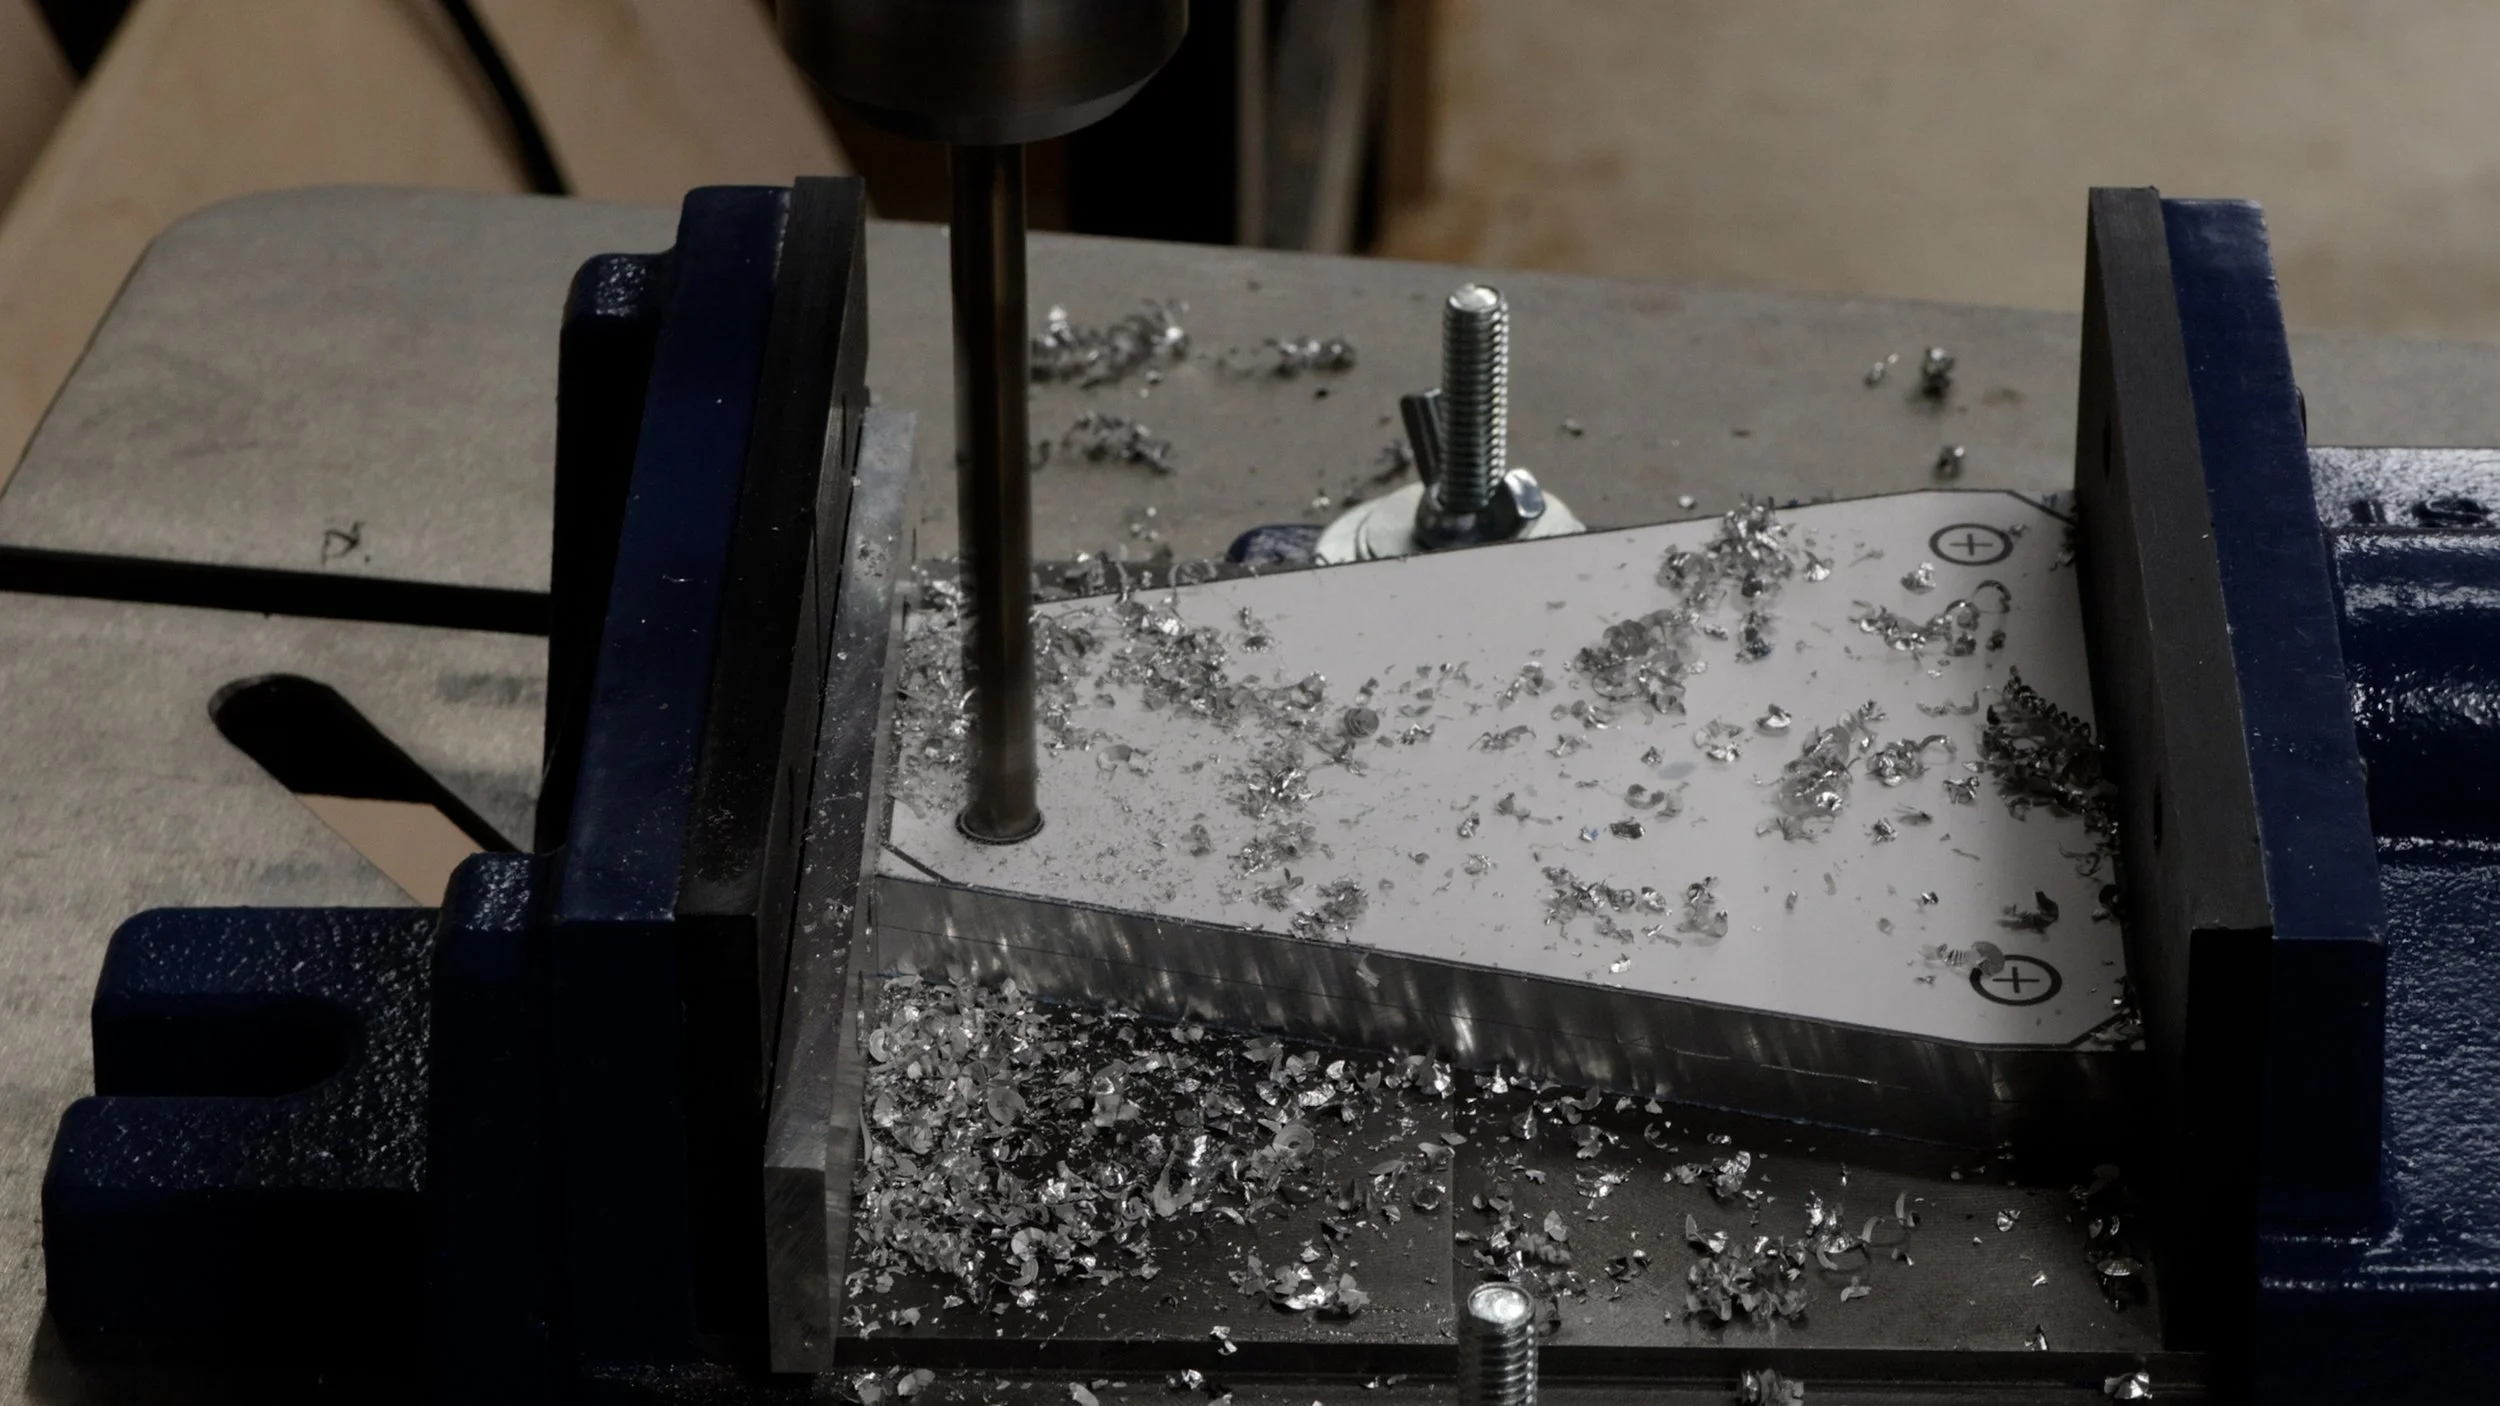
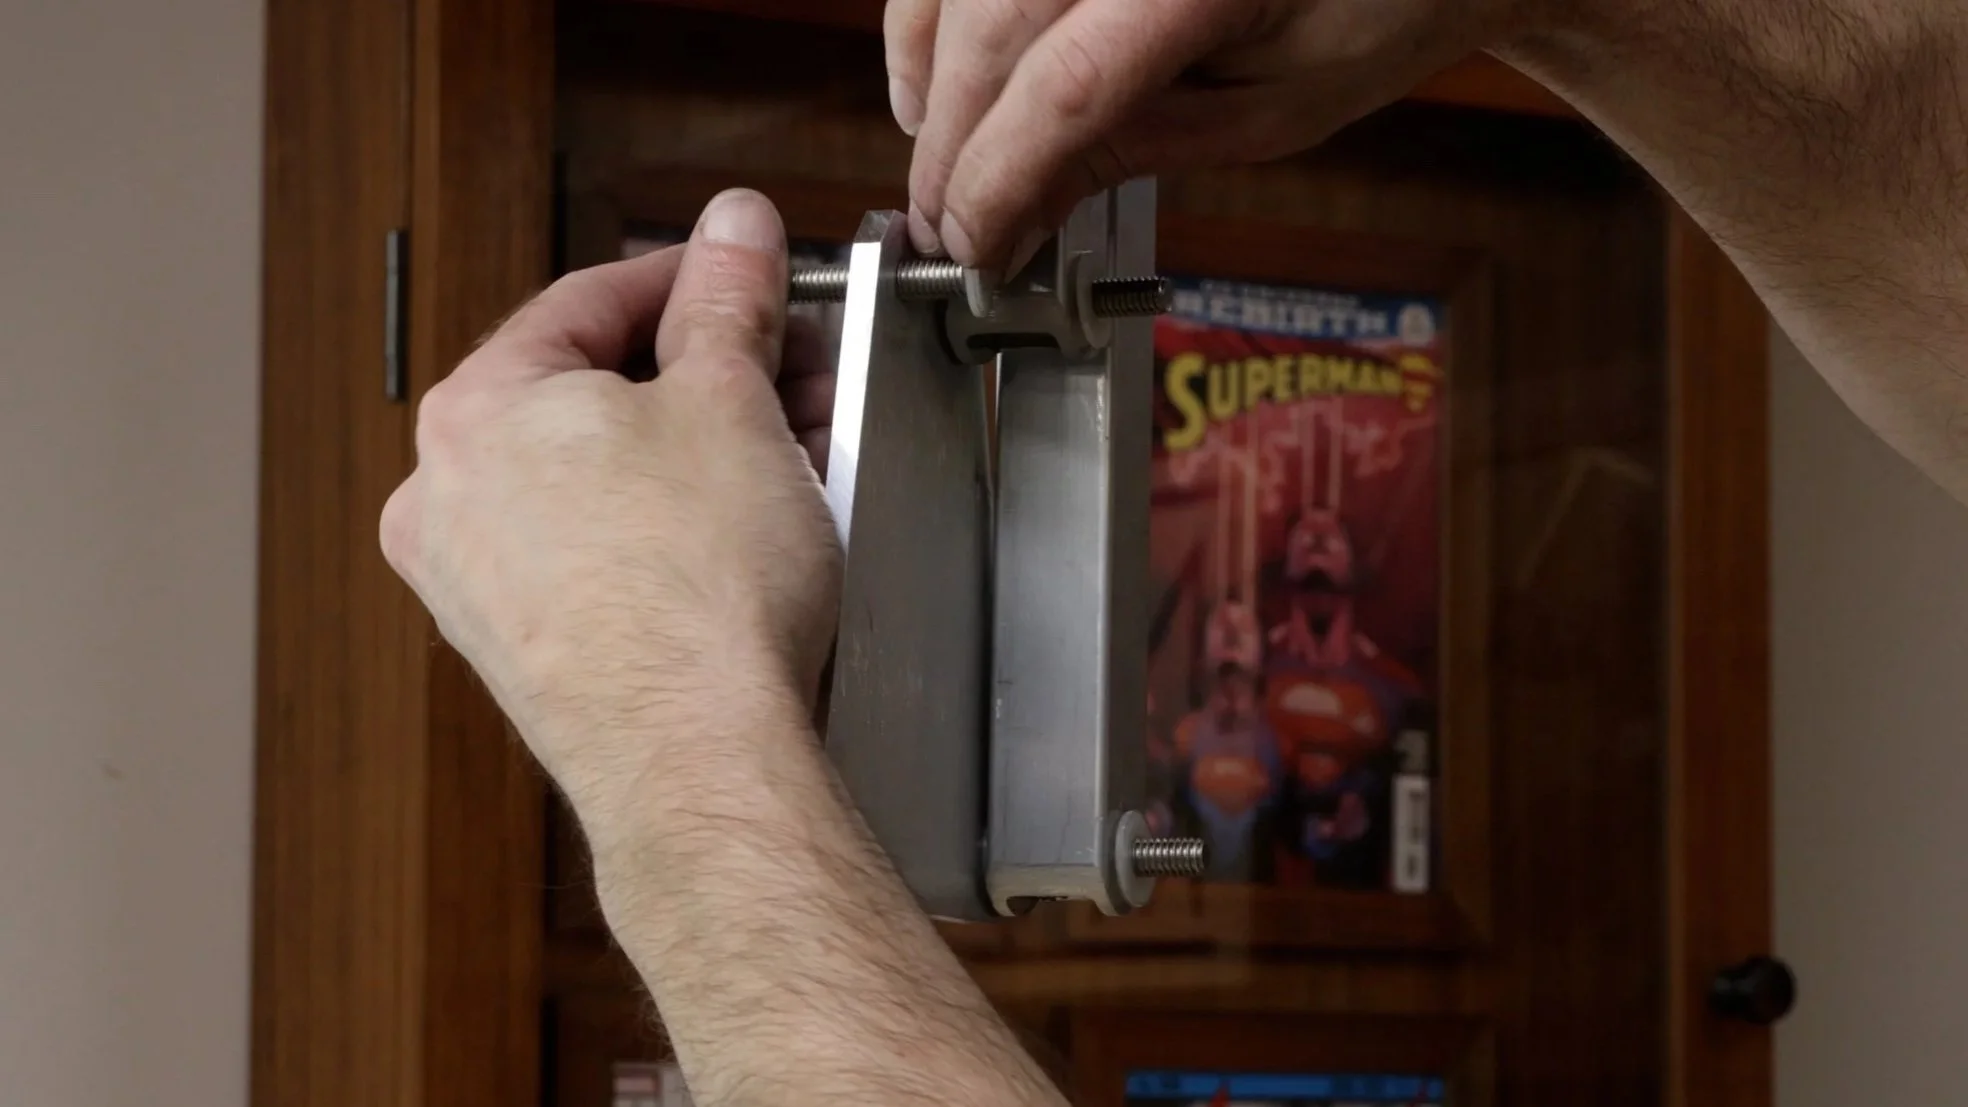
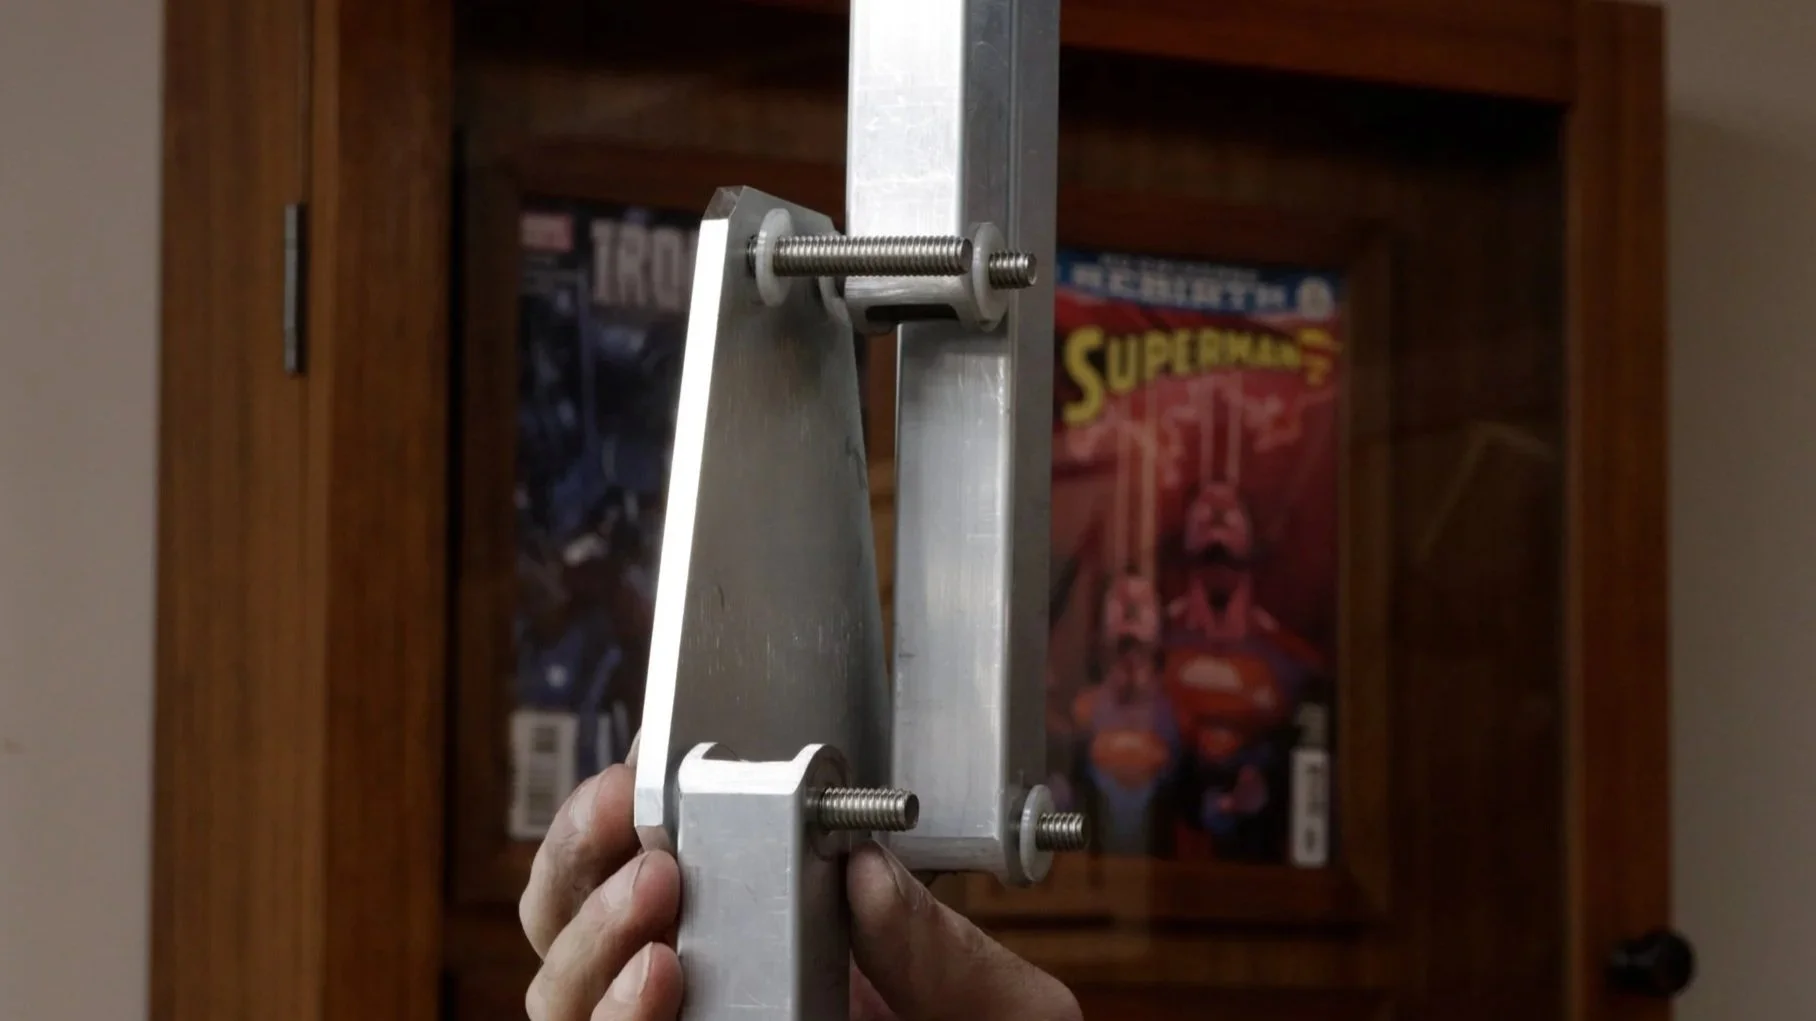
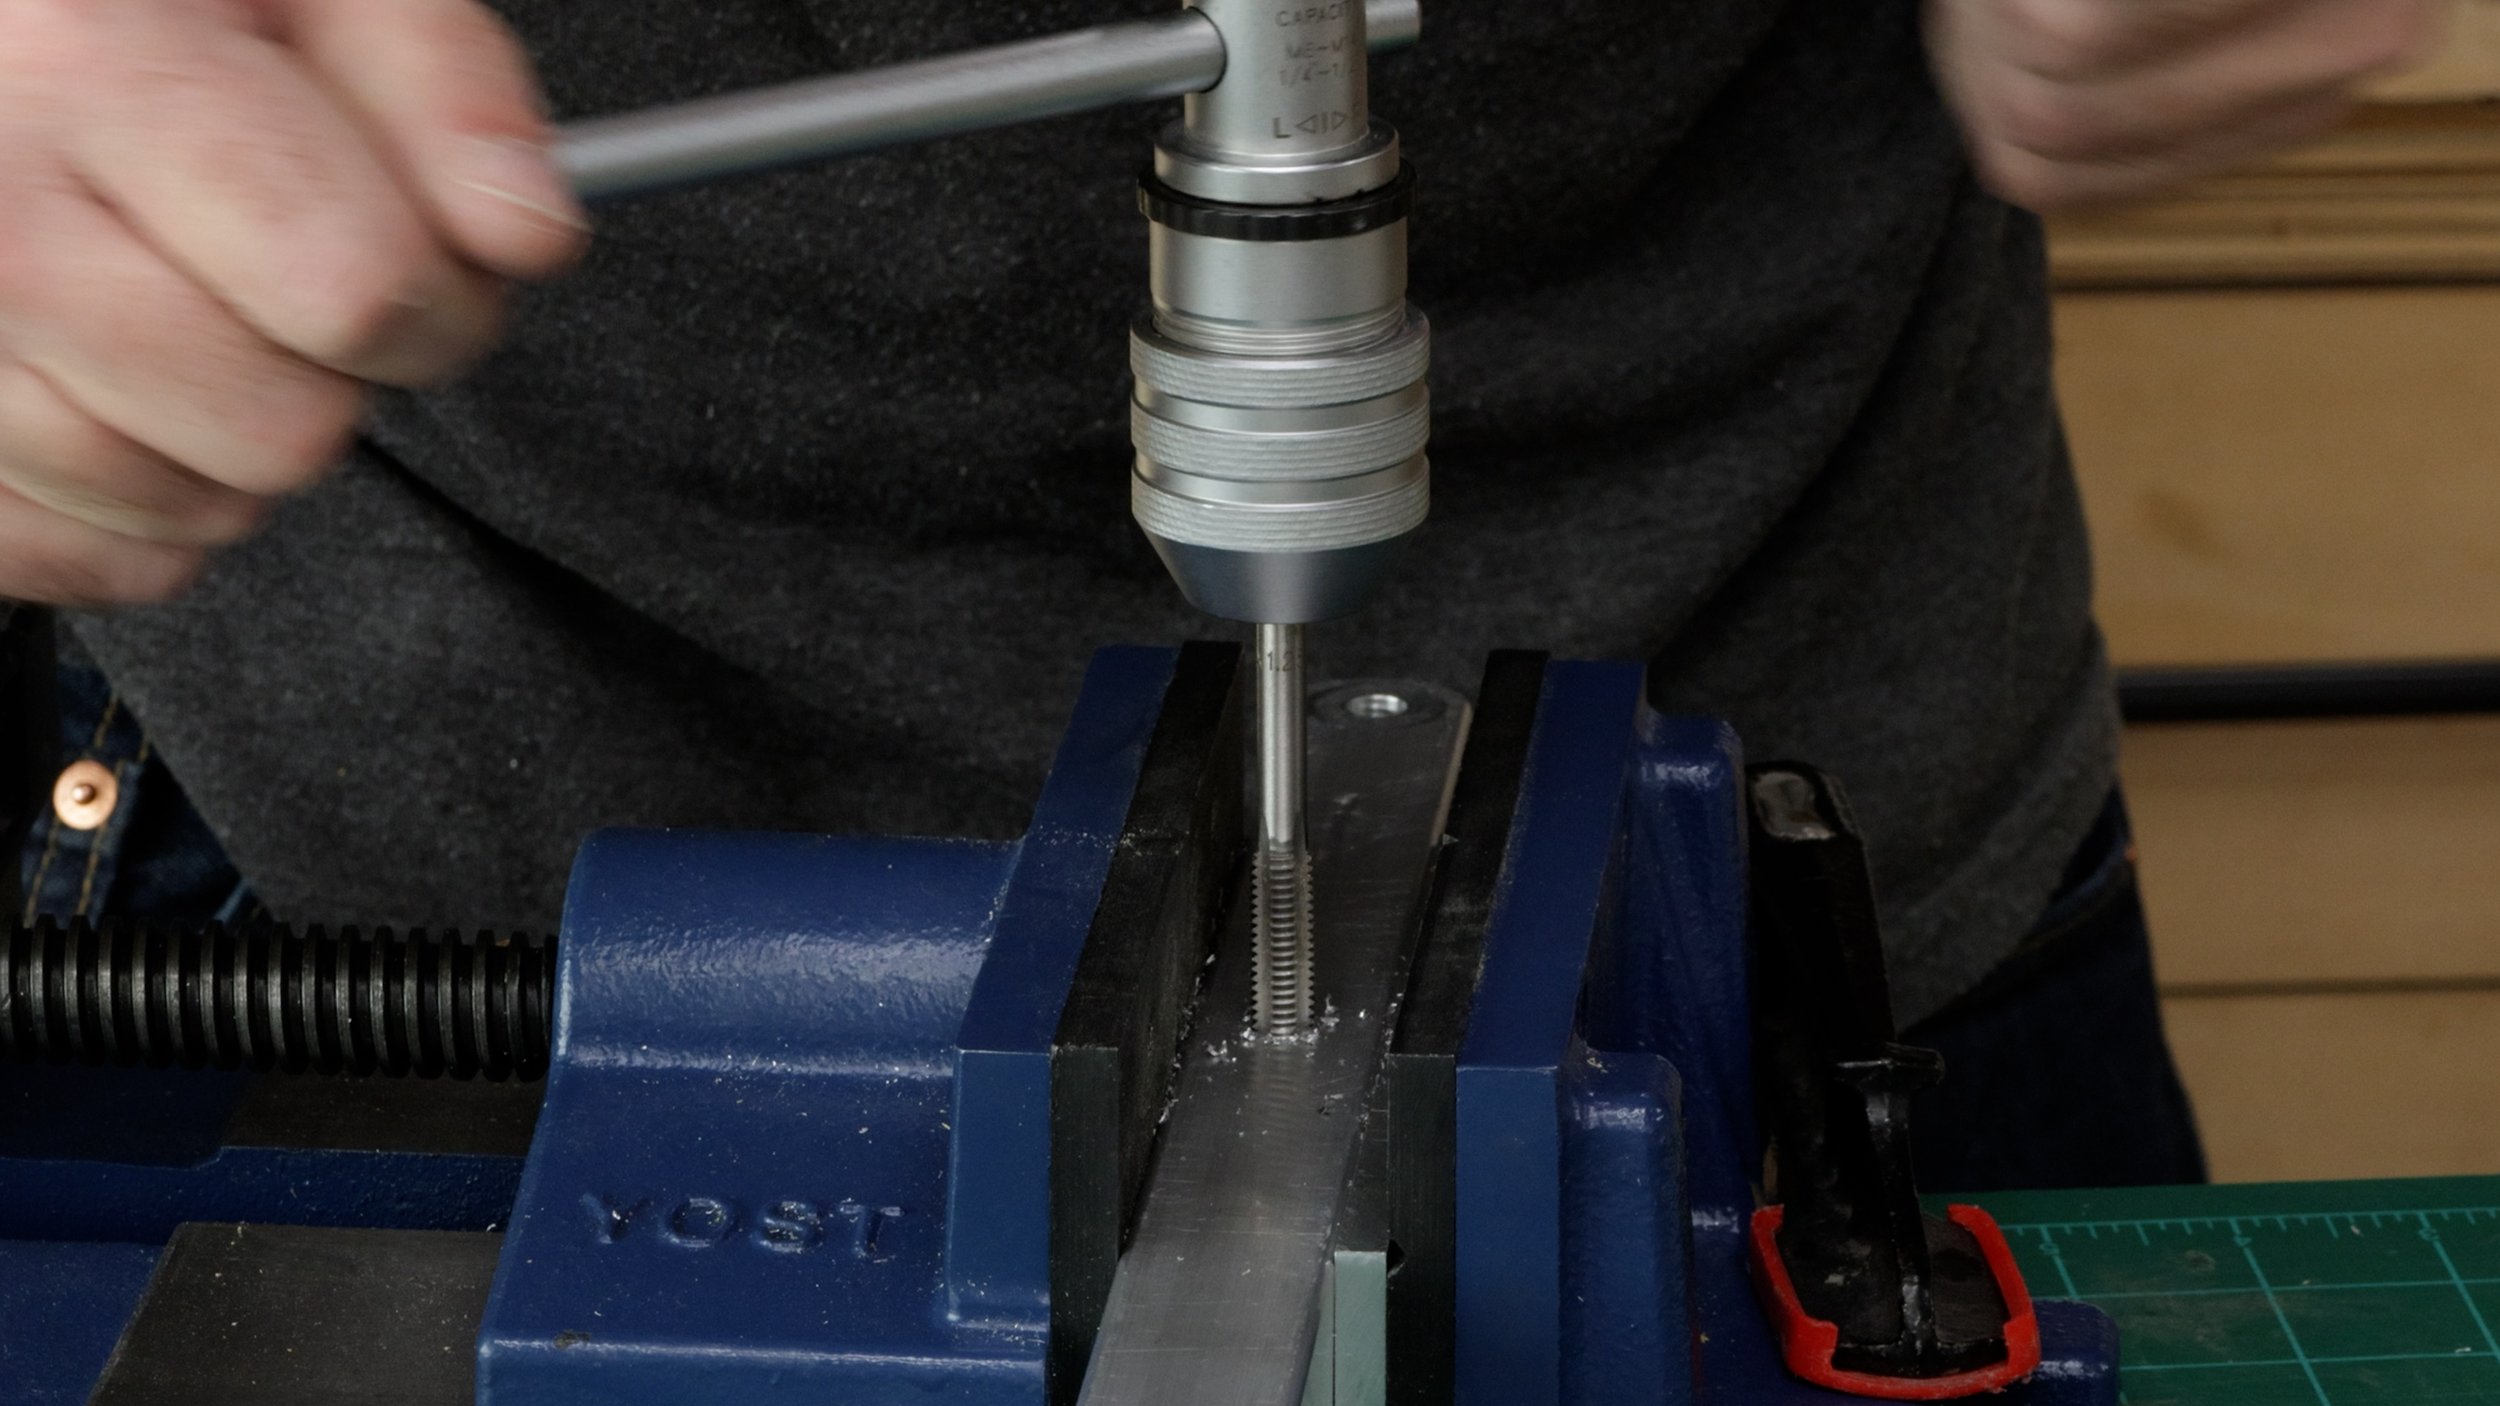
I cut the arms to length using the table saw and a metal cutting blade. I drilled holes in each end and then rounded over the edges, giving them a half-circle profile. The brackets were also cut at the table saw. I needed to drill a lot of holes so I grouped the brackets into pairs and drilled them at the same time.
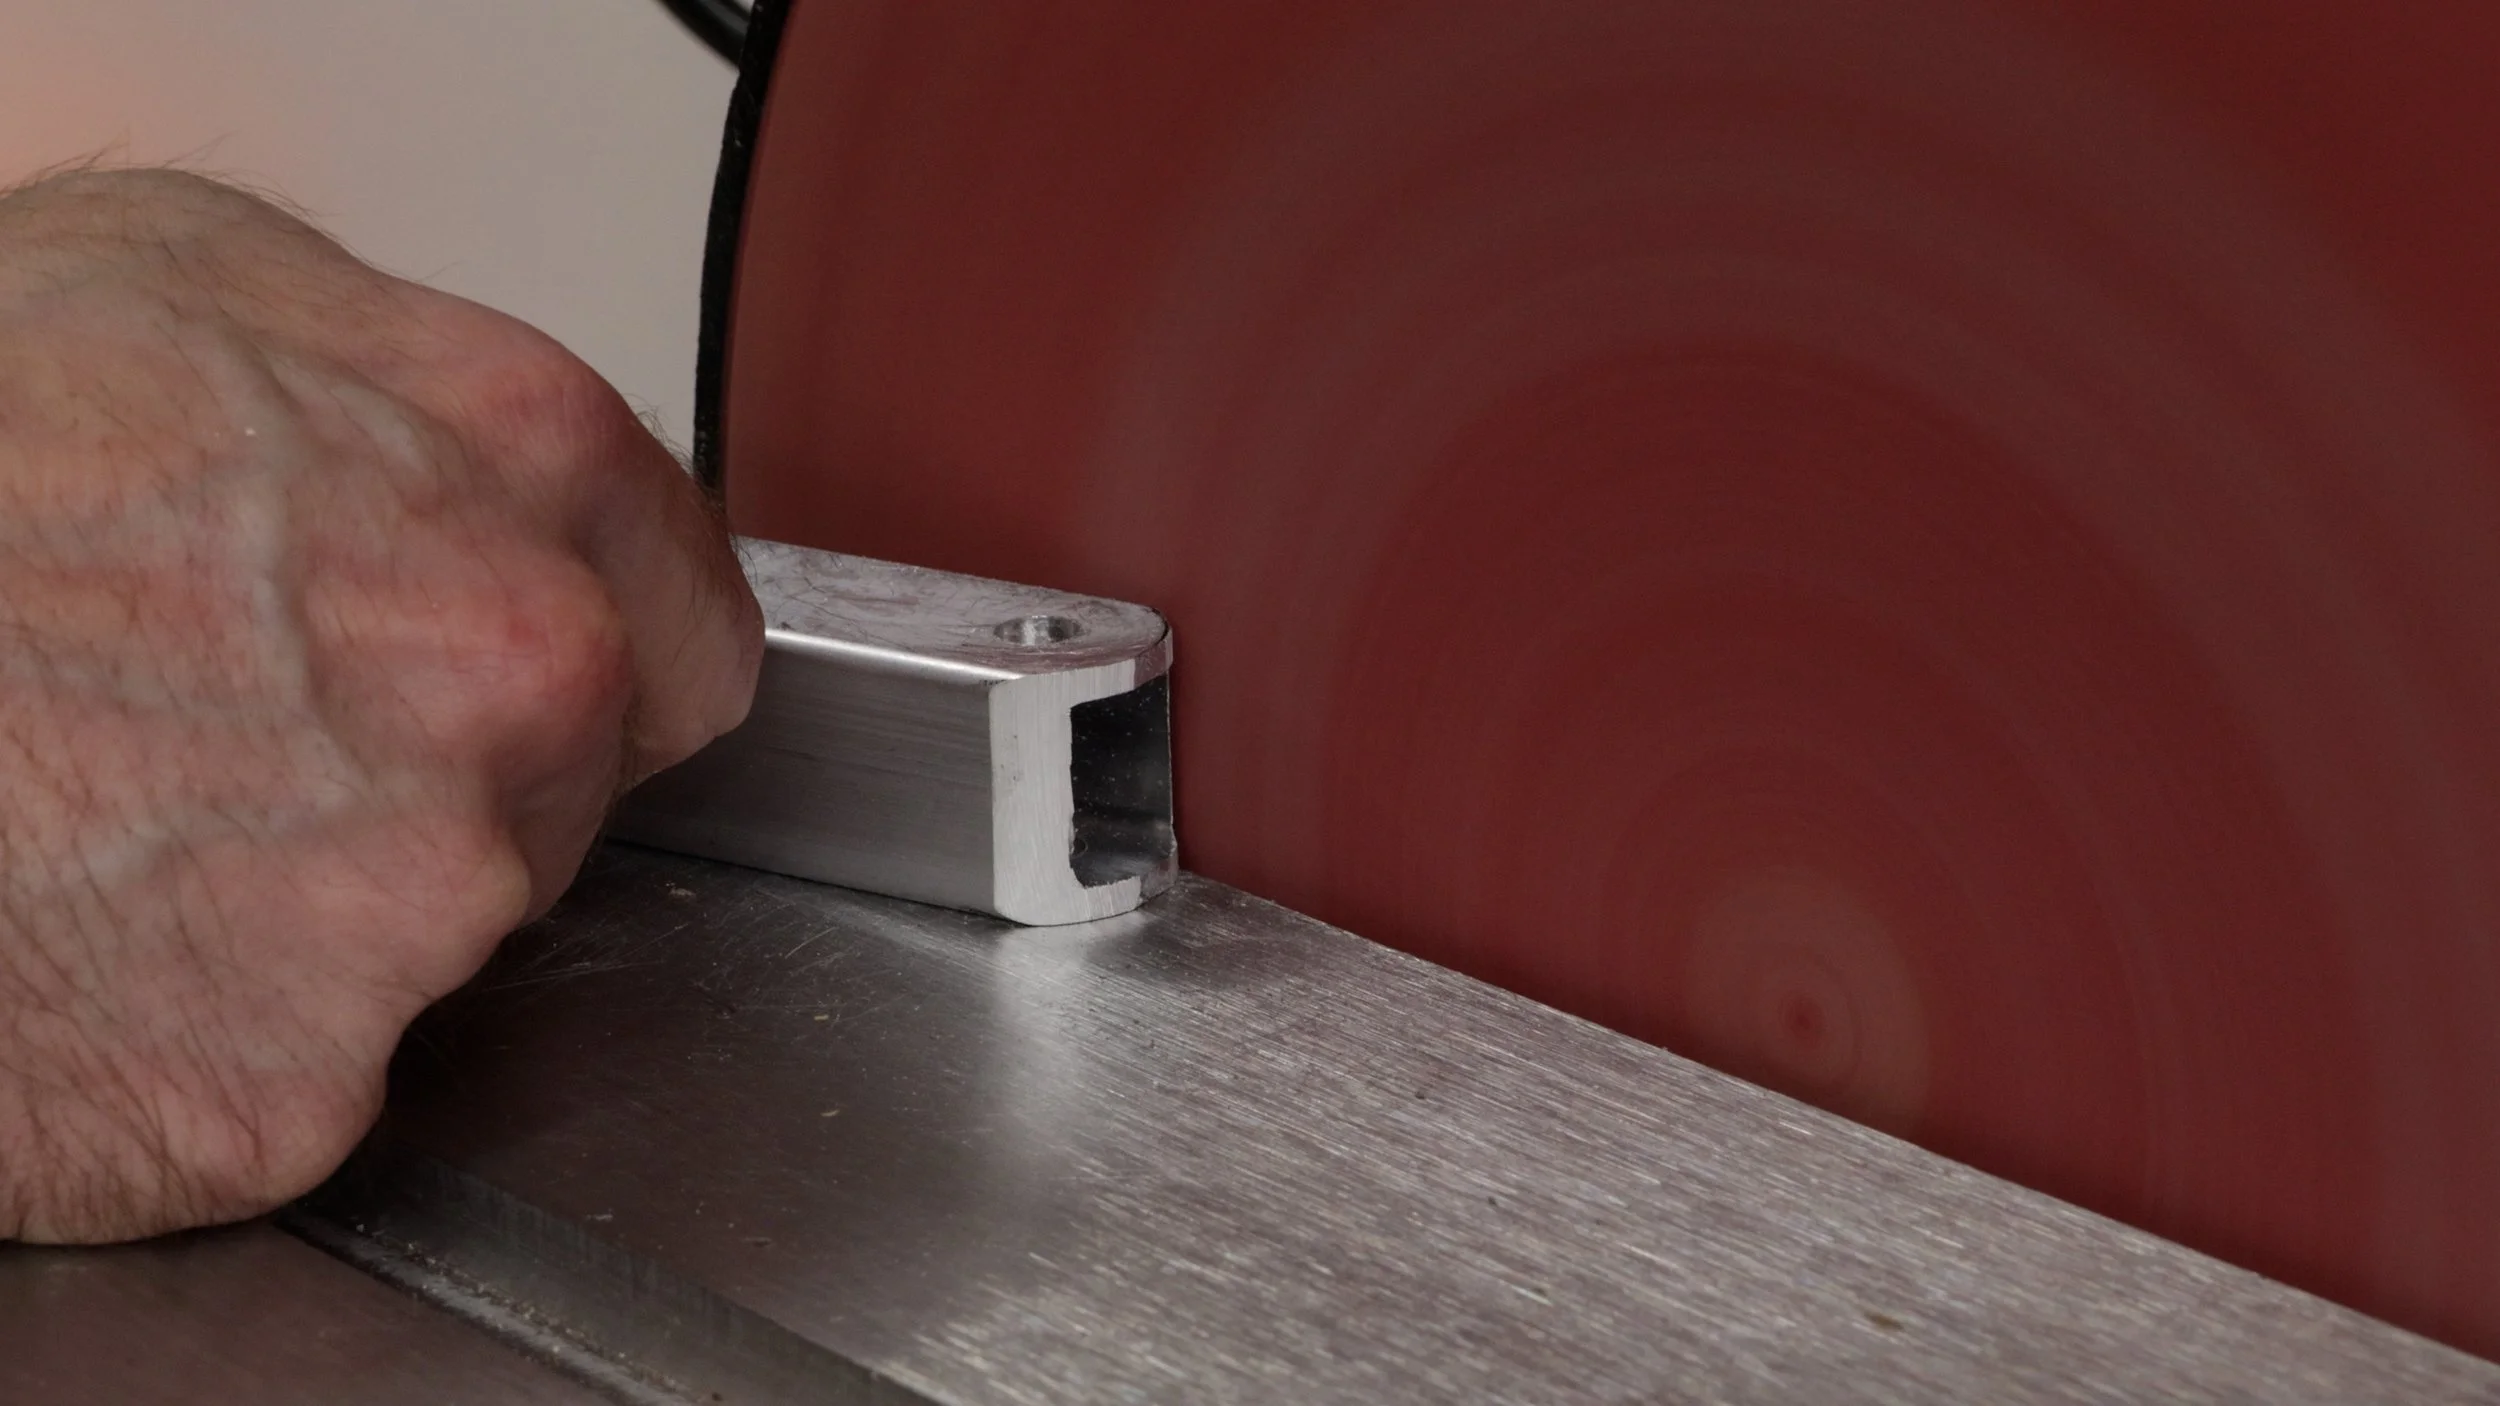
Bolts go through the brackets and nylon washers, then into the arms, followed by more nylon washers and the other bracket. Everything is tightened down with lock nuts.
Ceiling Mounted Arm
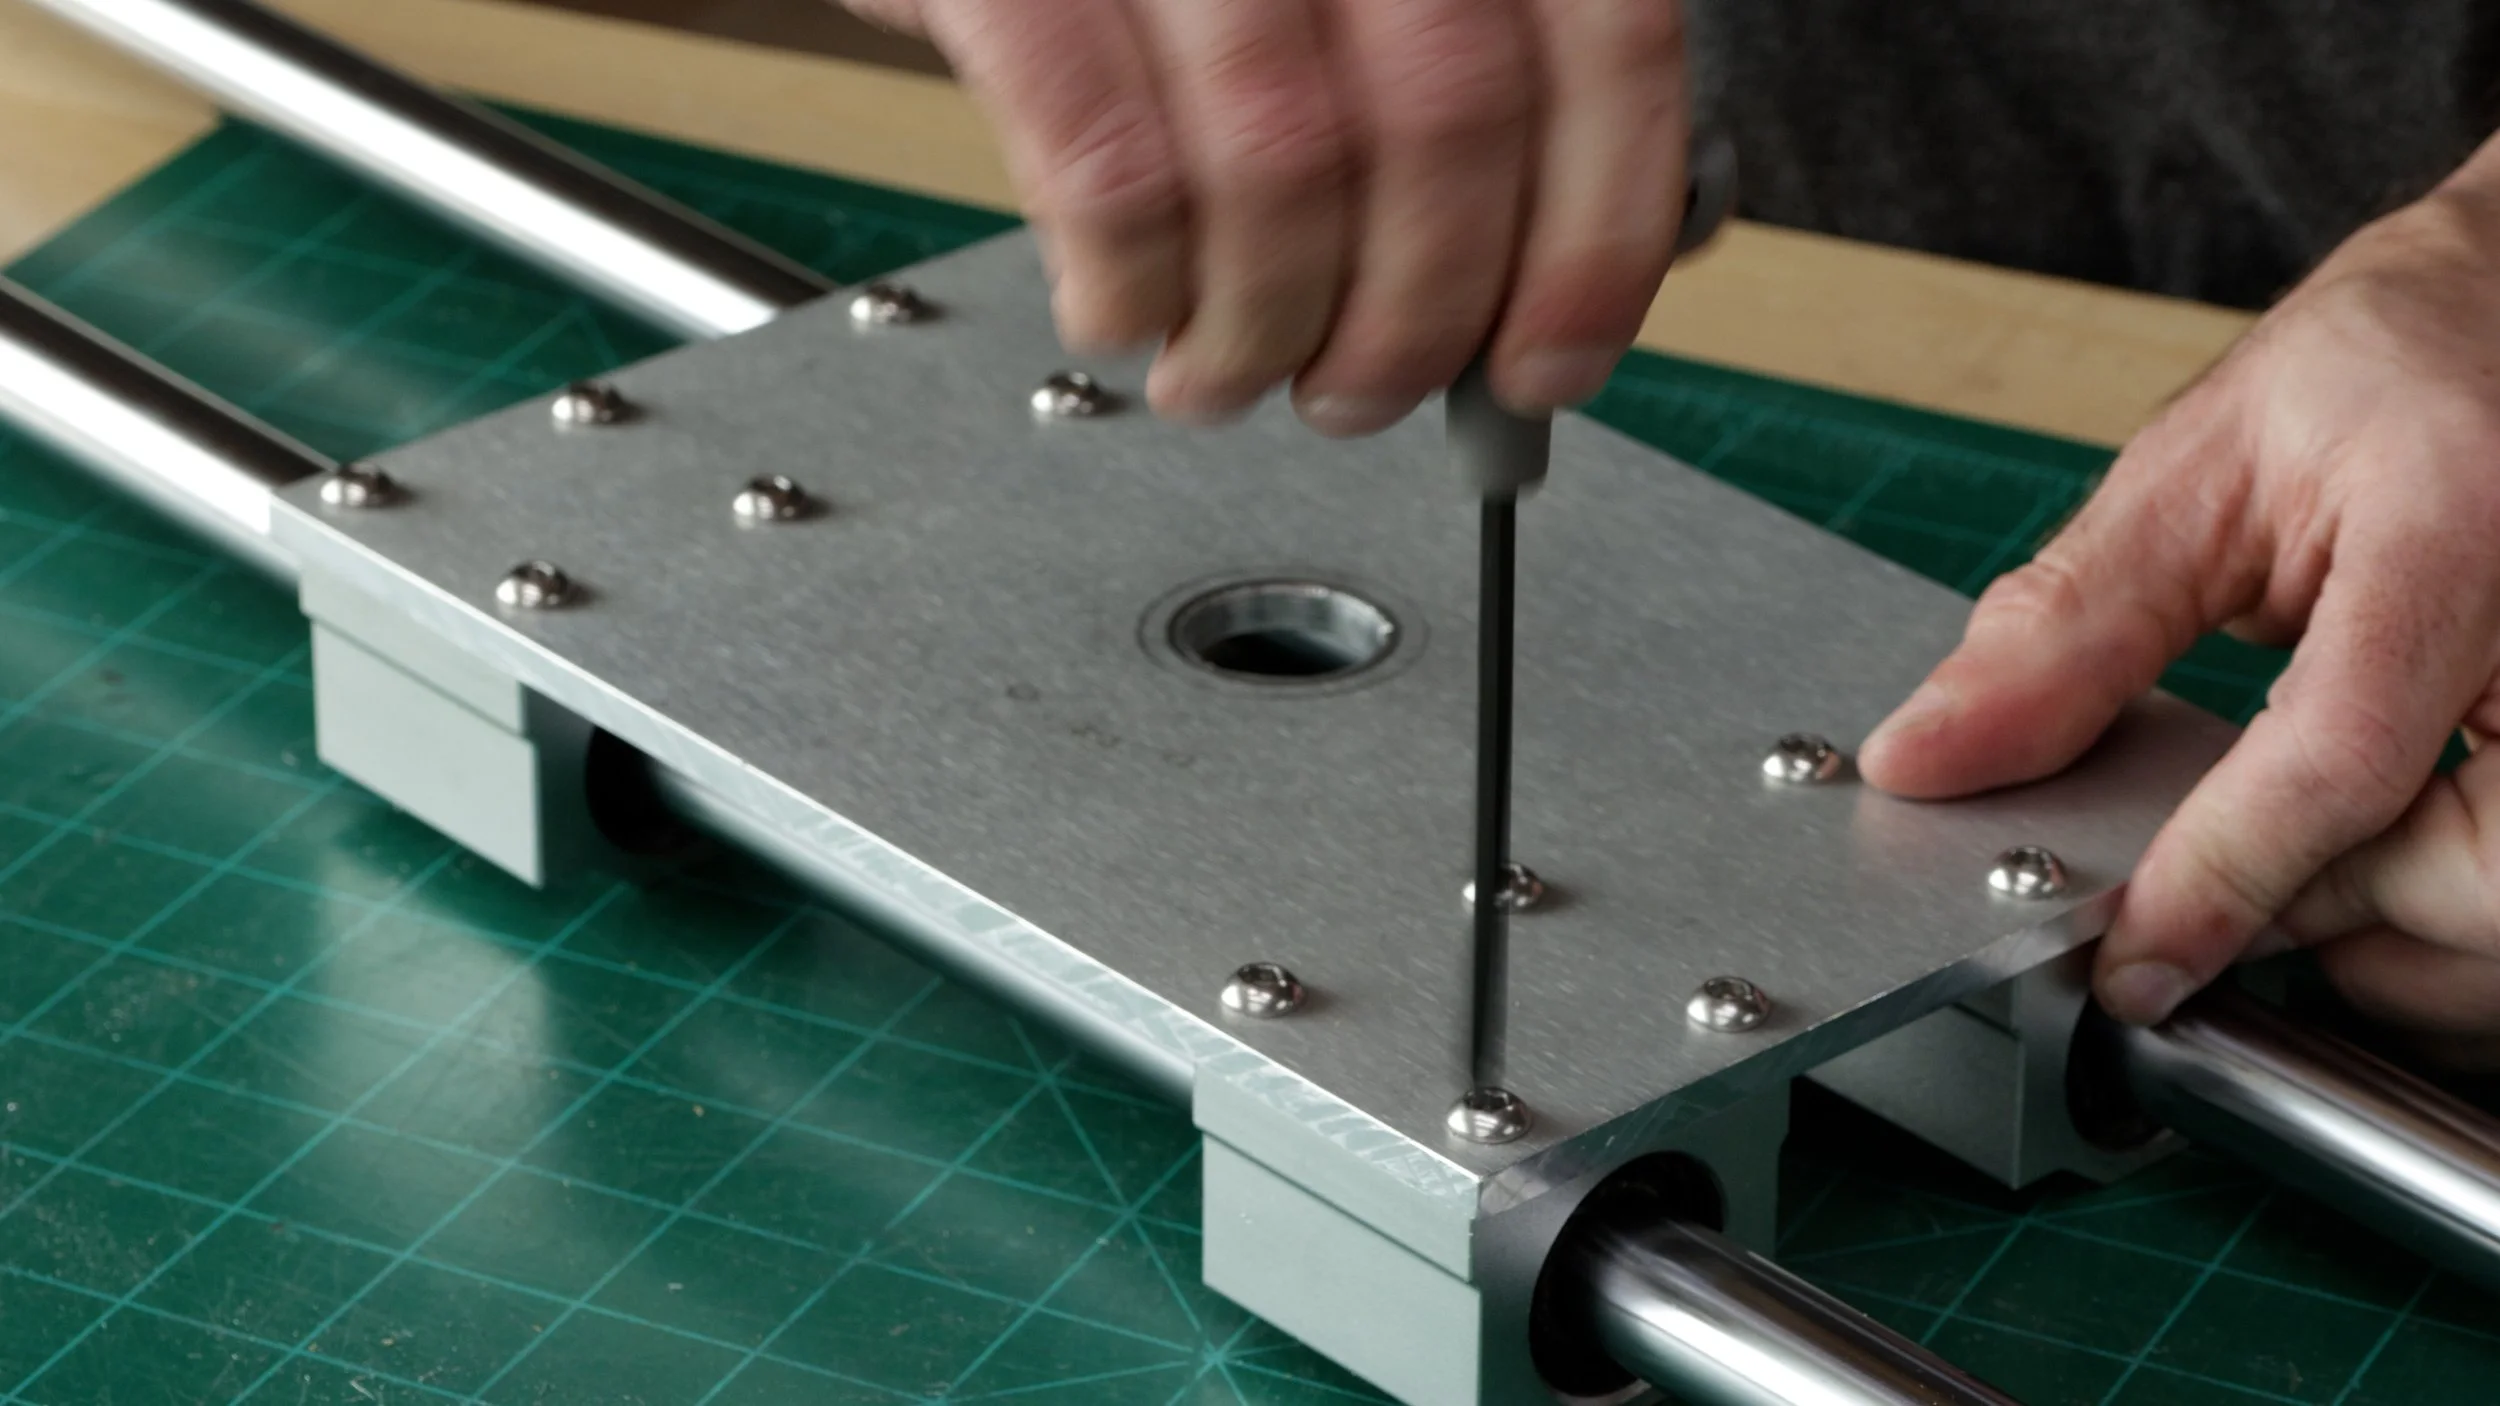
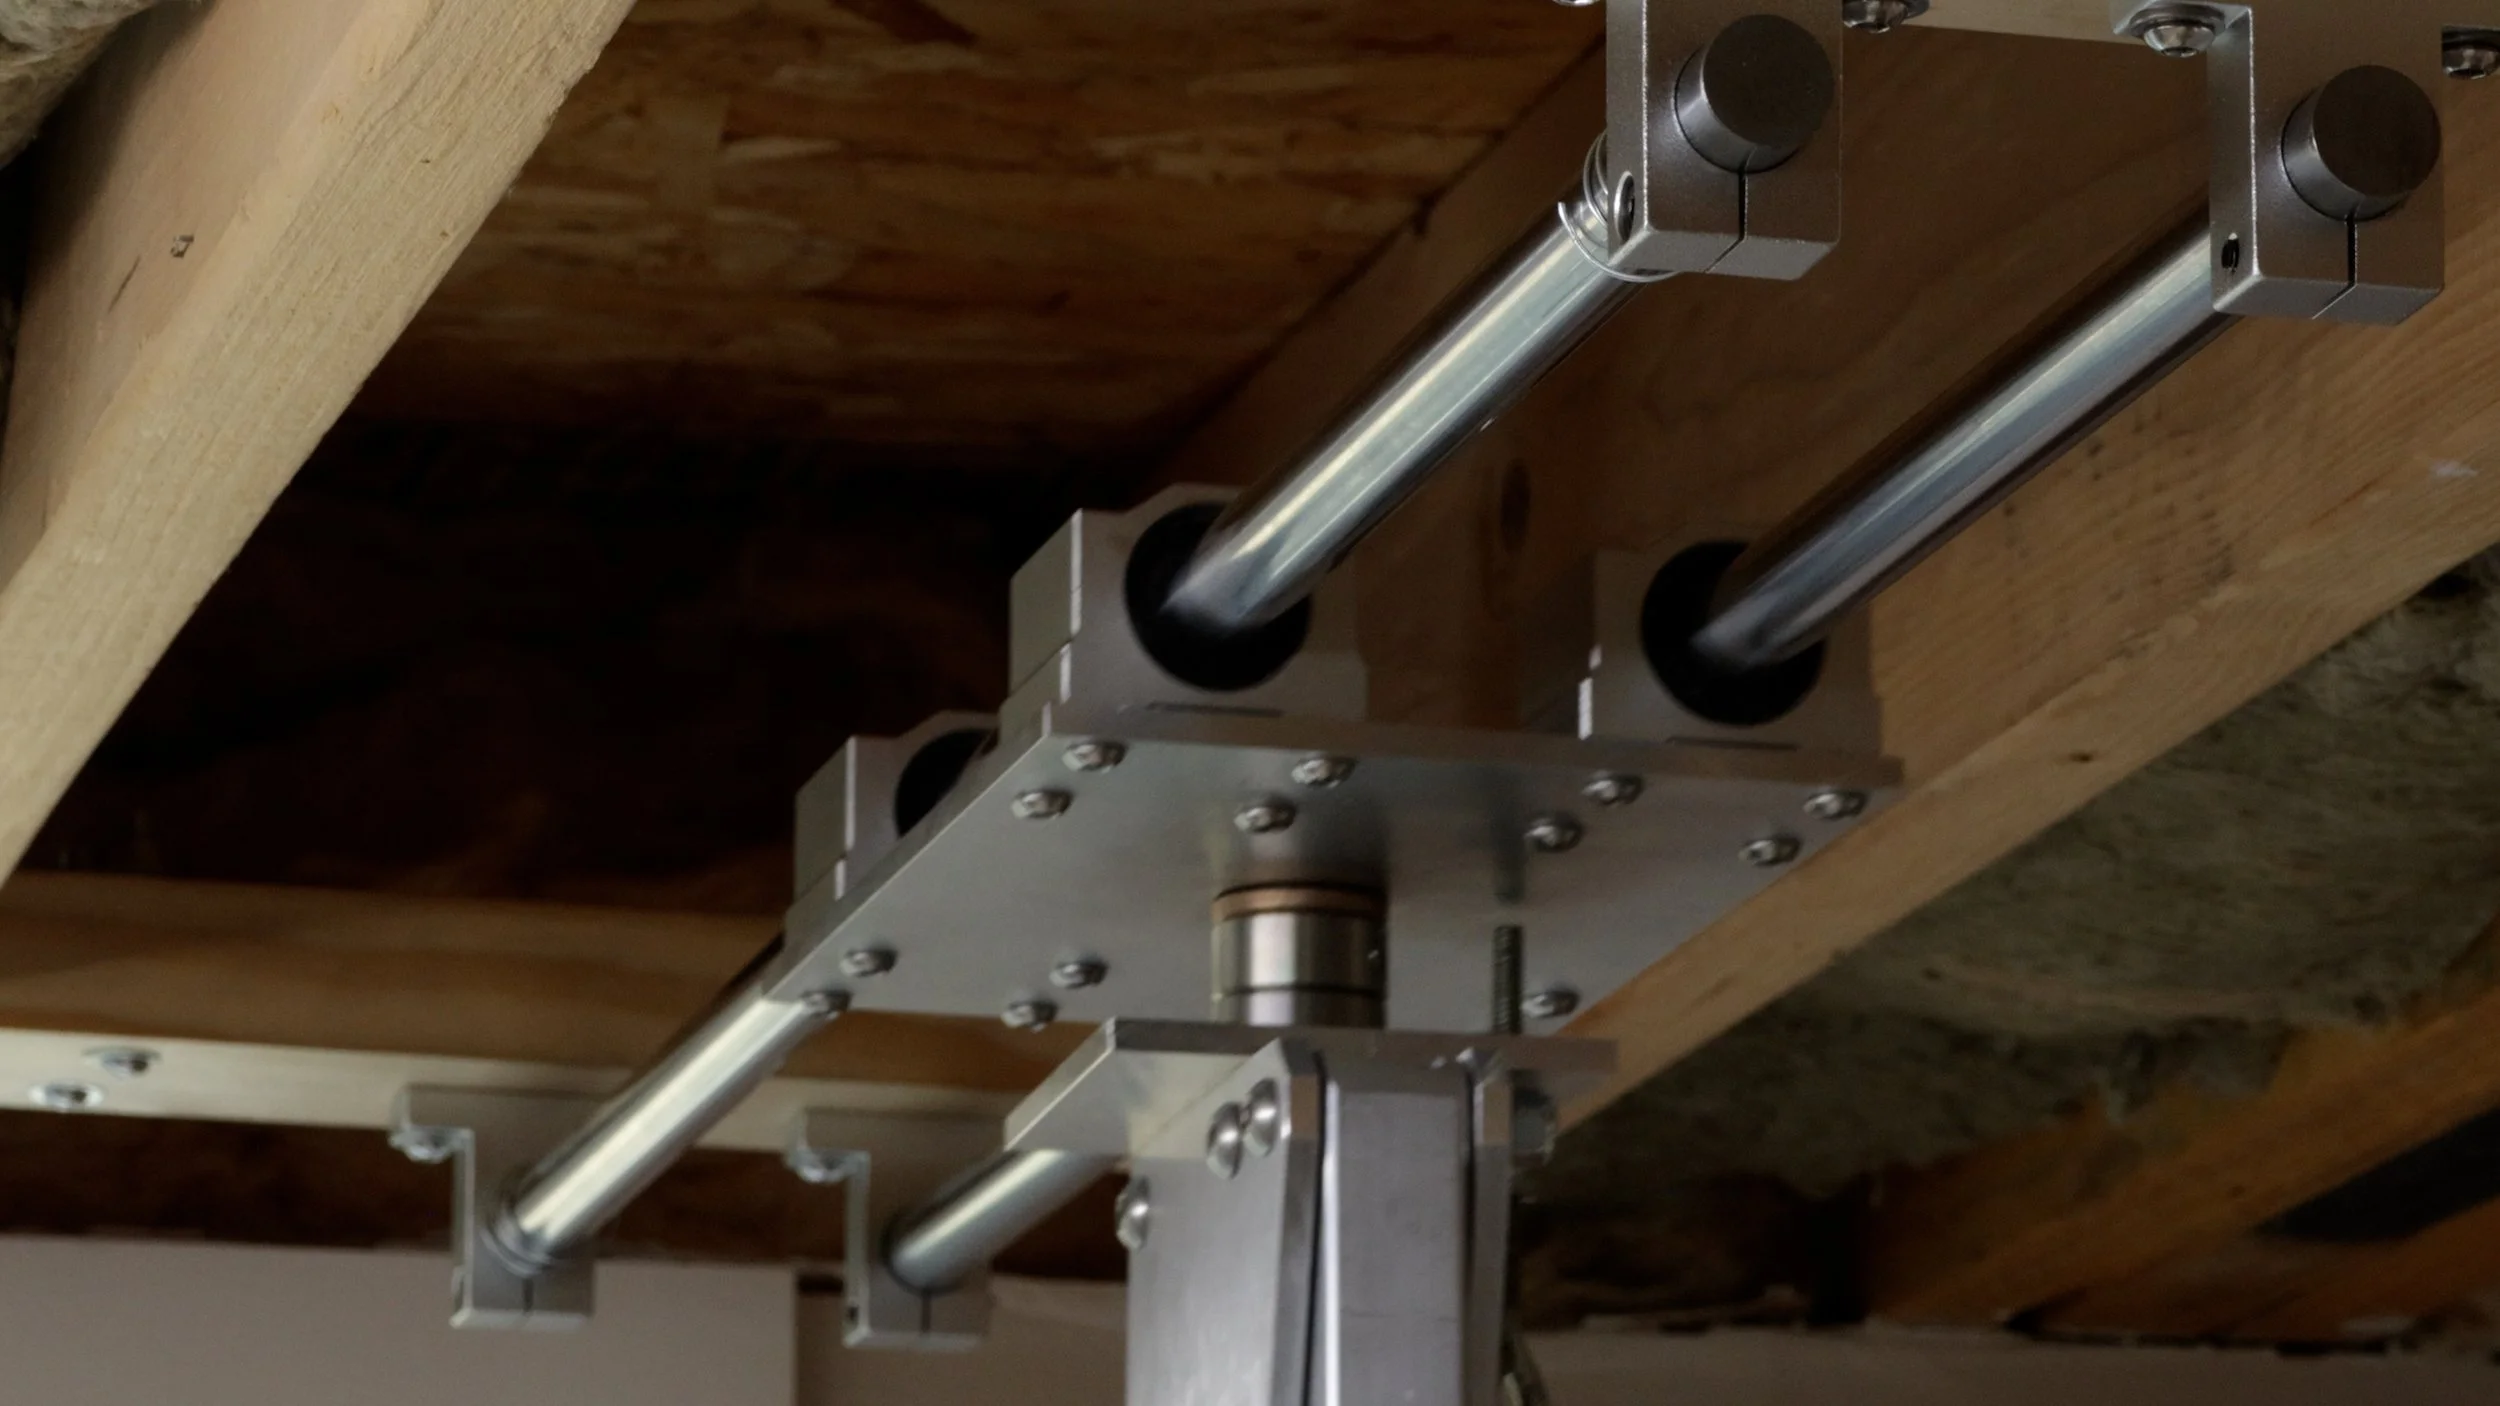
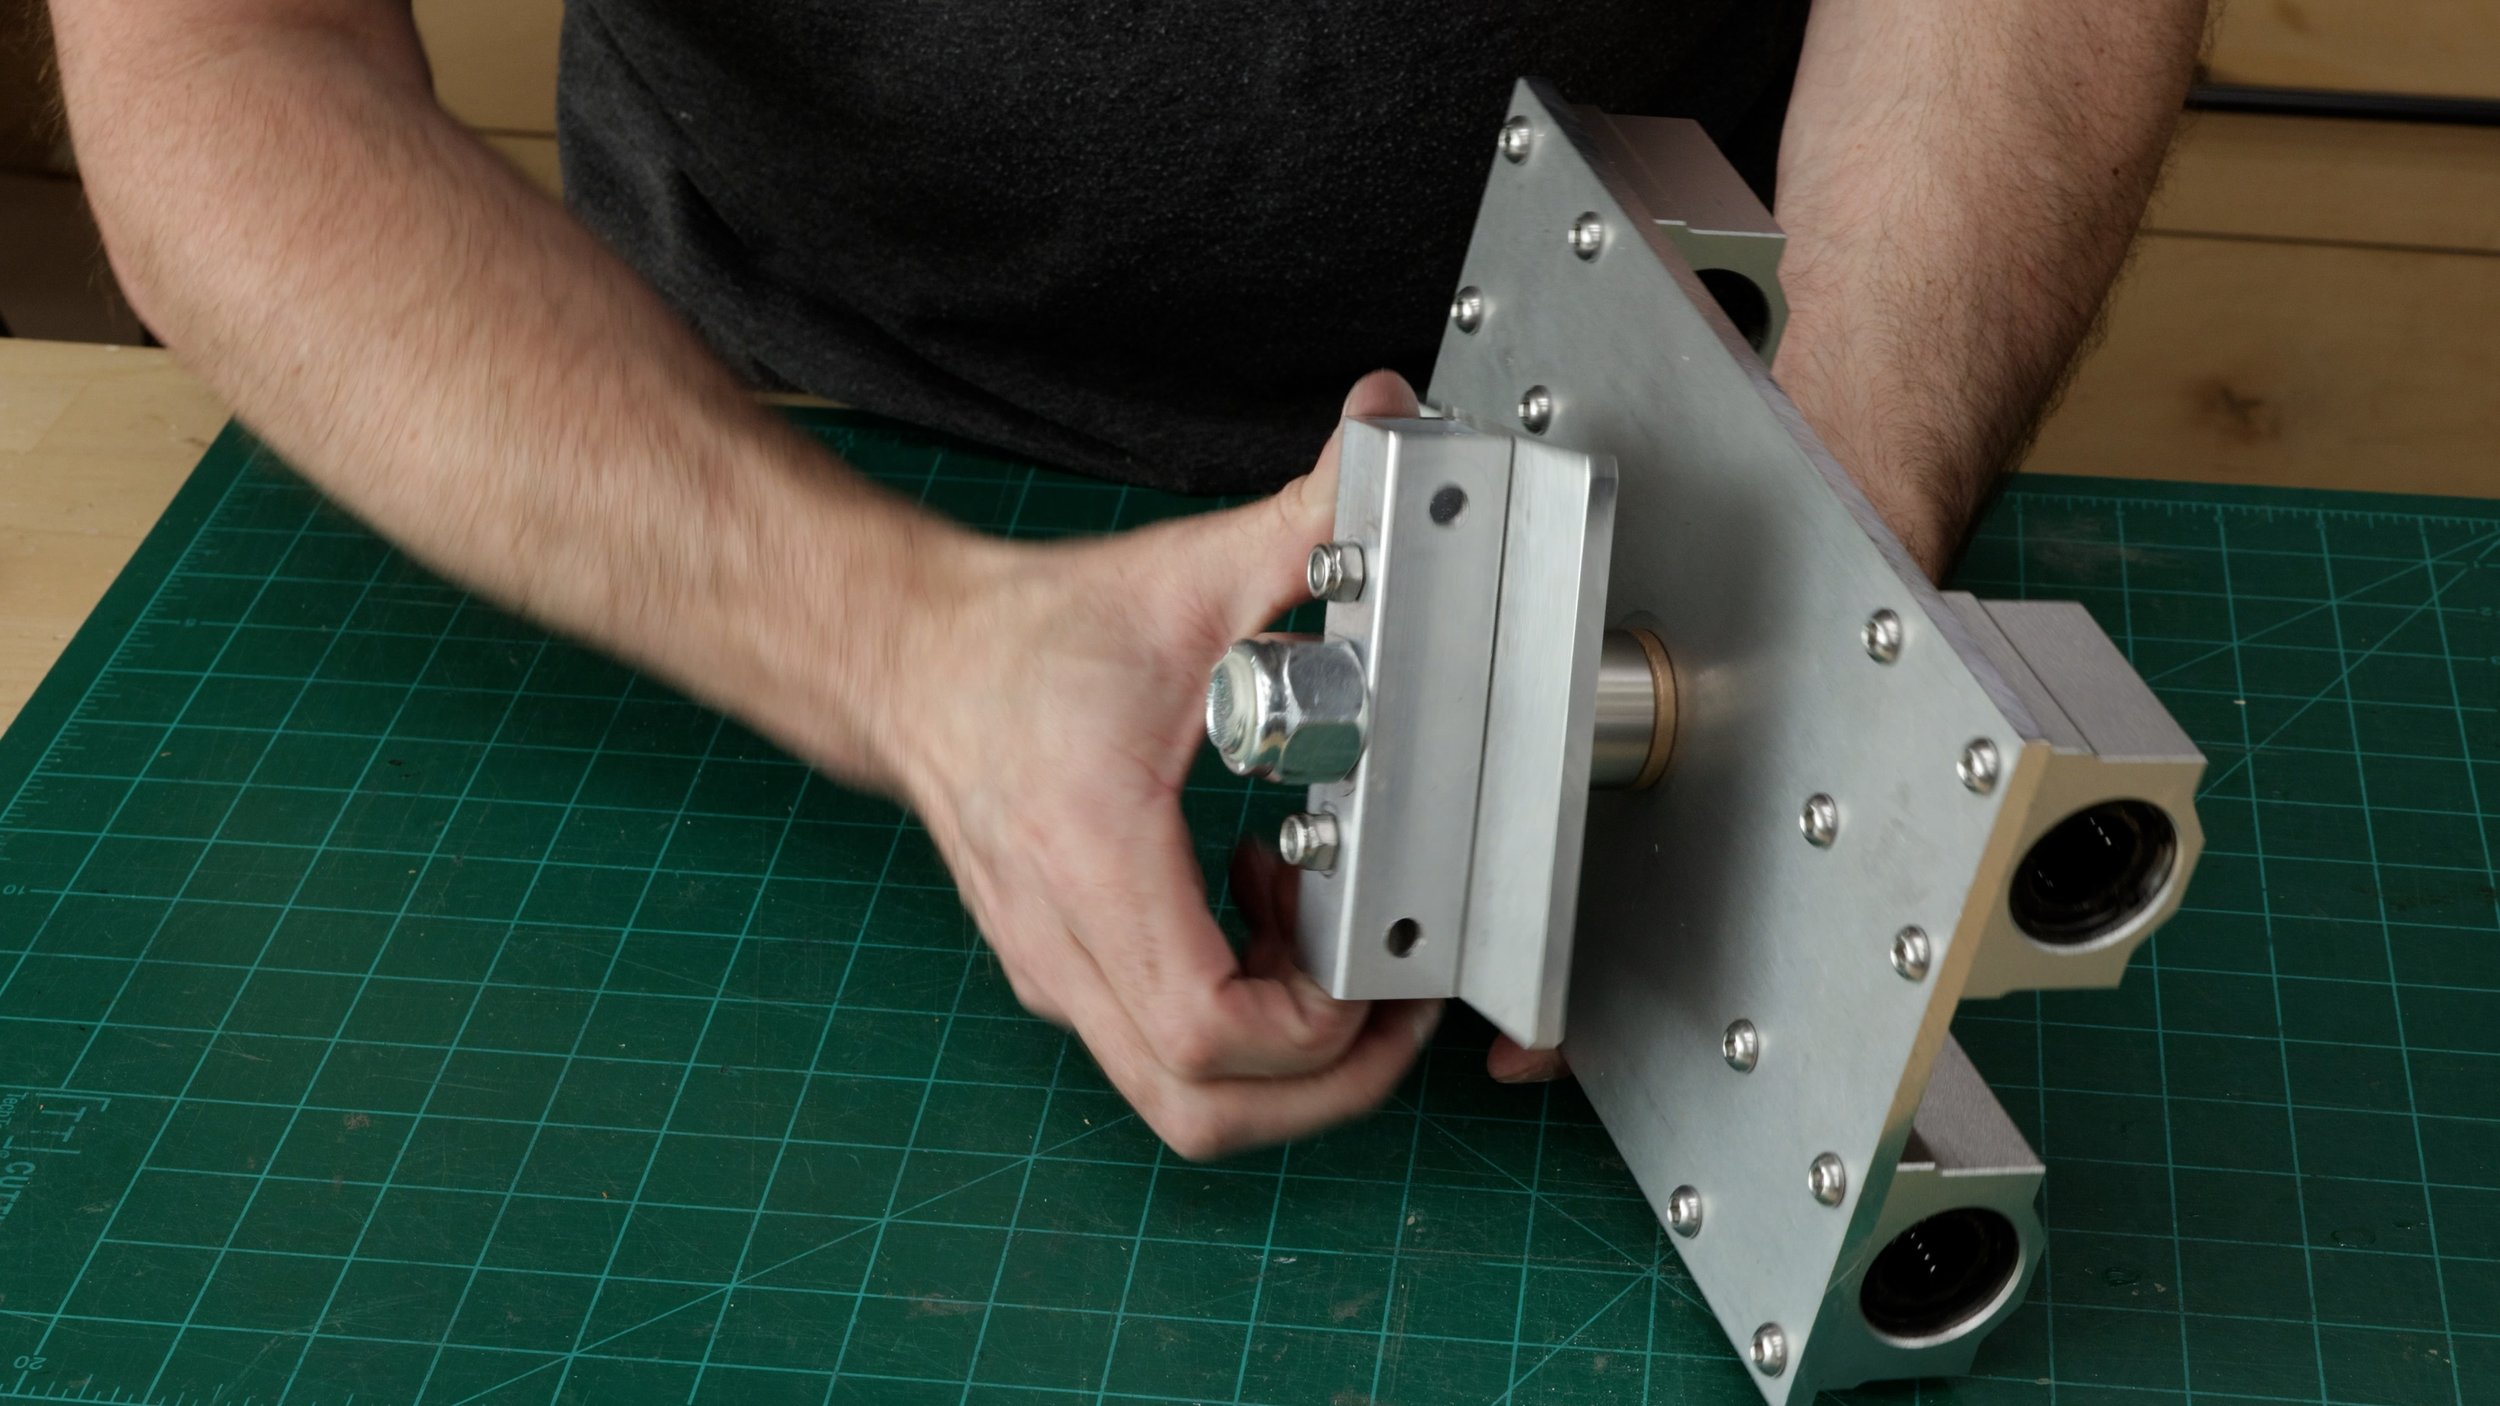
I thought it would be cool to mount the arm on the ceiling, slide it into position when needed, and slide it away when I’m done. This is made possible via a linear rail system. It involves two long steel rods, four bearings, and some mounting brackets. I attached the bearing blocks to an aluminum plate. The rods are secured to the ceiling with brackets and 2x6 boards.
360 Degree Movement
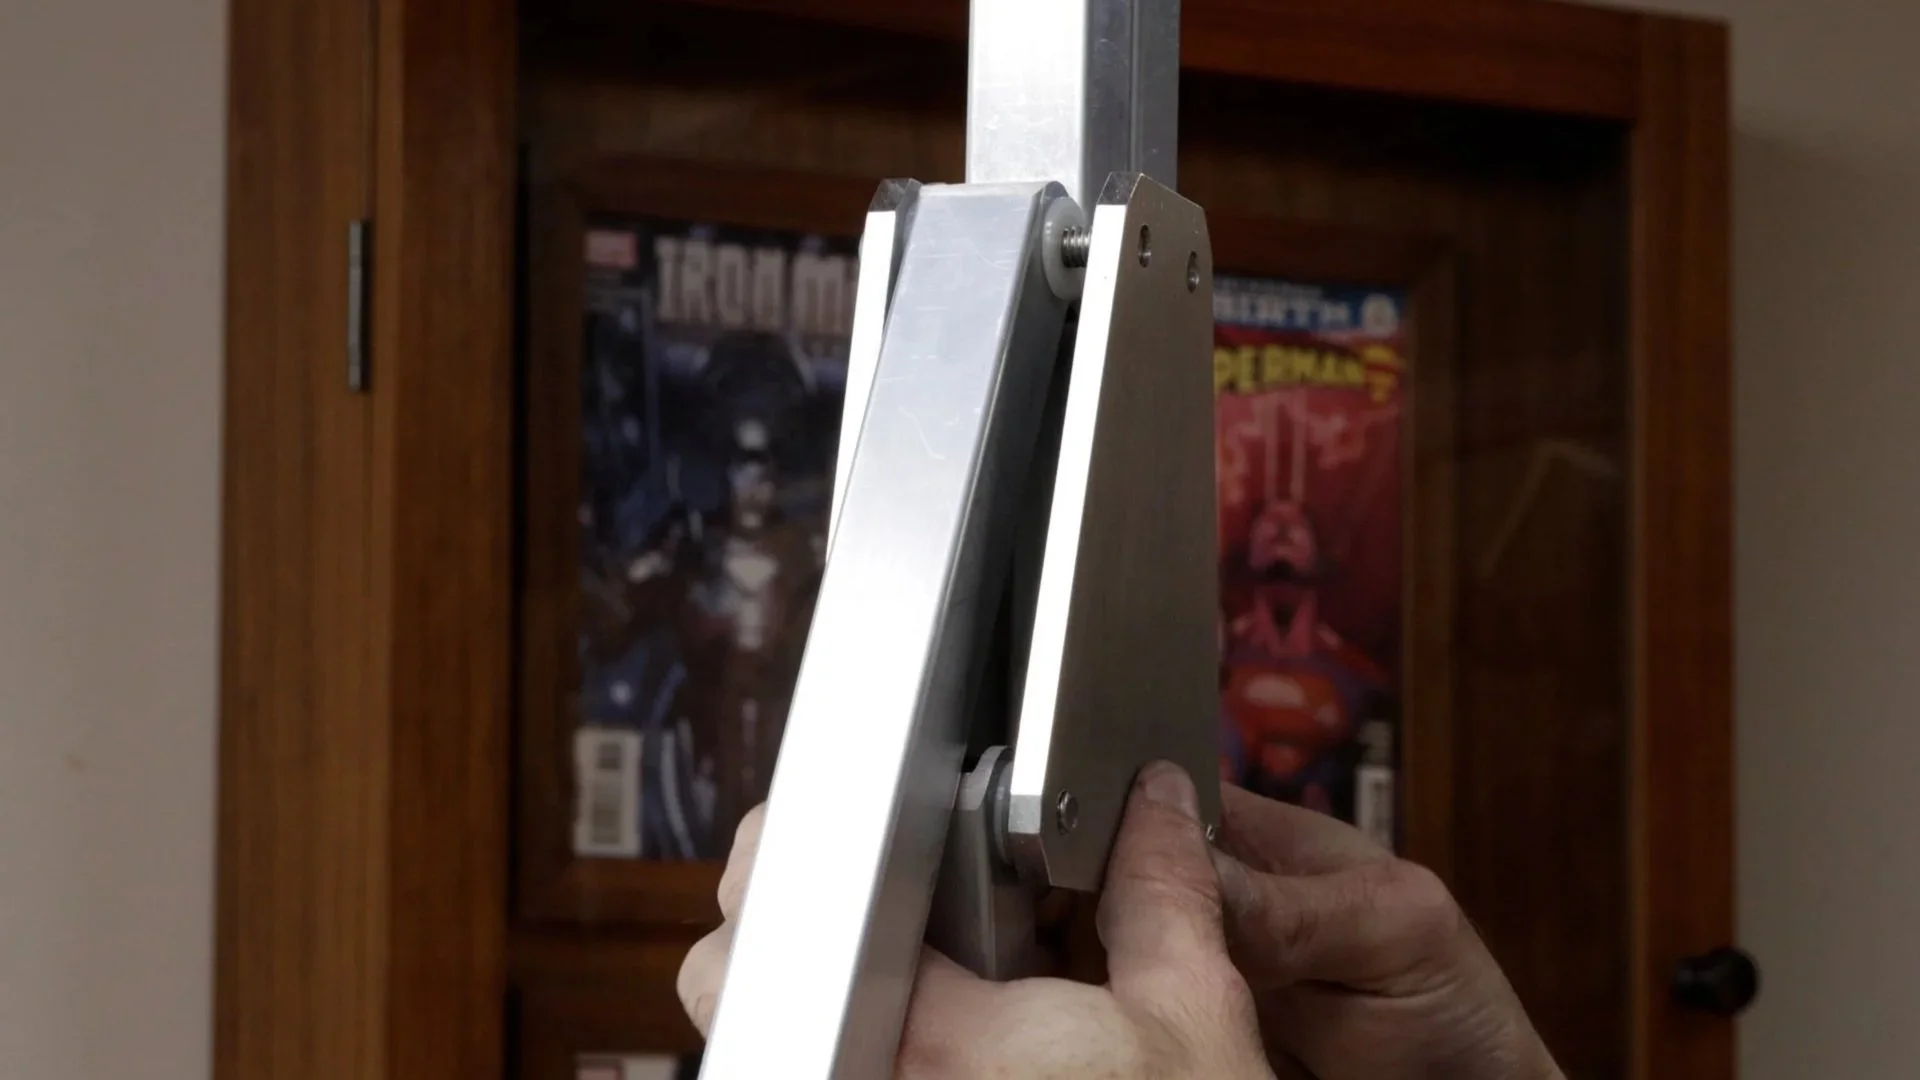
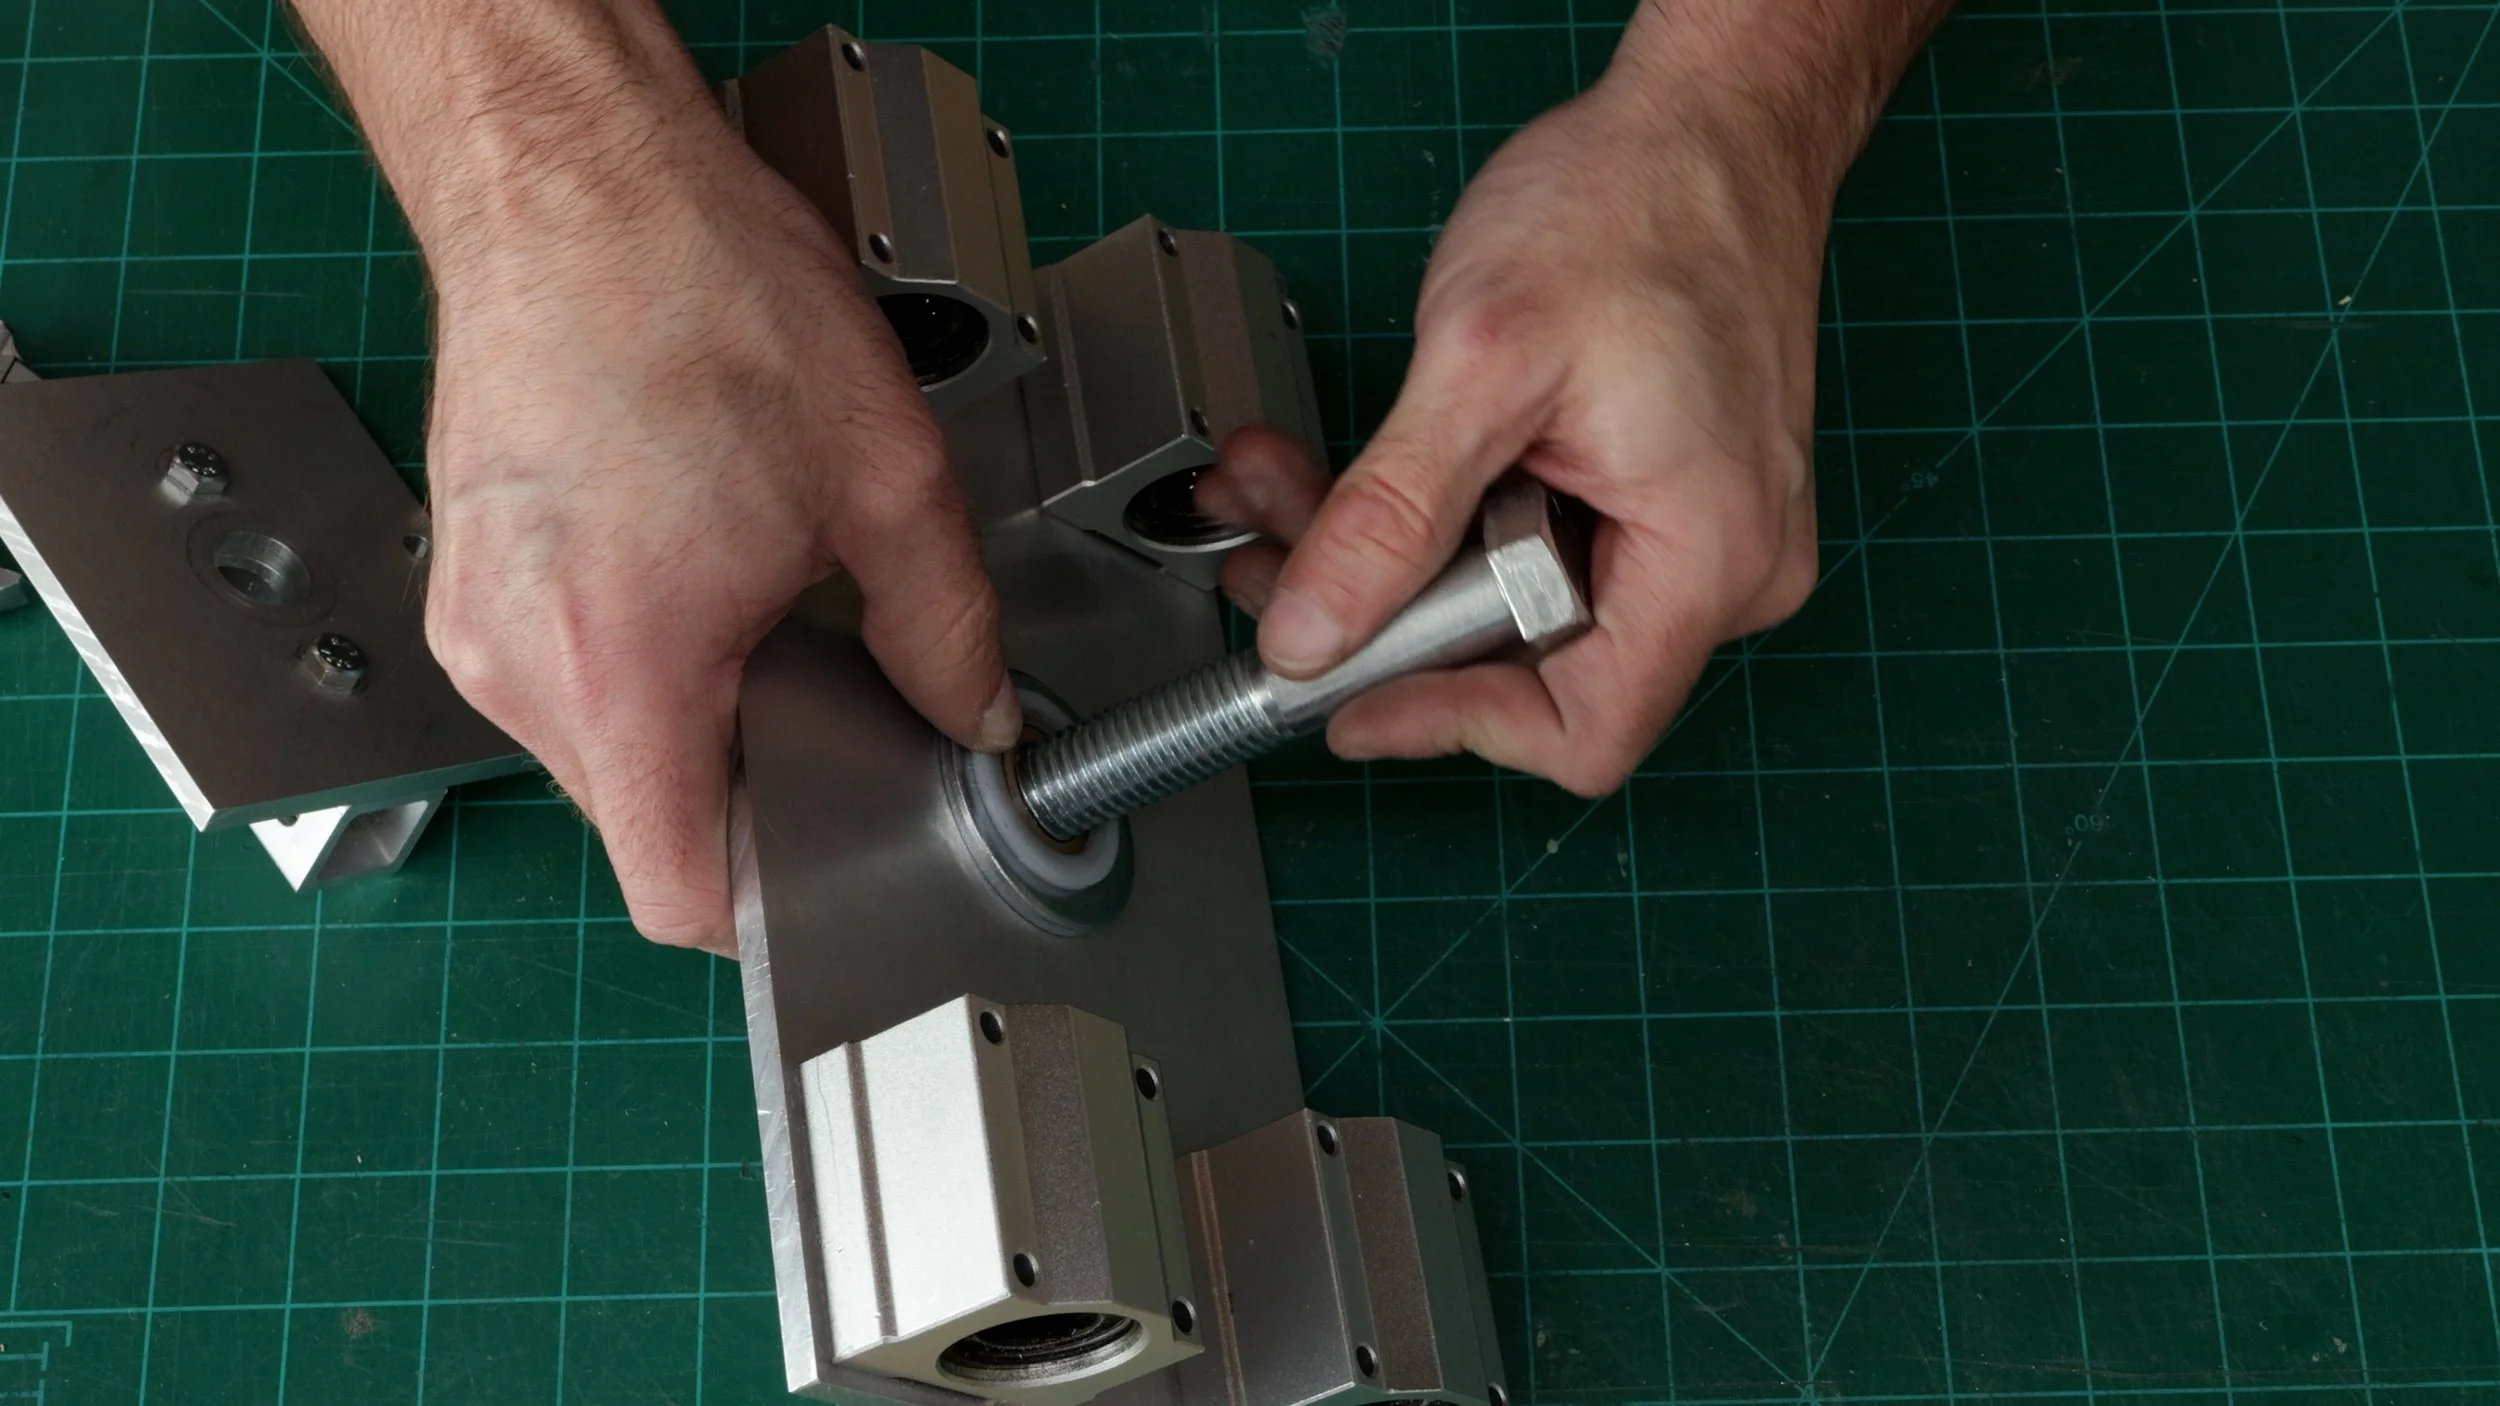
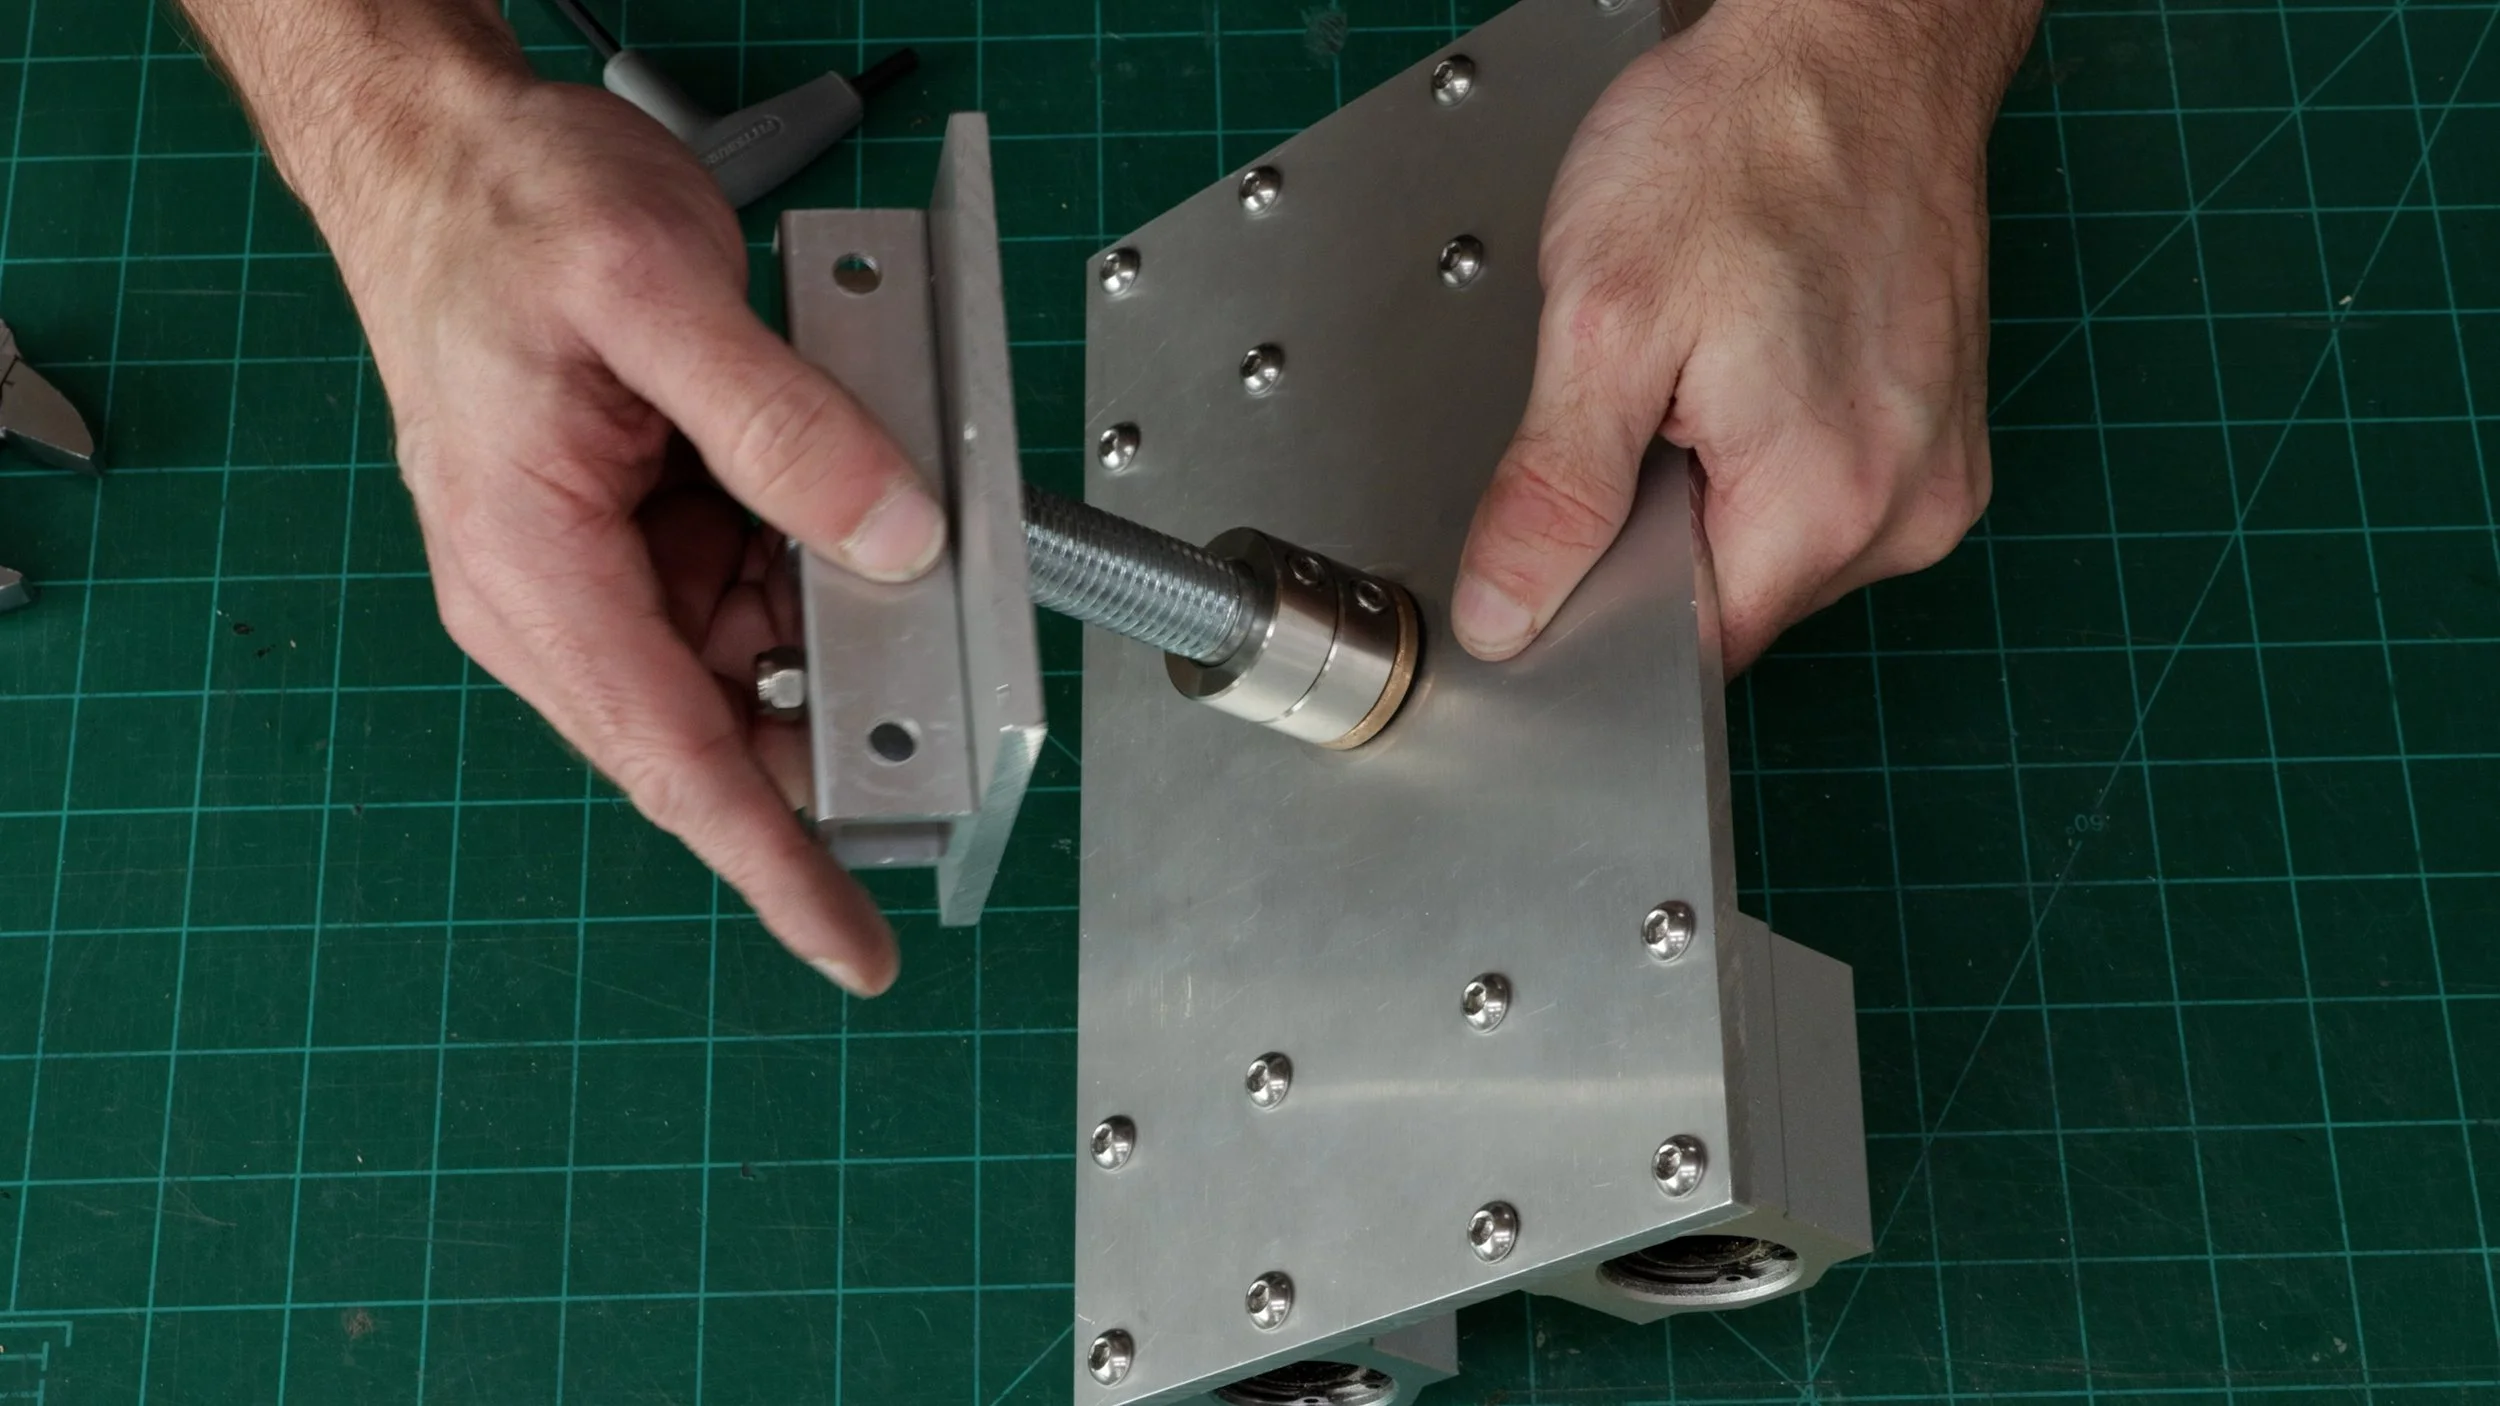
The arm needs to spin 360 degrees. There are several ways to pull this off, but I went with a giant bolt and some bushings. The bolt runs through the bearing plate, nylon washer, and bushing. It connects to an aluminum tube that is bolted to the upper brackets of the arm. The nylon washers and bushings allow it to swivel 360 degrees.
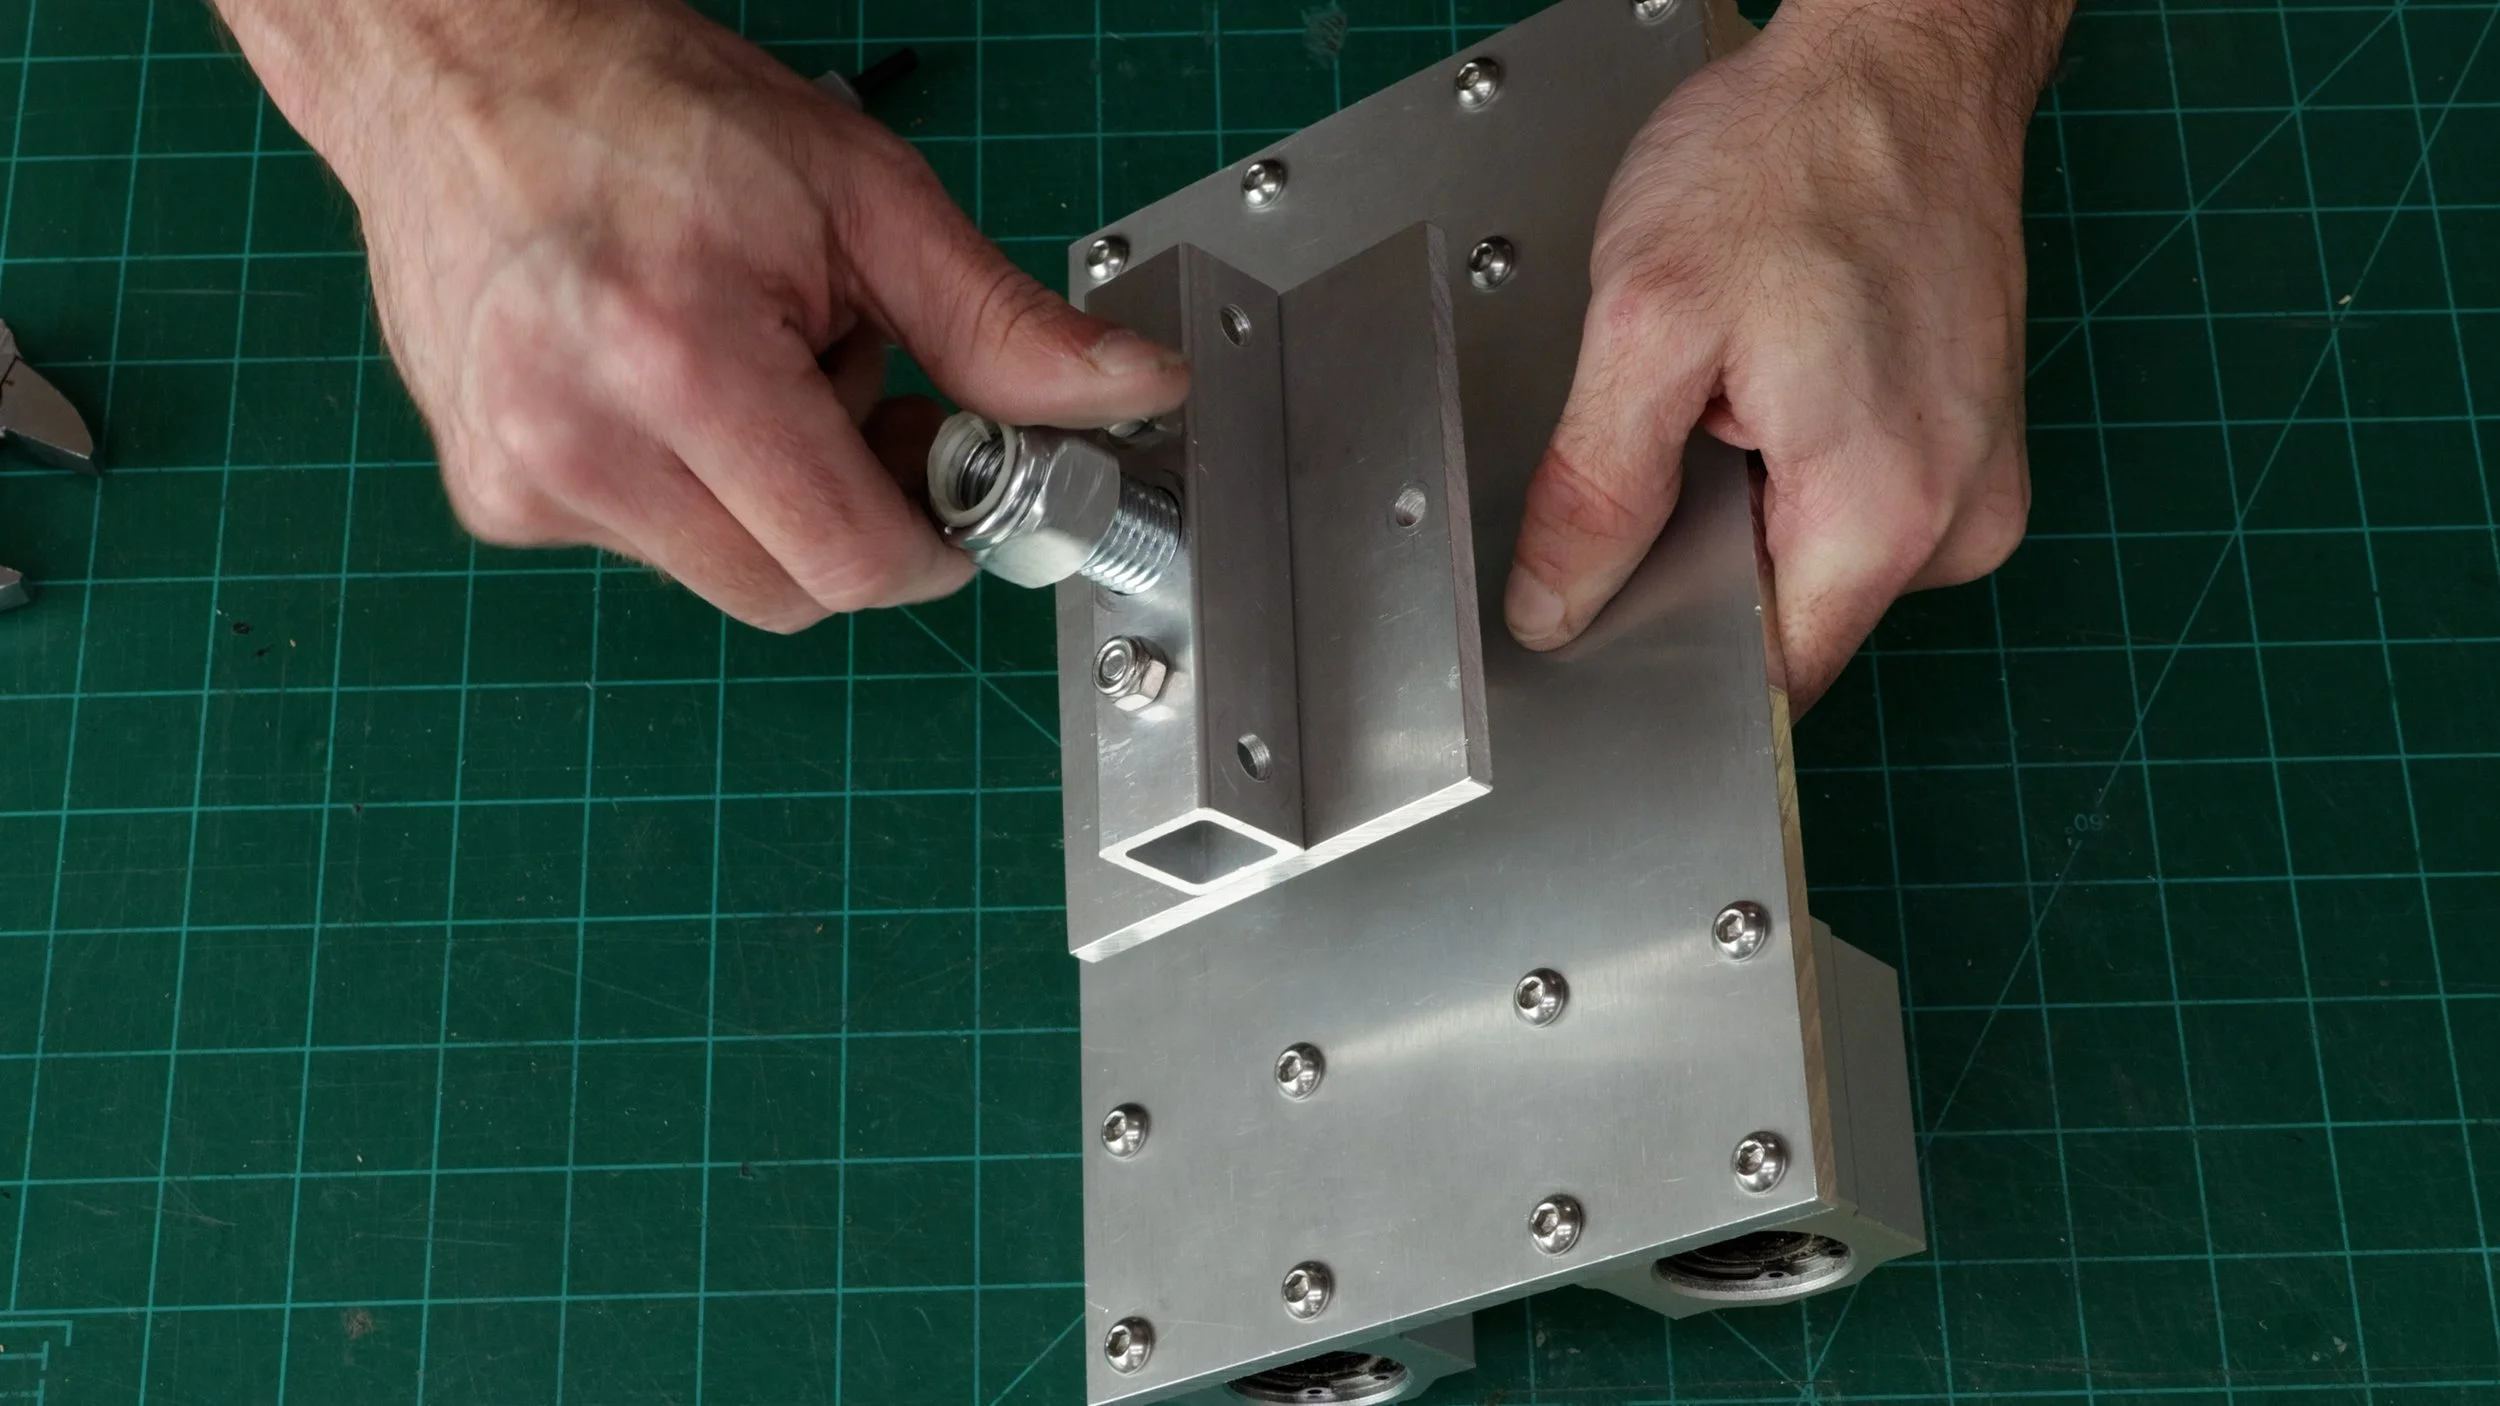
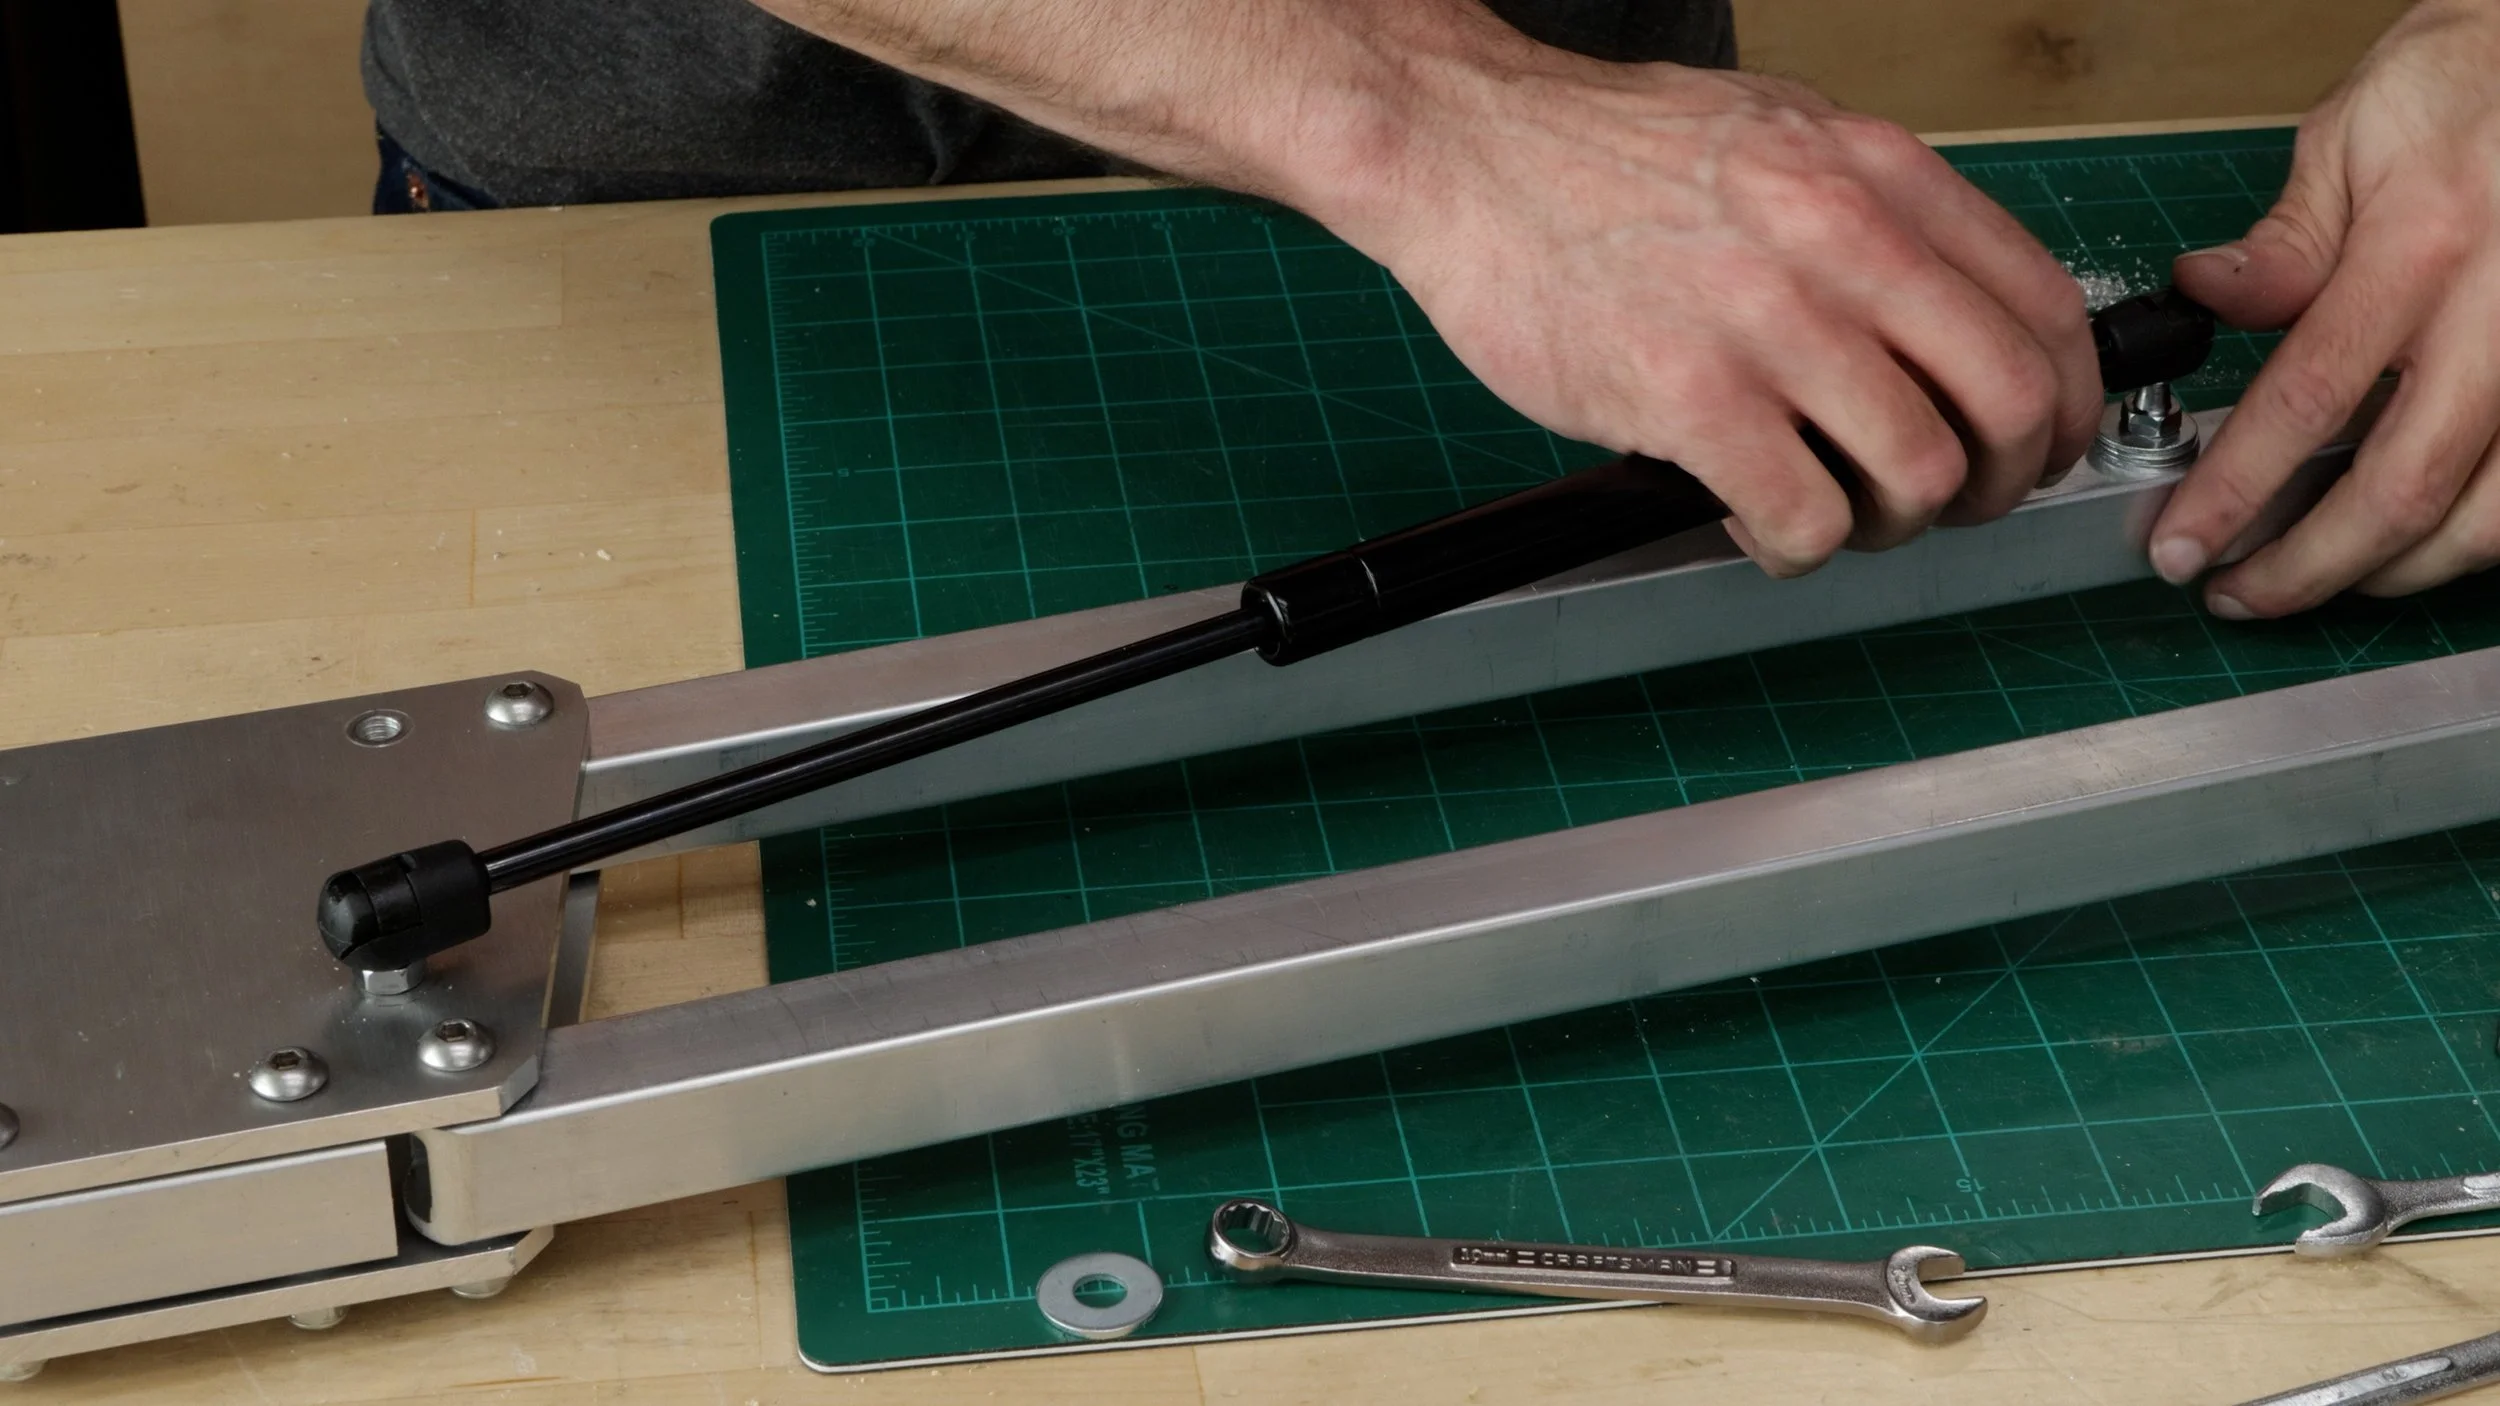
Adjustable Tension
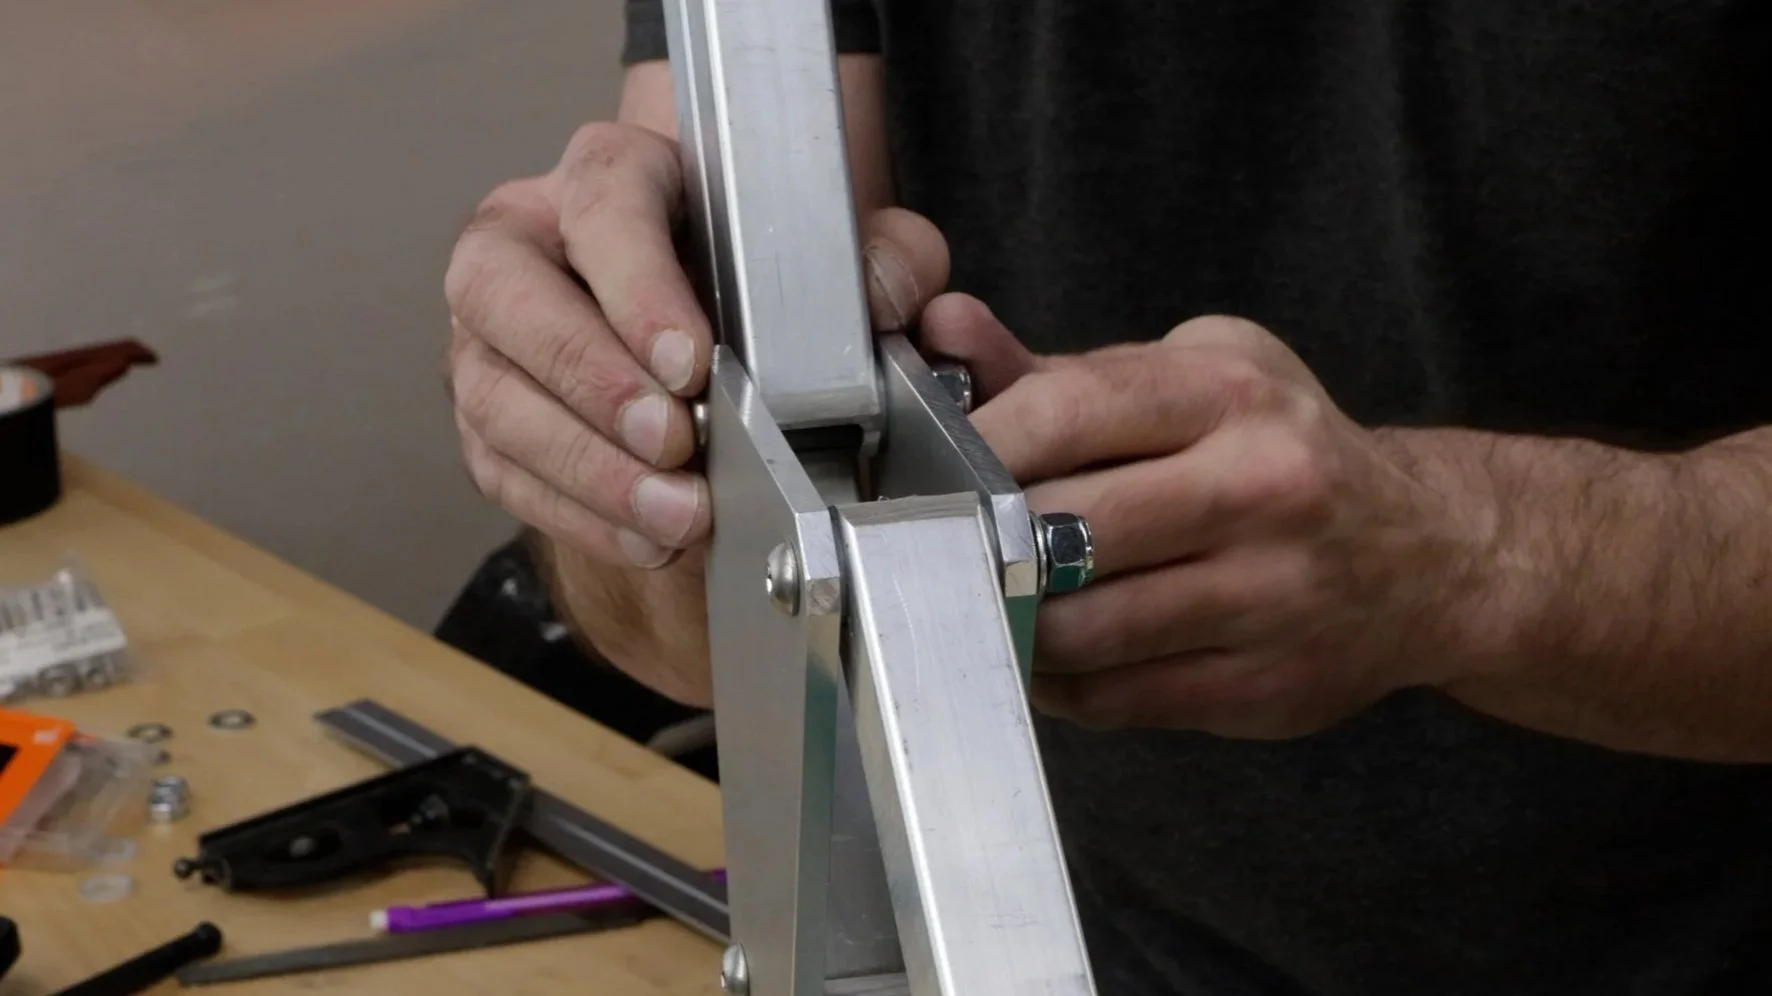
How do we make the arms stay in position, especially when there’s weight on the end from the tool? Plus, all of the arm’s components have to be supported. For starters, the arm doesn’t weigh much because it’s almost entirely aluminum. But the real secret is the tension applied to the nylon washers and the addition of gas struts. There are nylon washers between the arms and brackets. Tightening and loosening the bolts adjusts the tension. To put less strain on these bolts, I added 10lb gas struts that run from the brackets to the upper arms.
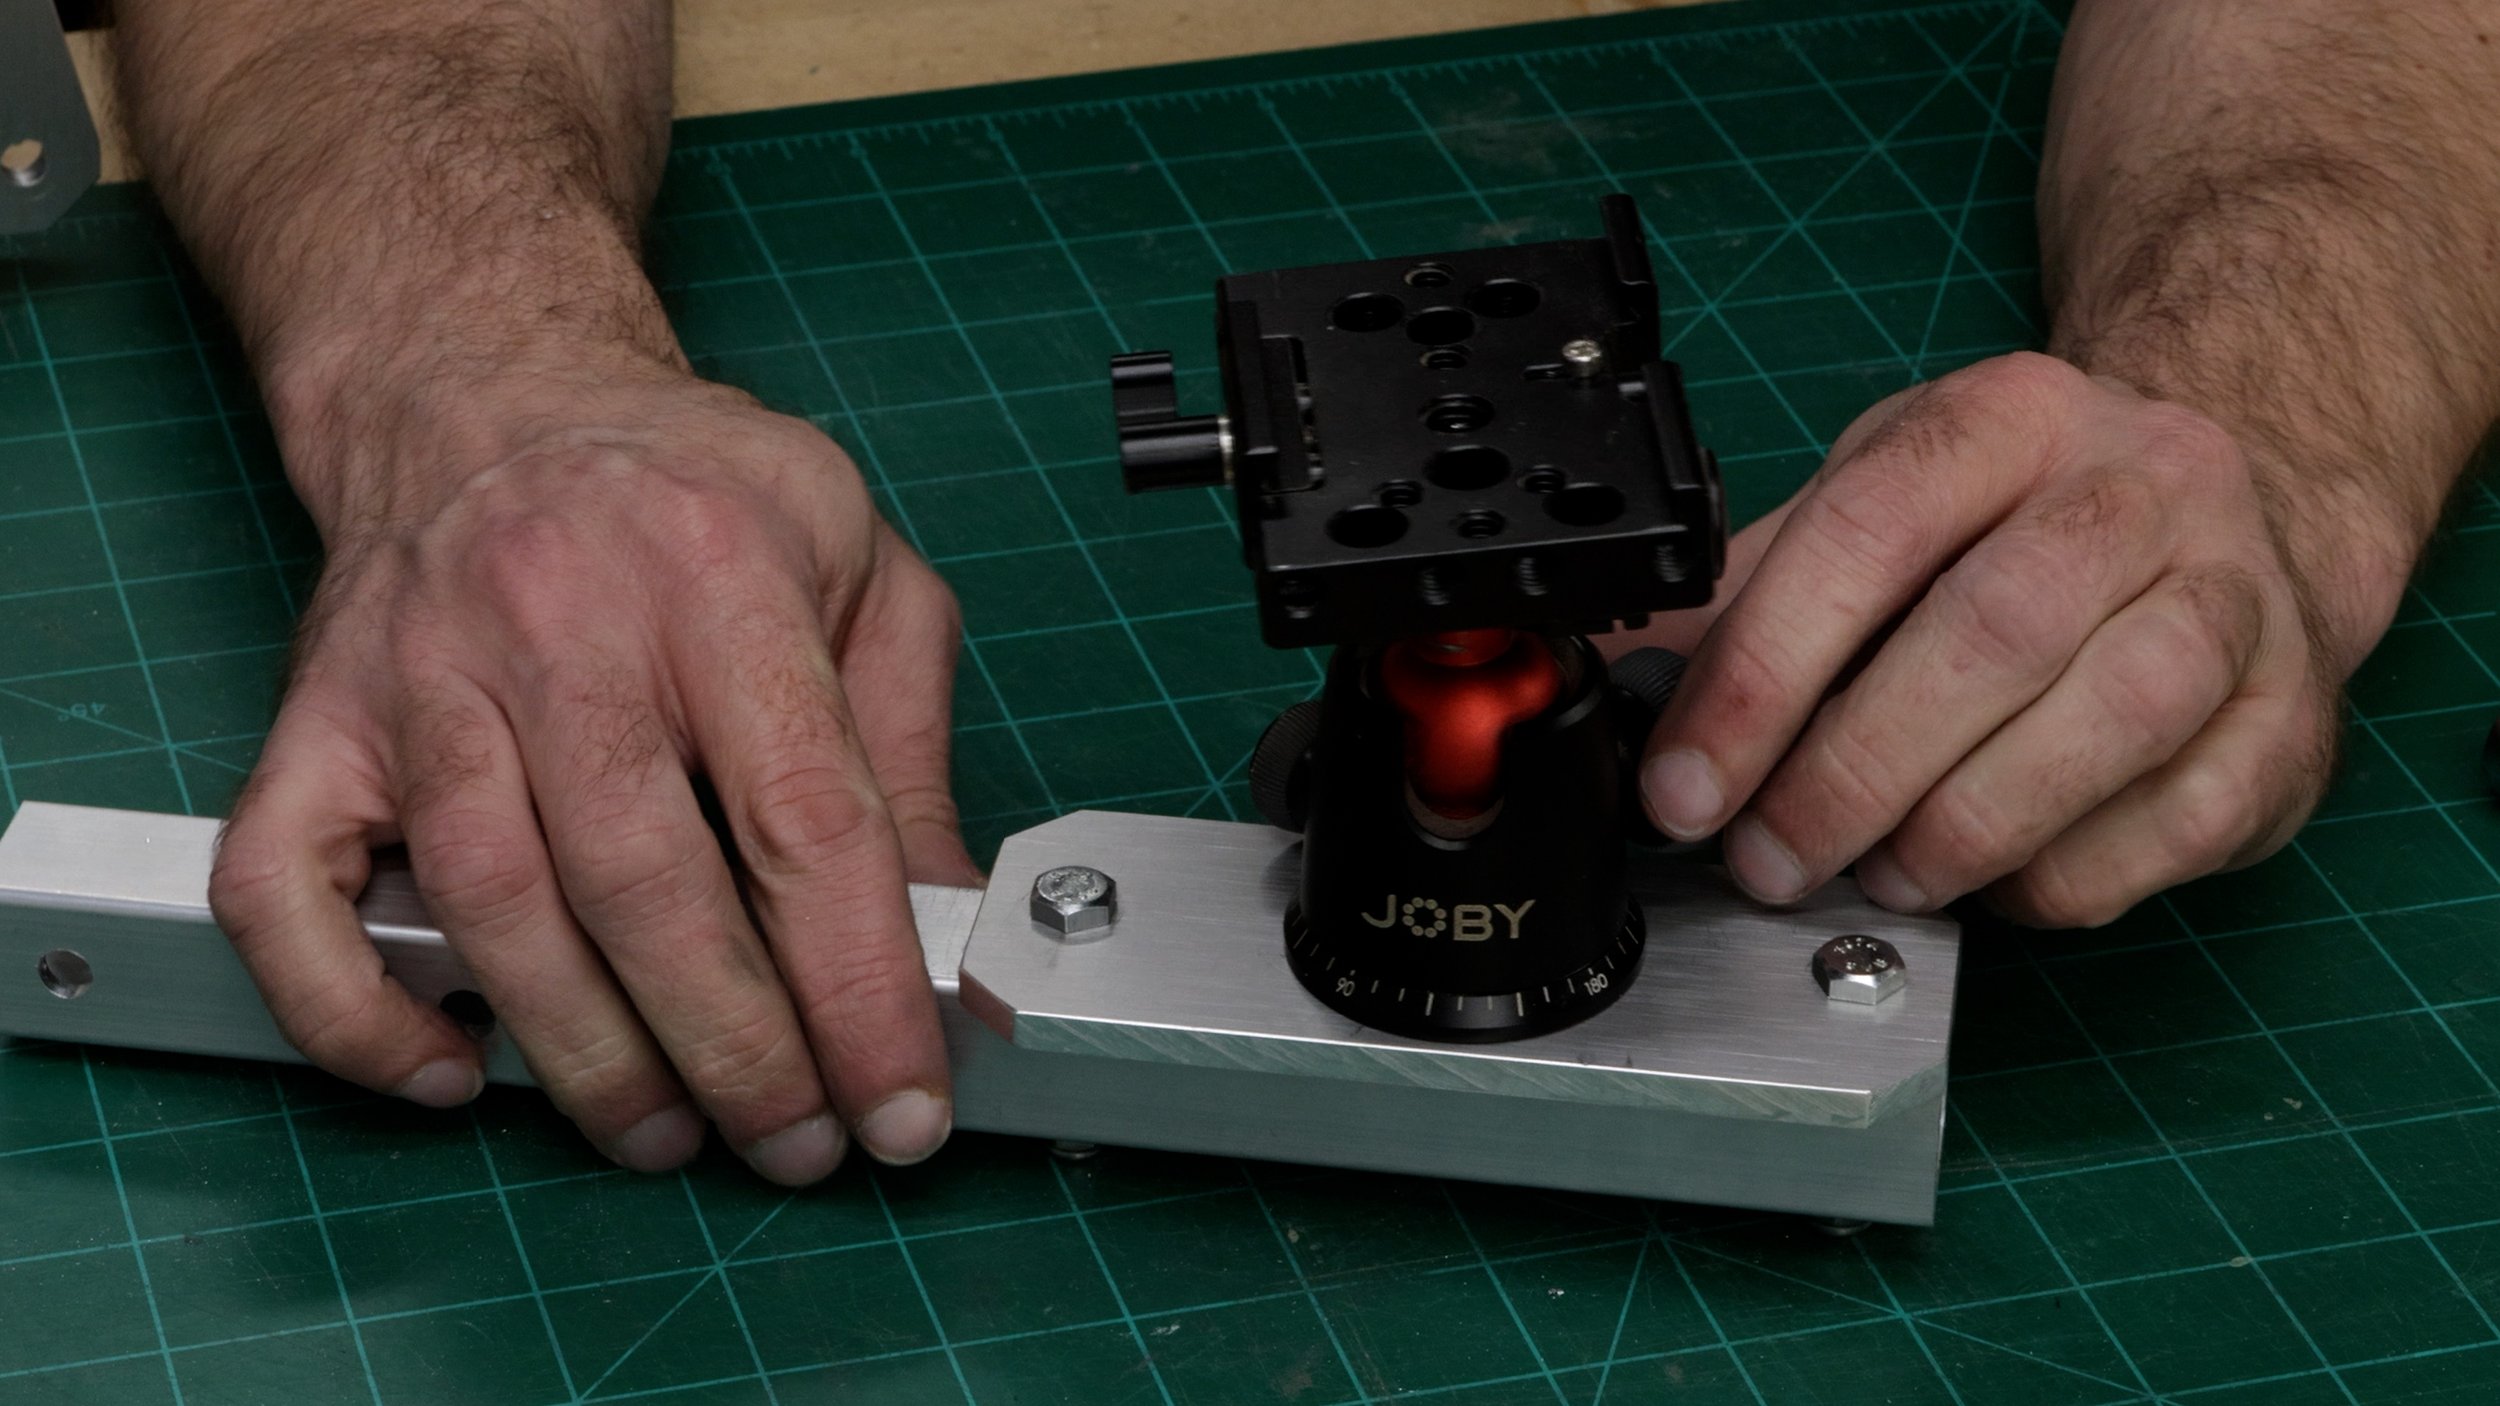
Tool Holder
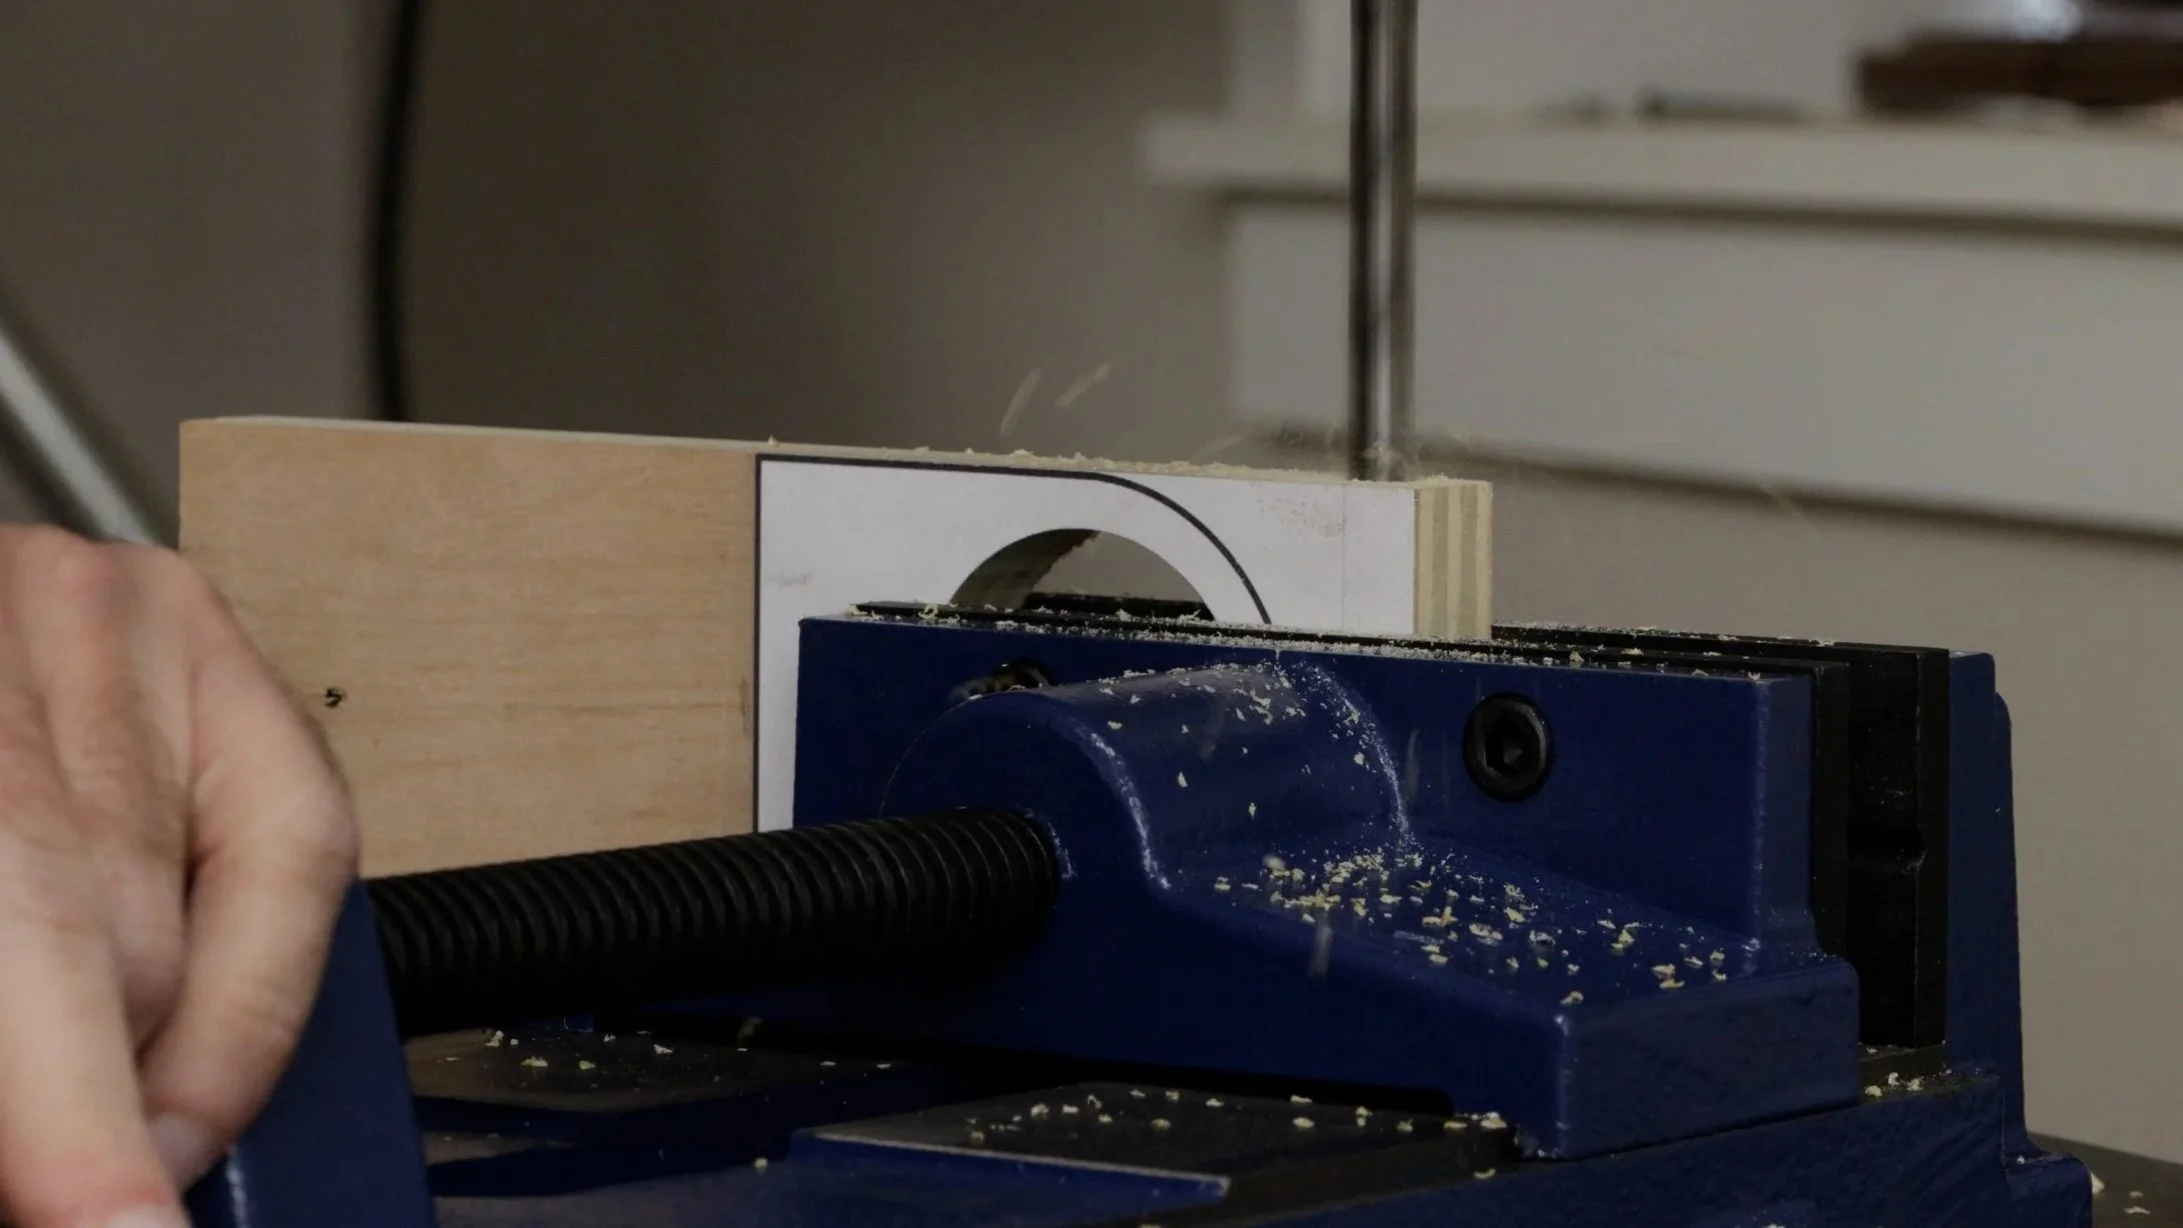
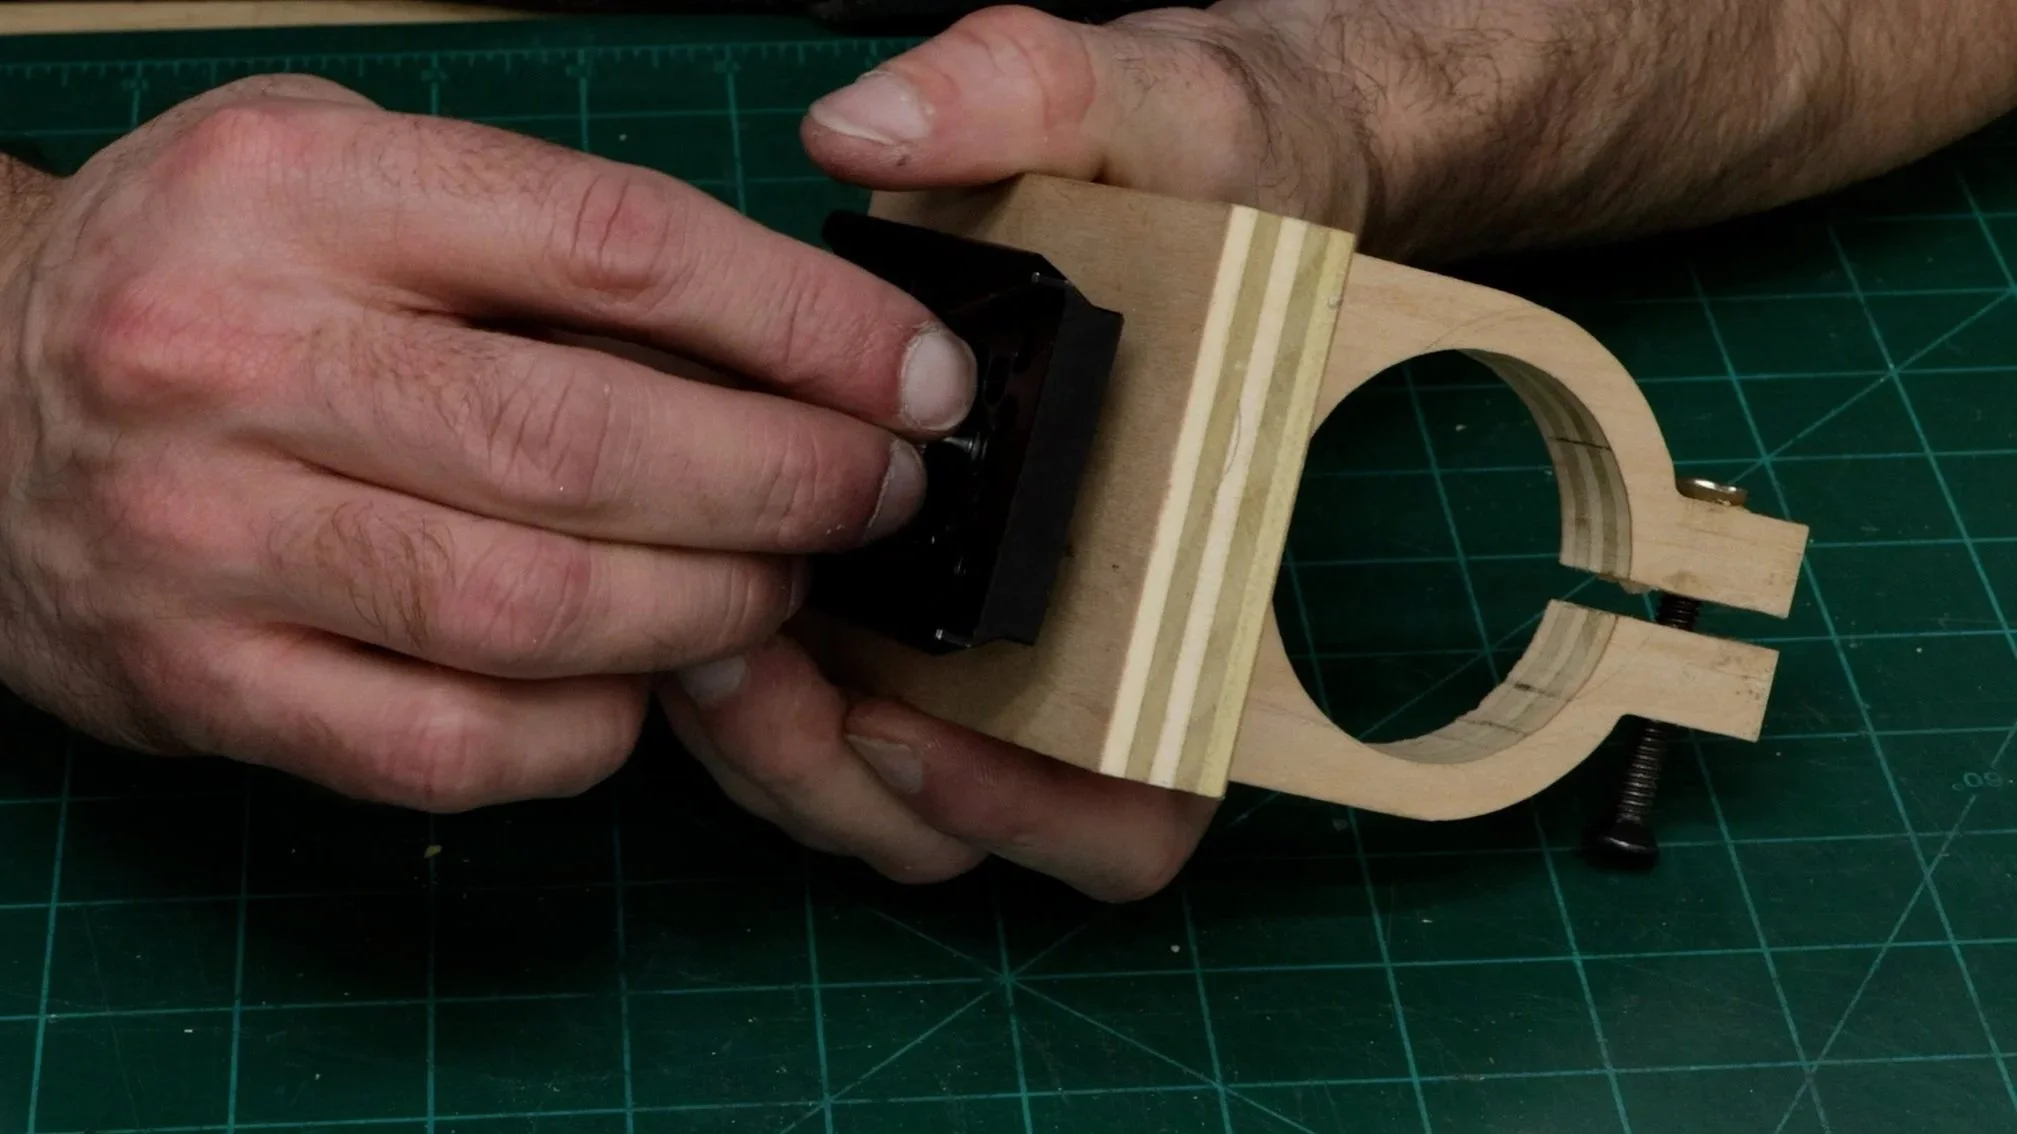
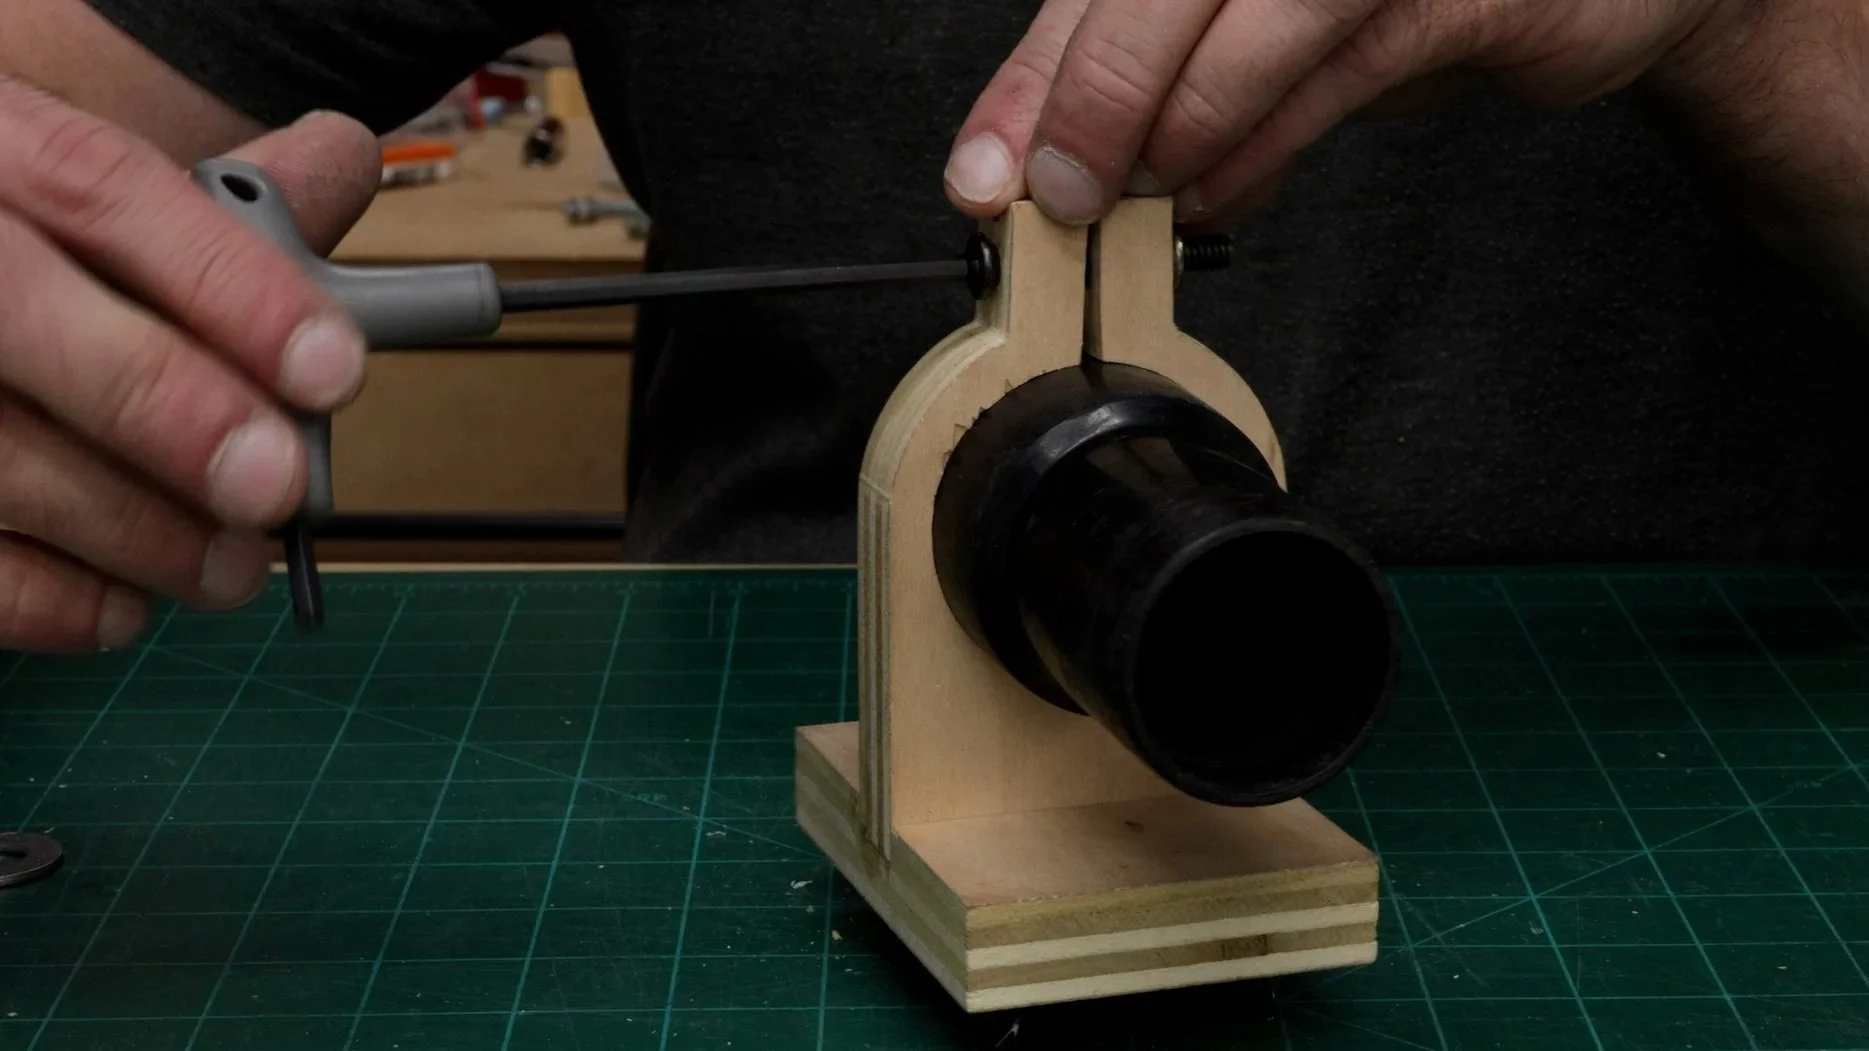
I connected a long square tube and aluminum plate to the very end of the arm. A camera ball mount with a quick release mount is bolted to the plate. The quick release mount is basically just a giant dovetail bracket. This allows me to easily attach and remove anything I want. I have a plate on the bottom of my camera, but I really needed a shop vac hose clamp.
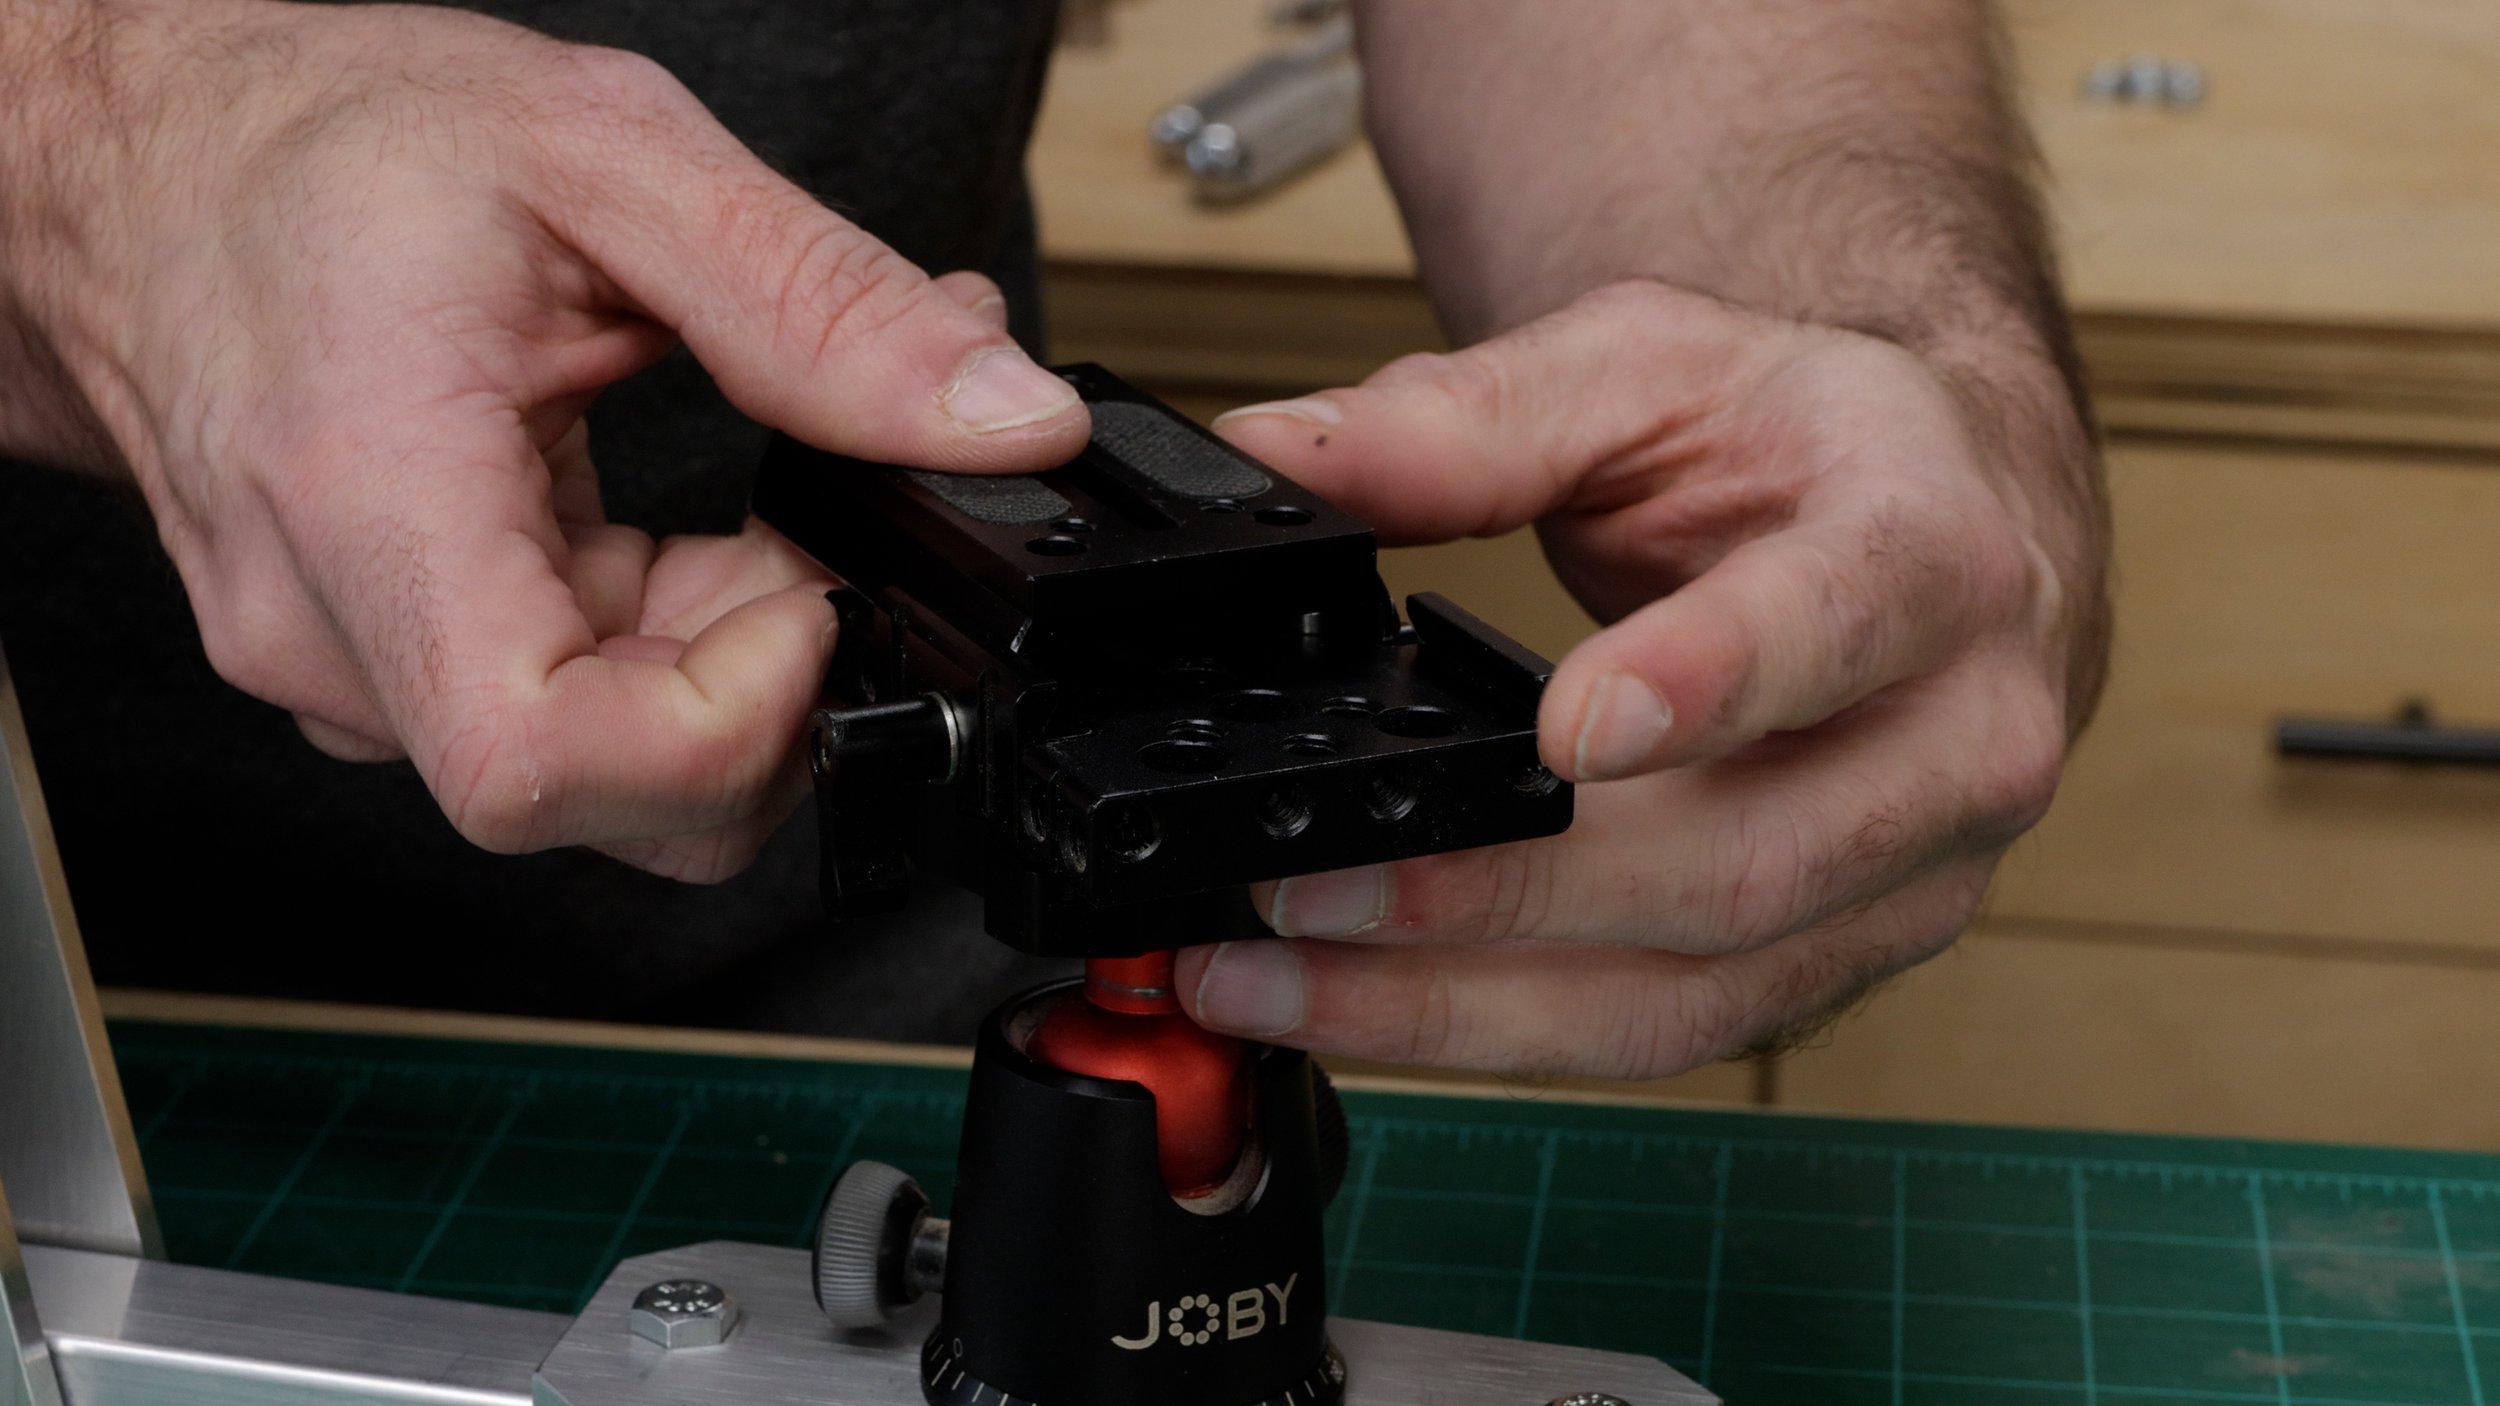
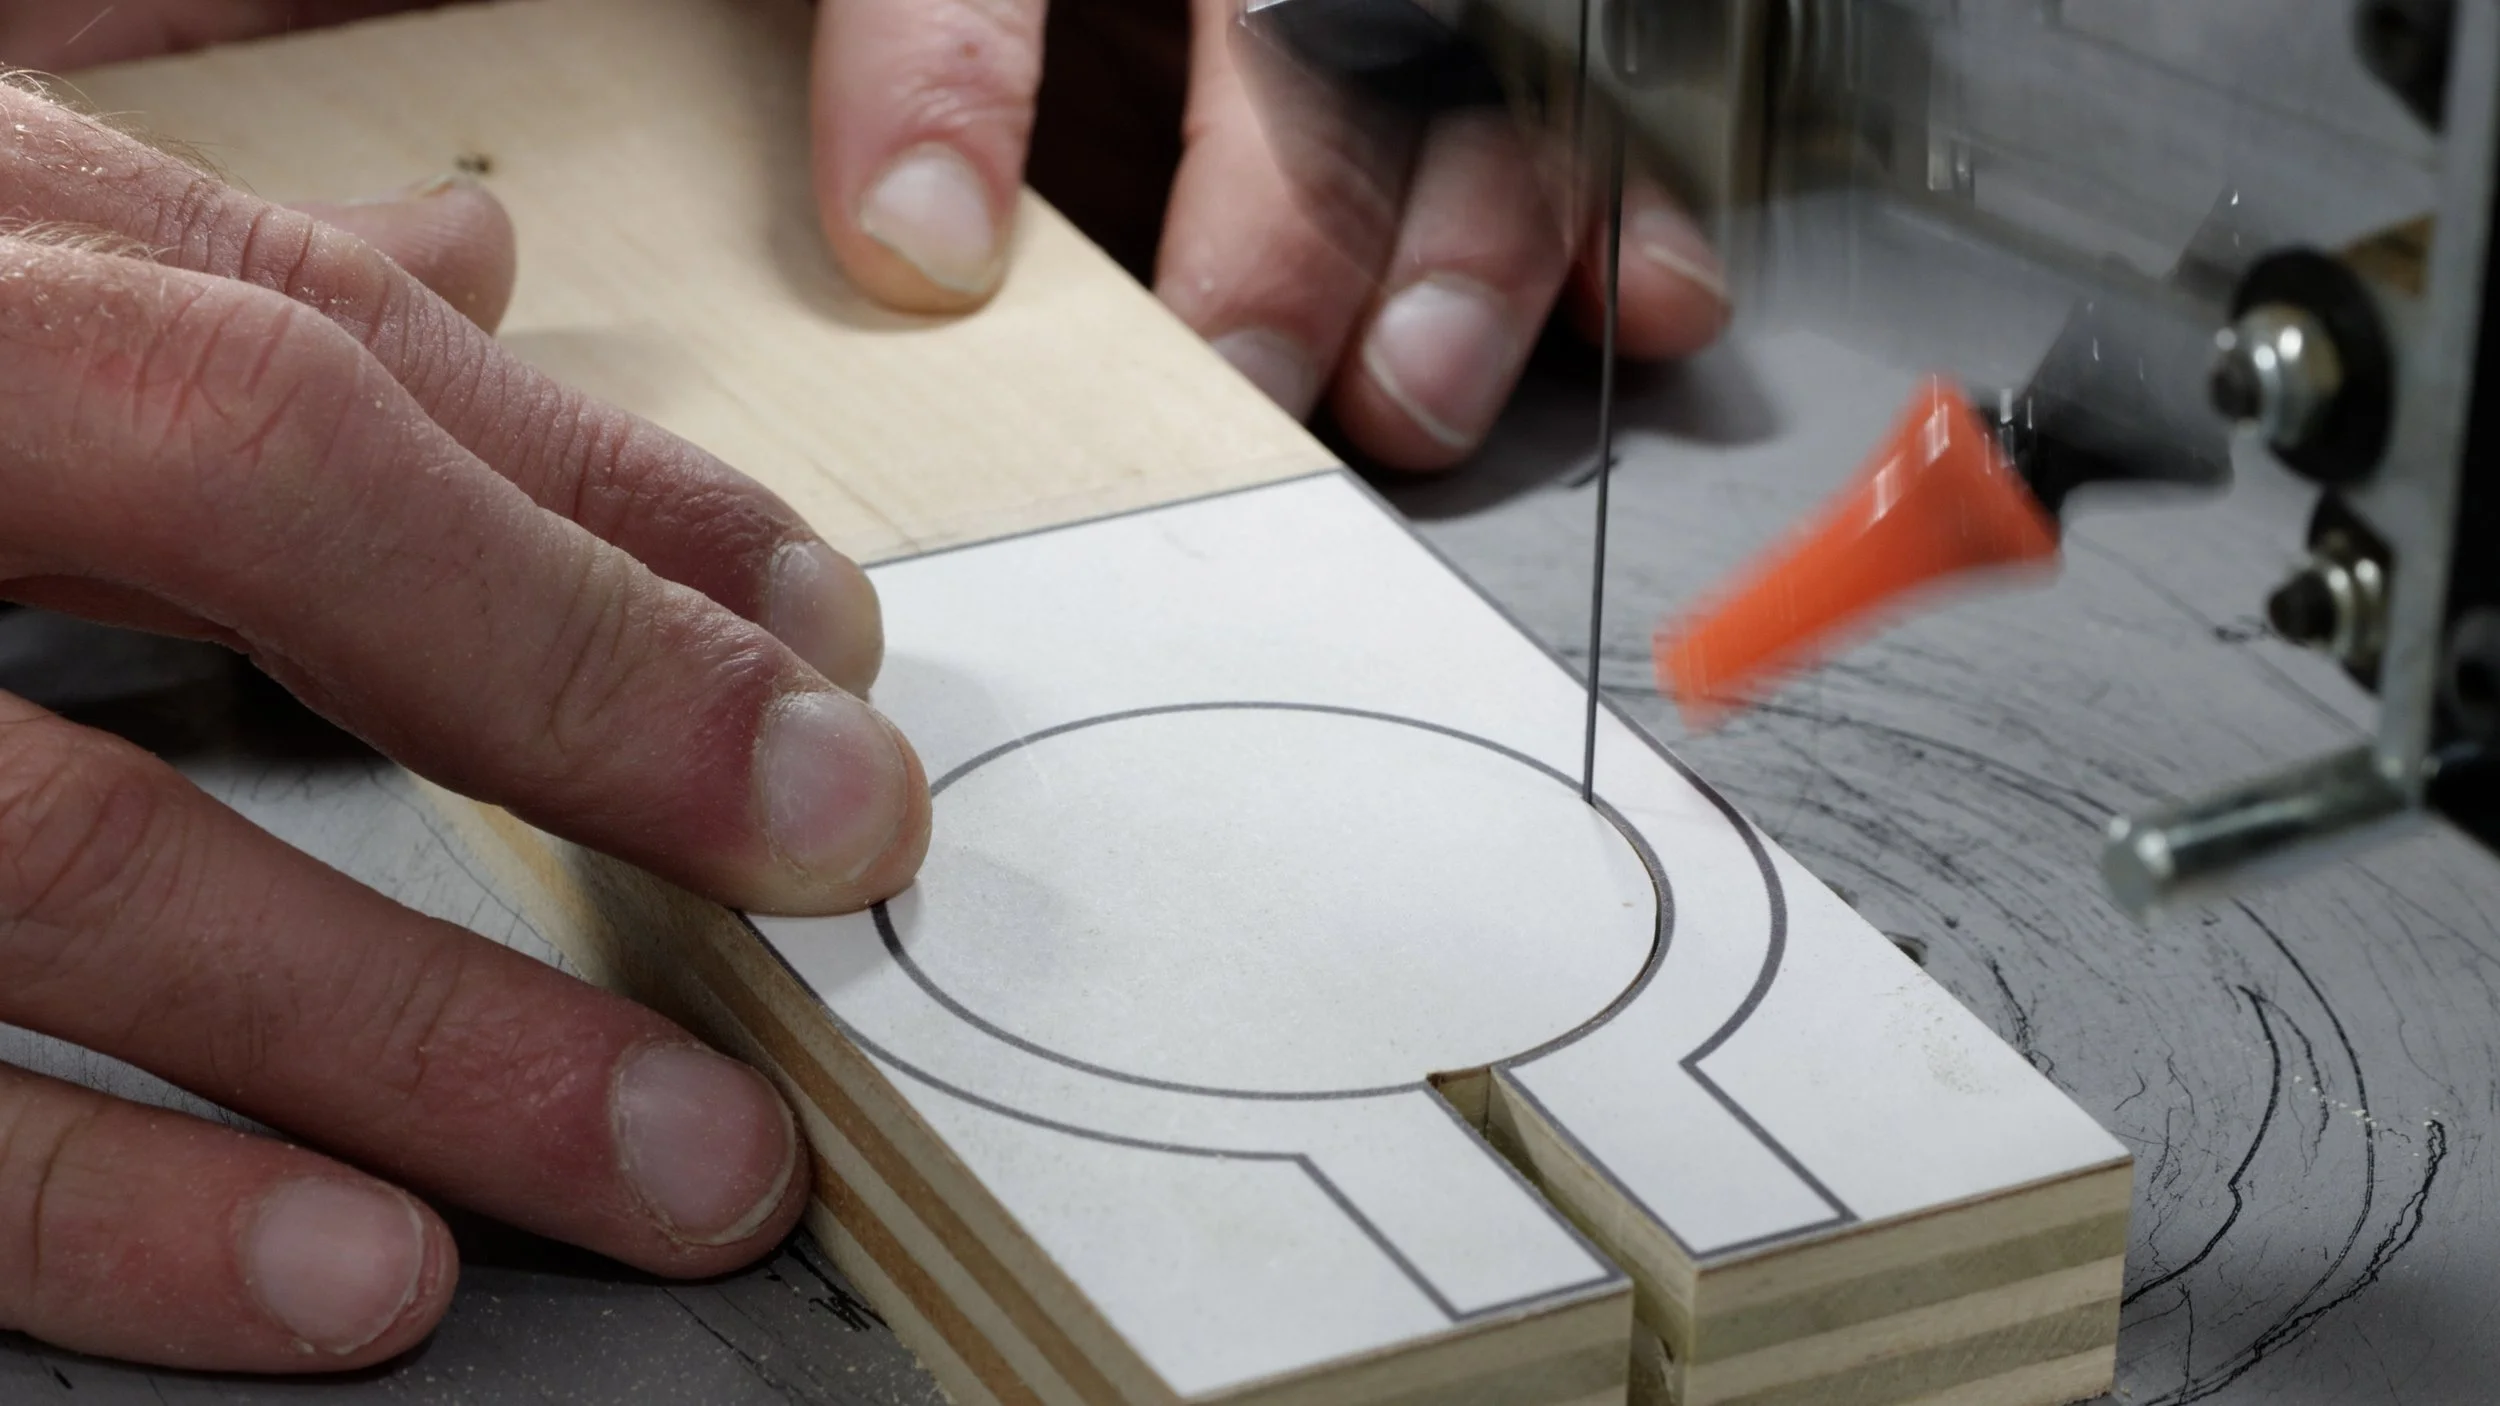
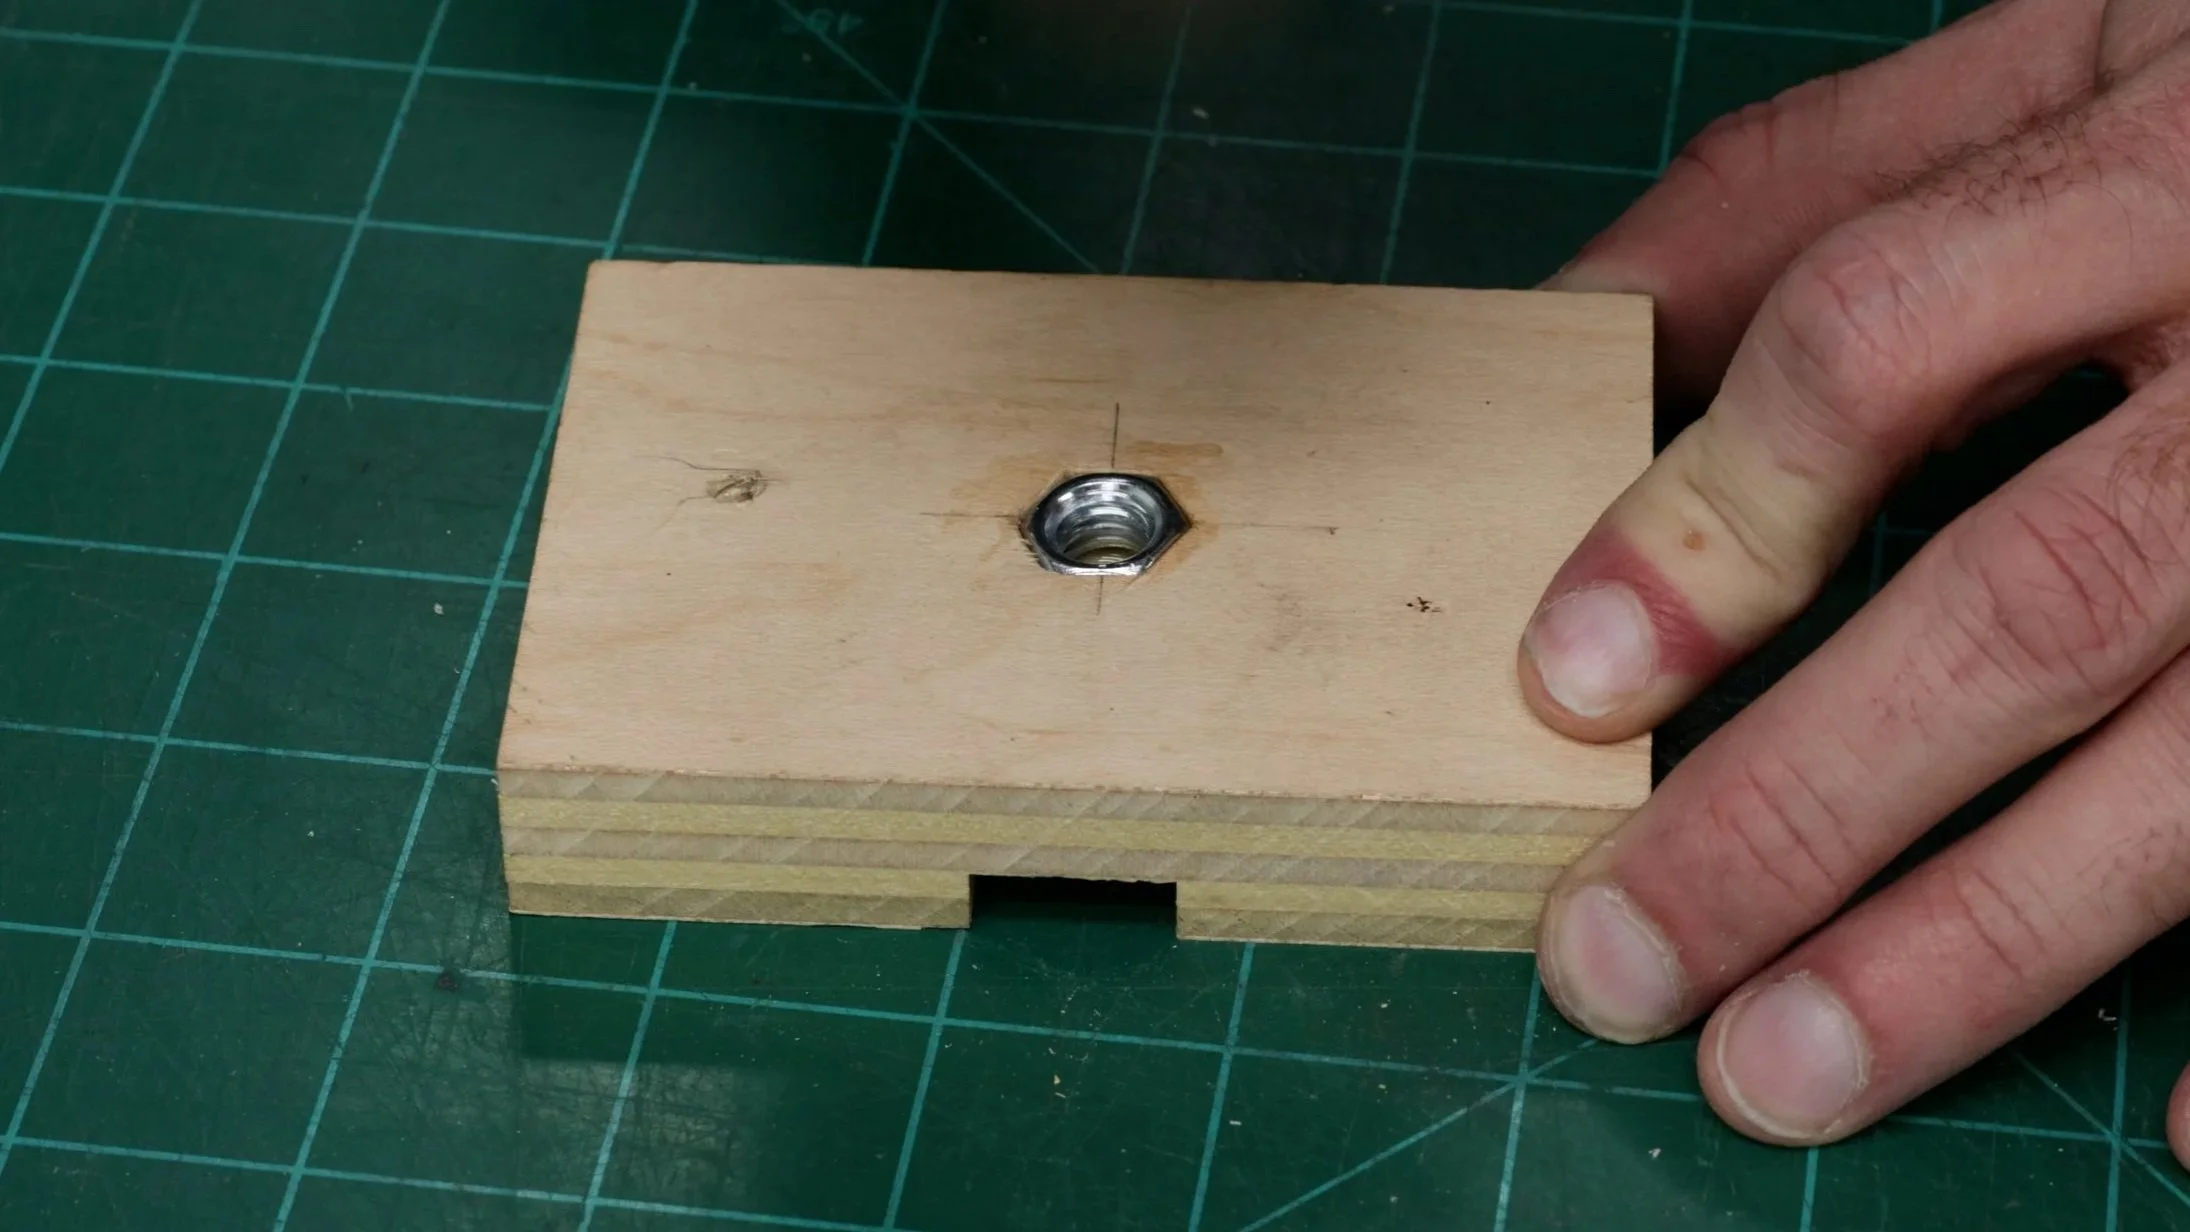
I designed a clamp bracket using Inkscape. After sticking the template to a piece of plywood, I cut it out at the scroll saw and then drilled holes in the top section. The holes are for a threaded insert and a bolt. The bracket is glued into a small piece of plywood with a hex nut embedded into it. I screwed the dovetail plate to the bottom of the clamp holder. Now I have the way to perfectly position my shop vac hose when sanding projects.
I’m thrilled with how this projected turned out. Sometimes, it’s not about making the most practical or utilitarian project. Instead, we can make off-the-wall (or in this case off-the-ceiling) projects that test our problem solving ability and push us to learn new skills.