
Making My Most Difficult Scroll Saw Project Yet
I tackled my hardest scroll saw project ever. It has over 800 individual pieces and uses 7 different wood species. Going into it, I knew this would be either be the most epic project I’ve ever made or a crushing failure.
The Canvas
Everything starts with a good foundation. I glued wenge veneer to a piece of 1/2” thick MDF. This would be the canvas of my artwork. Once I apply finish at the end of the project, the wenge will serve as the dark, negative space of the picture.
The Artwork
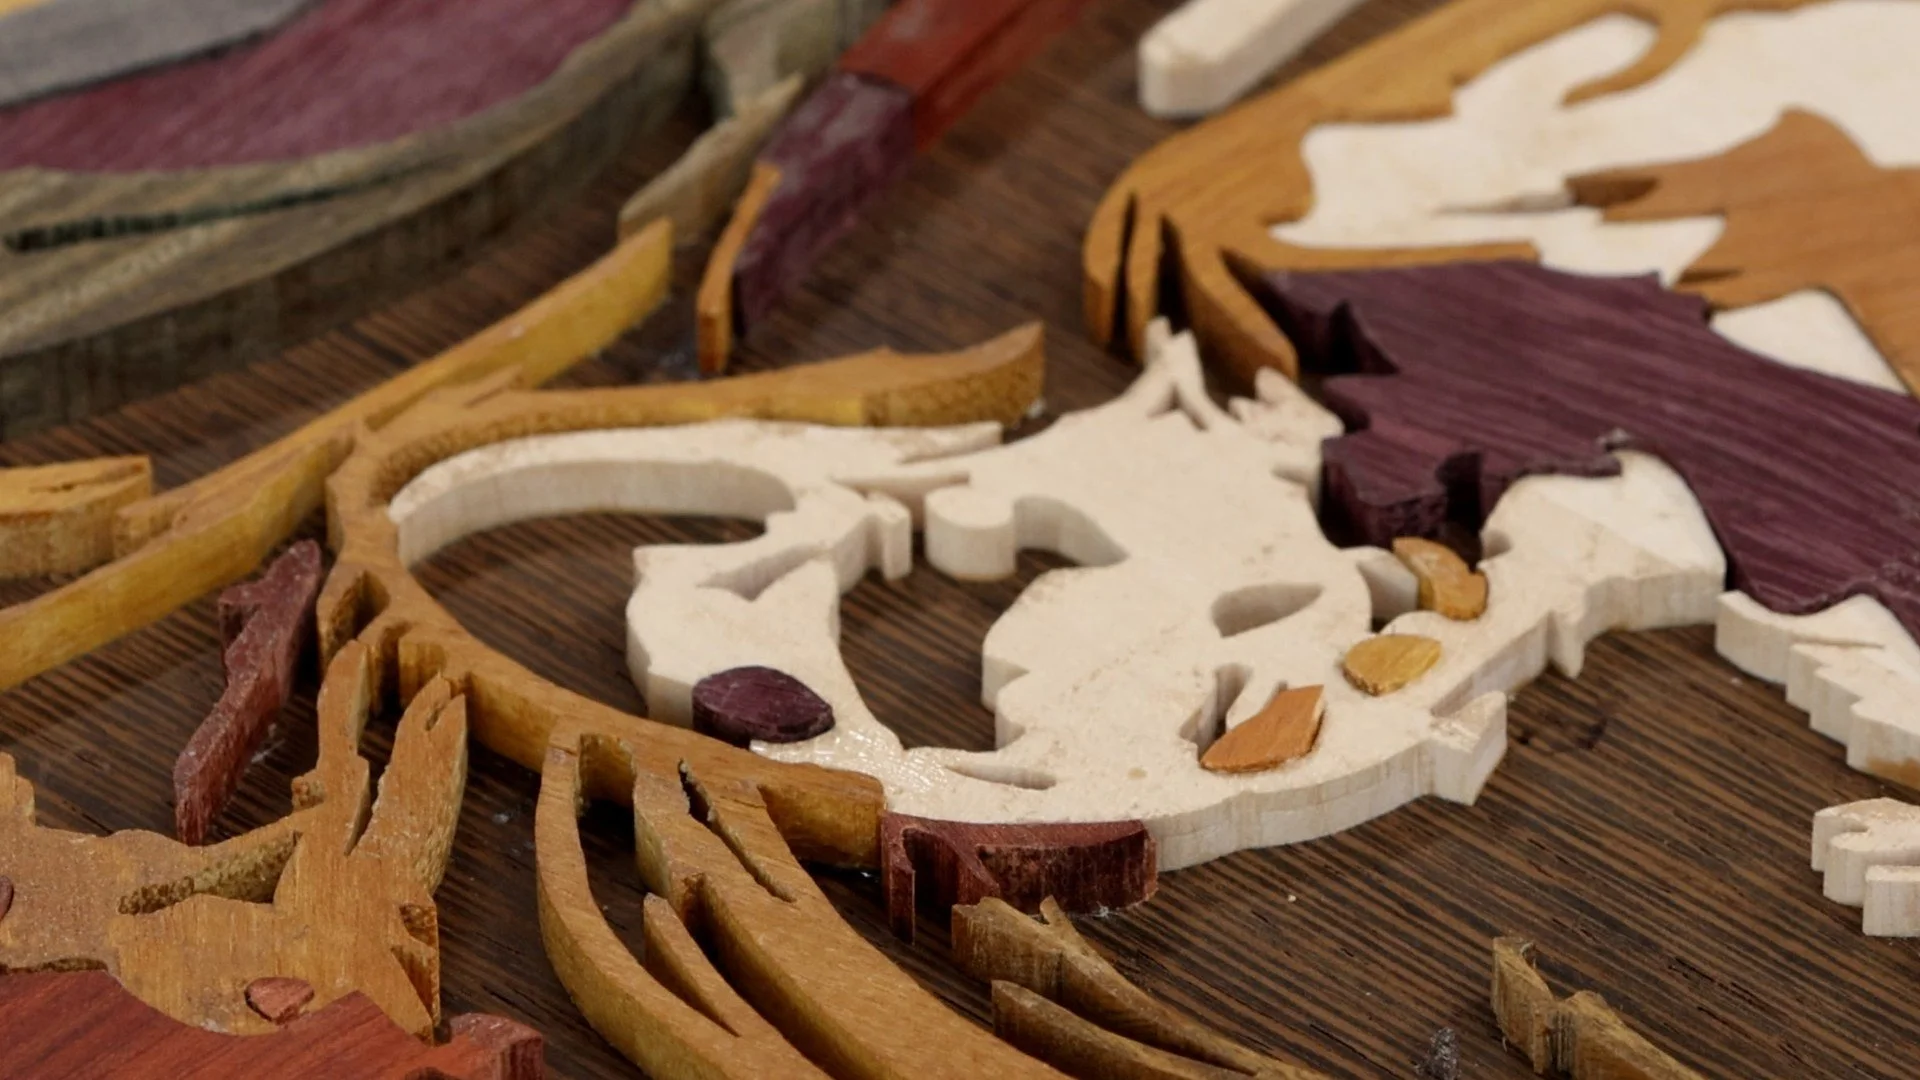
I wanted a pop art vibe so I drew a picture of different color paint splattered and dripping down a canvas. The paint forms a woman with sunglasses. I didn’t want to use actual paint or stain on the wood pieces. I wanted all the colors to be natural. Throughout the design process I though about the natural colors I could use for each piece. Ultimately, I used maple, osage, lignum vitae, purple heart, bloodwood, blue mahoe, and wenge.
My Scroll Saw Process
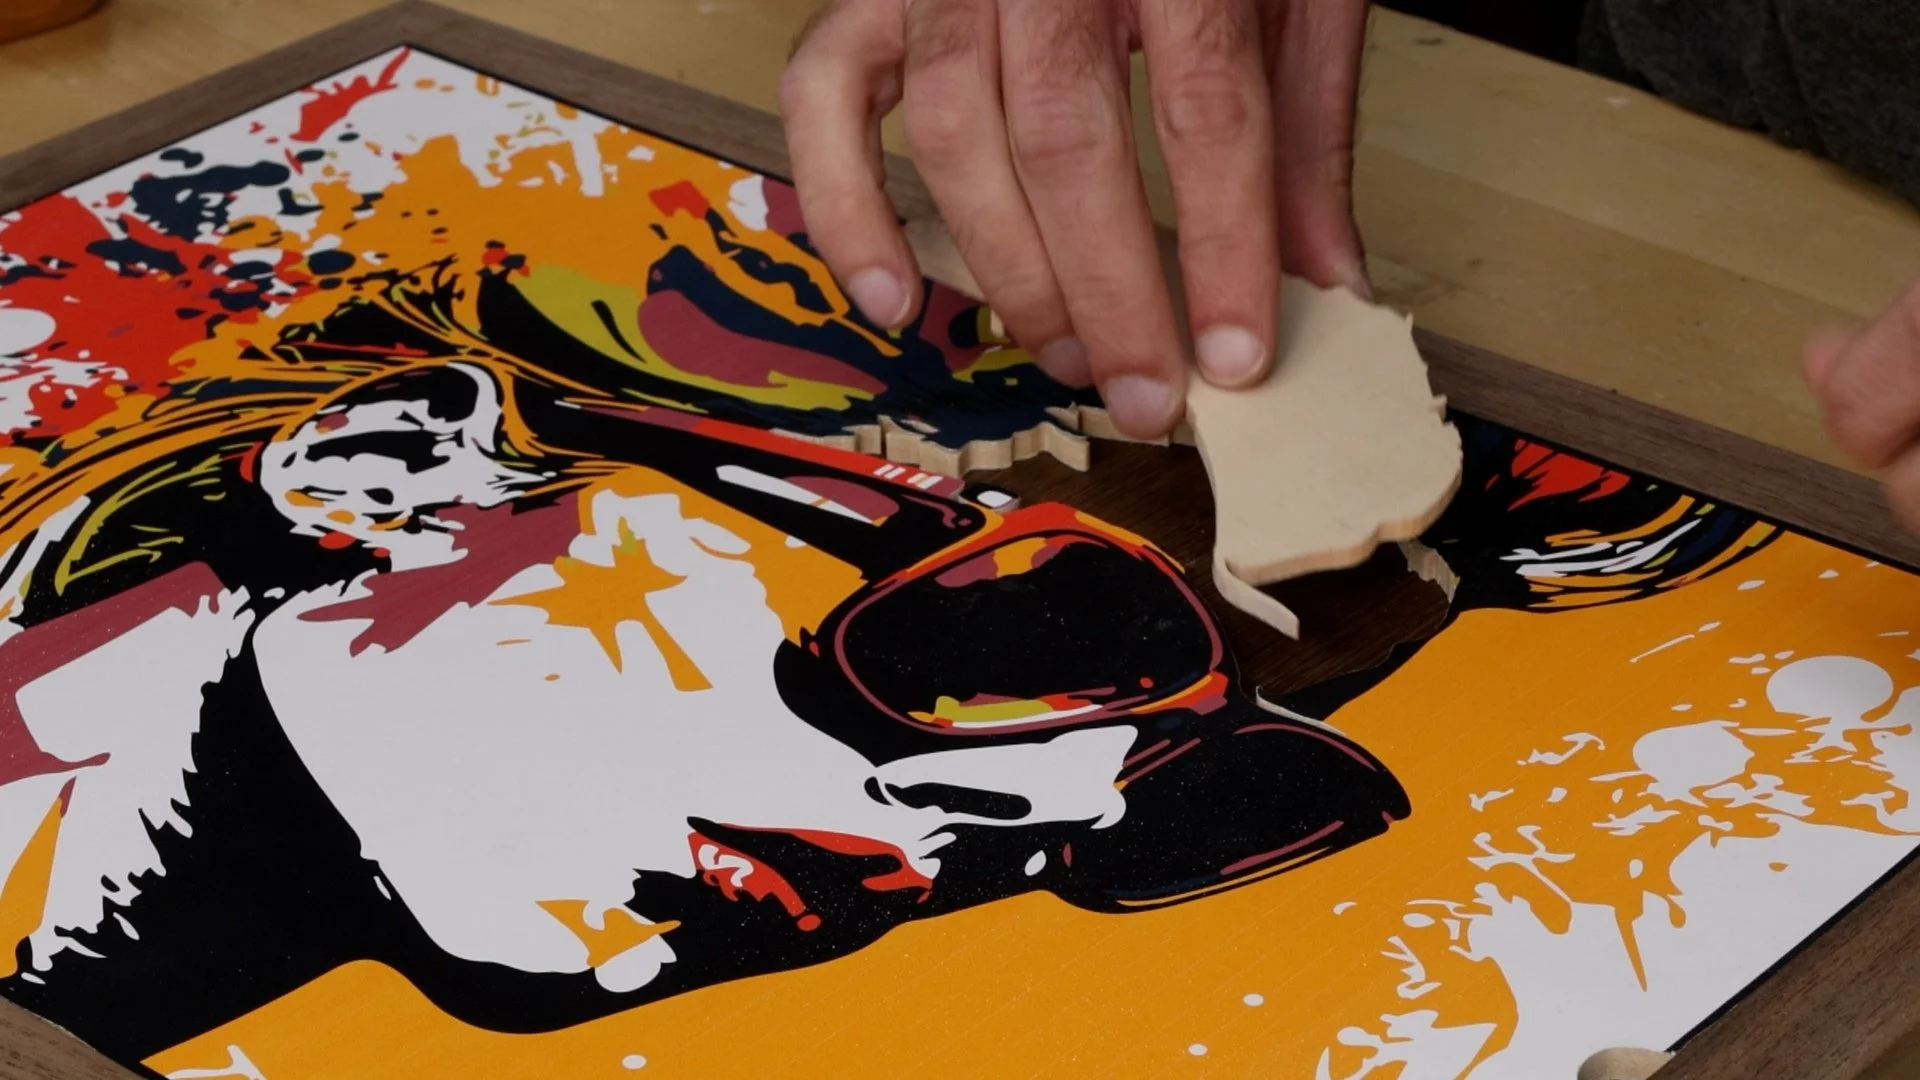
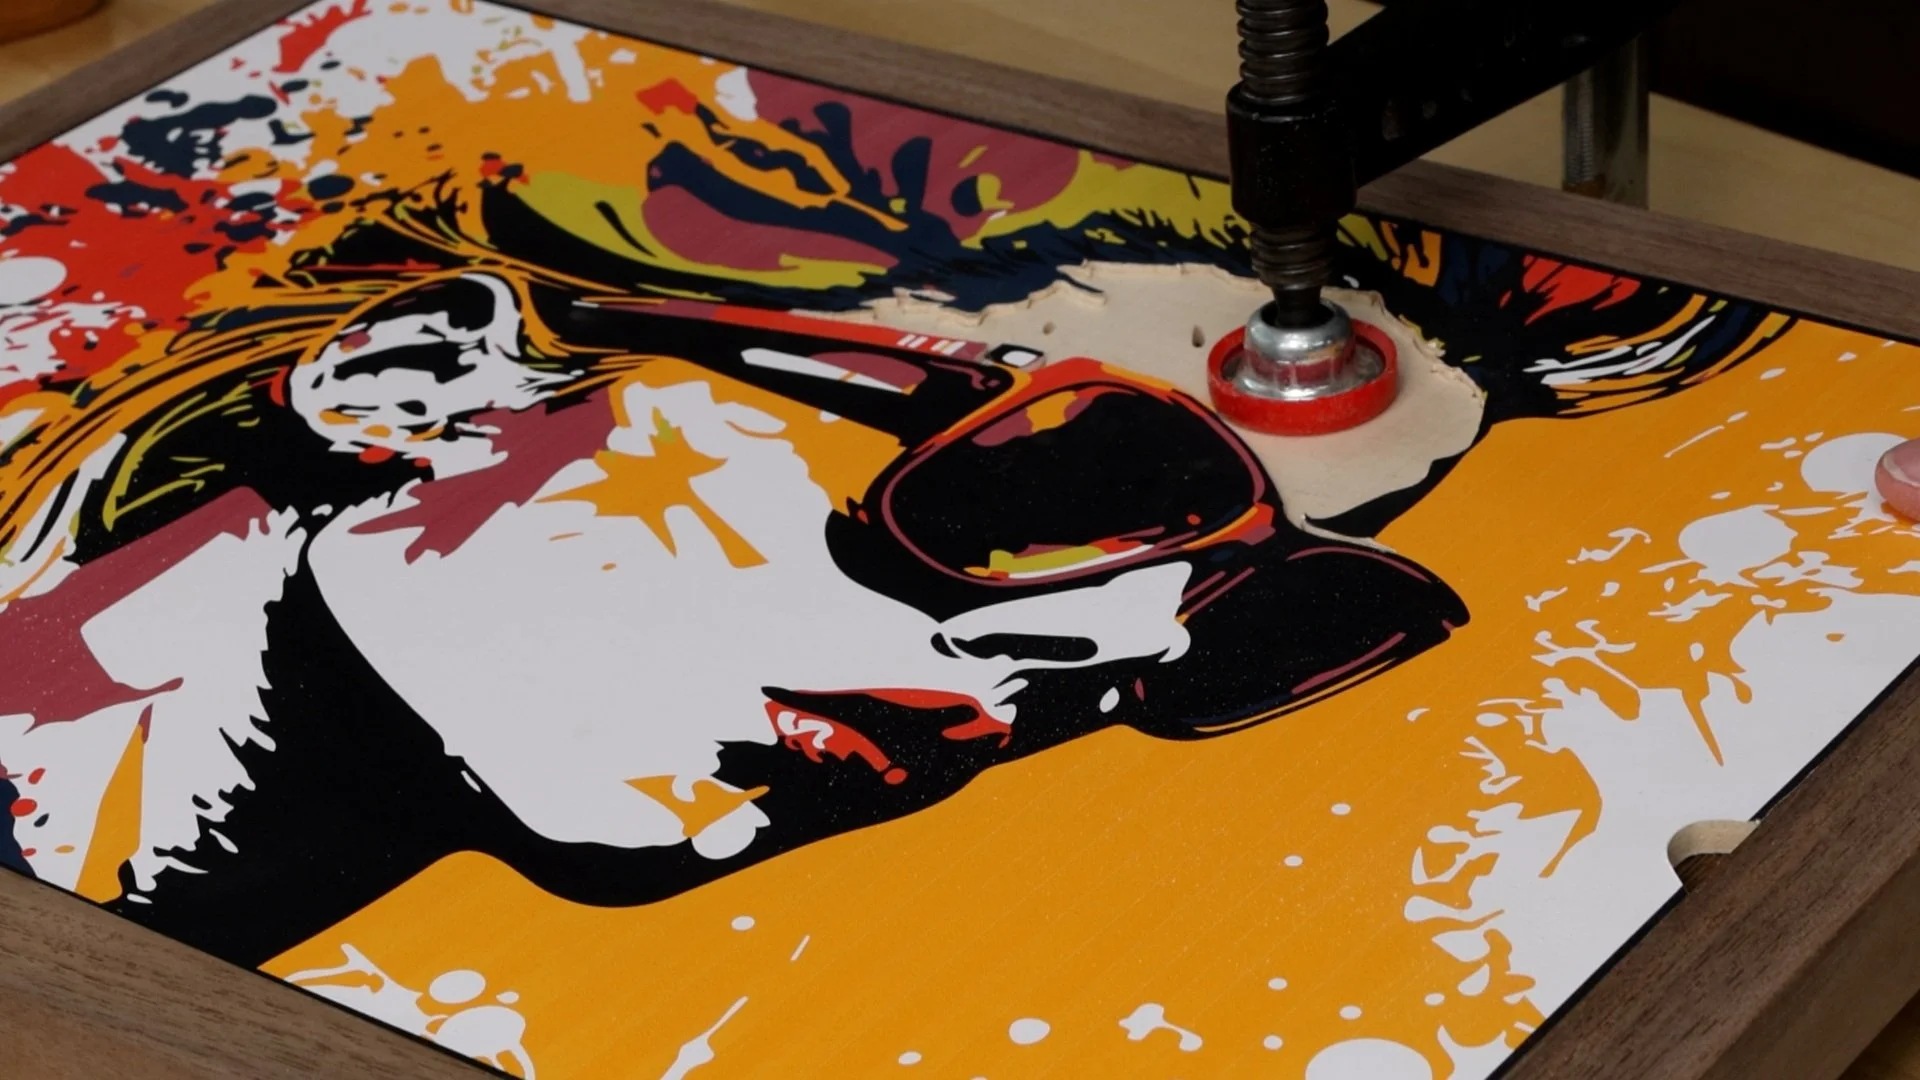
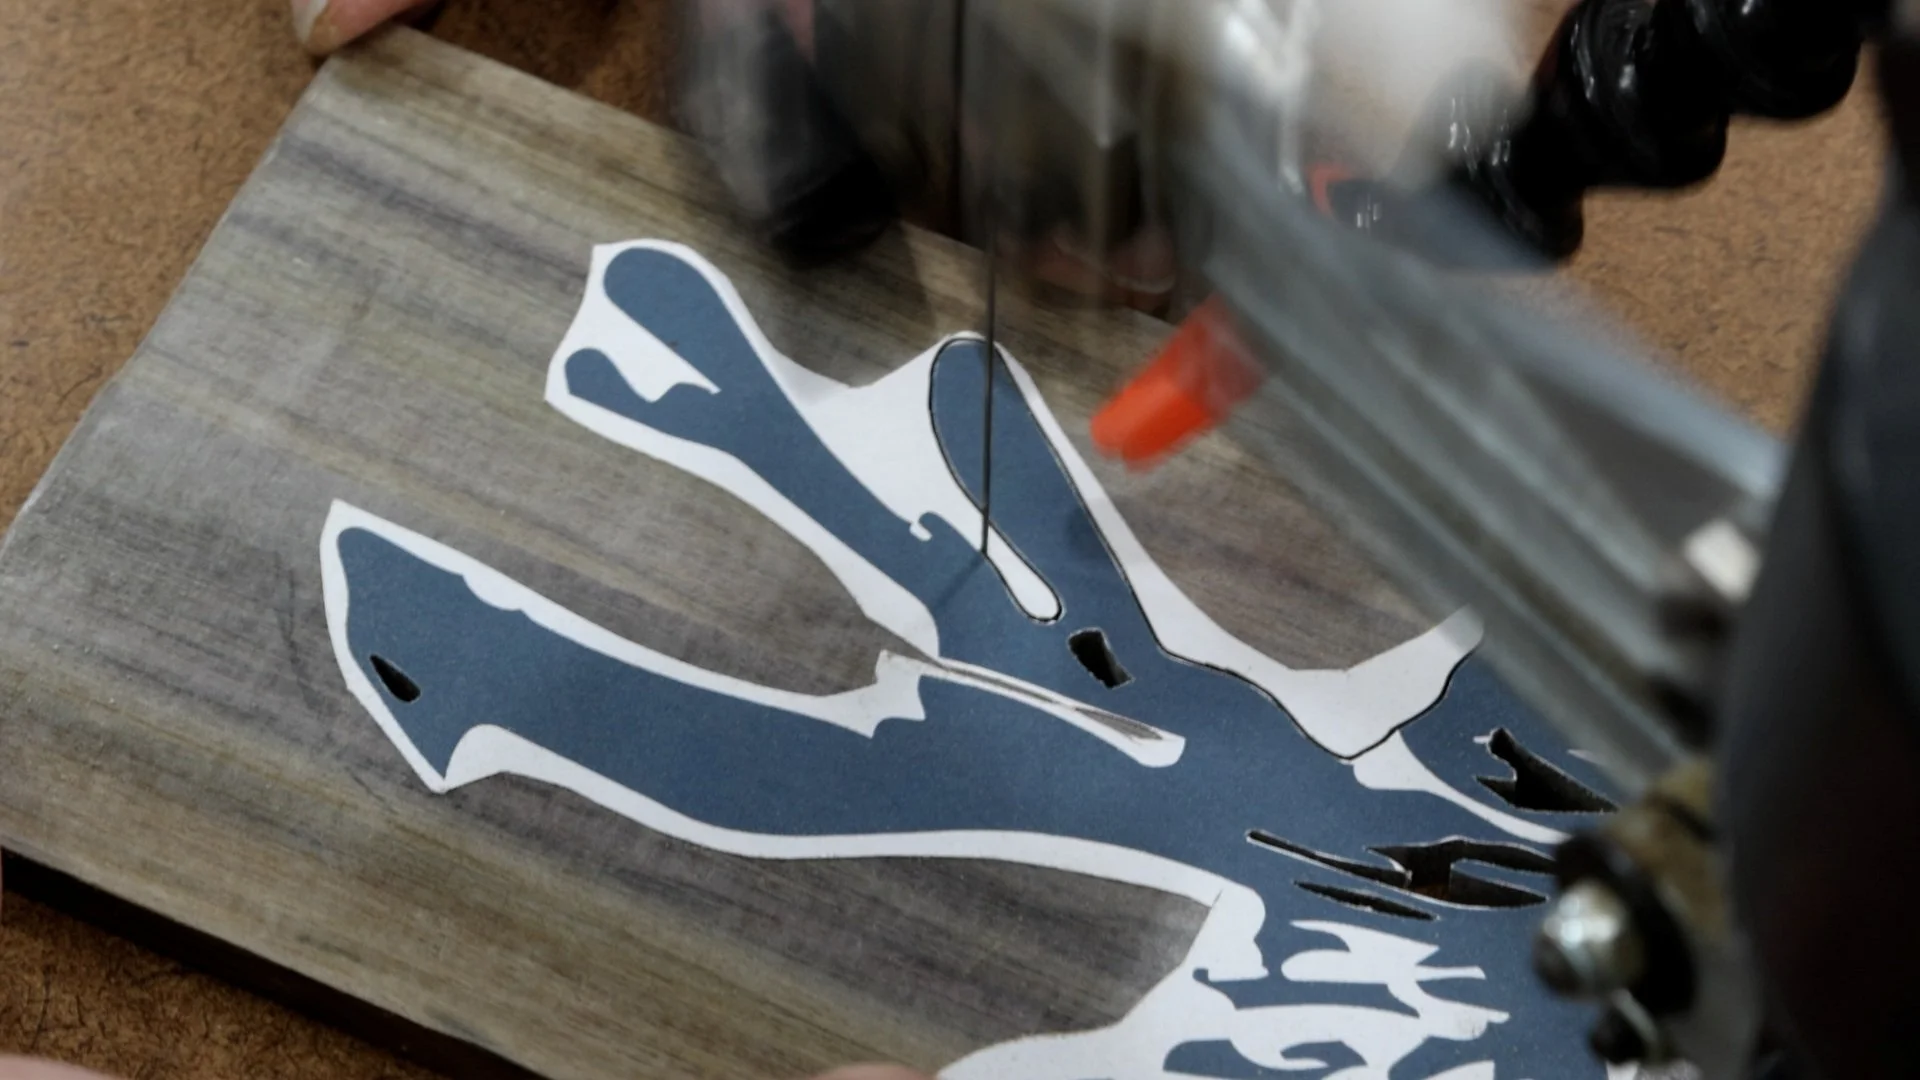
I used spray adhesive to attach my artwork to a piece of thin plywood. This was a template. Every time I cut a workpiece out of wood, I cut a corresponding section from my template. Then, I used the template to glue the piece onto the canvas. That means I had to cut each piece, all 800+ of them, twice! It was a lot of work, but incredibly helpful to ensure all my pieces were placed in the correct location.
Scroll Saw Blades
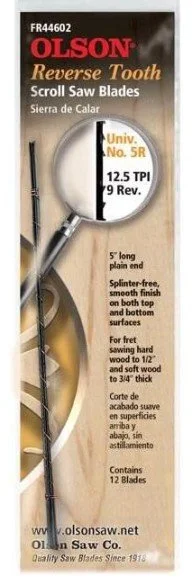
I love using a crown tooth scroll saw blade. It’s my favorite, go-to blade. Unfortunately, I couldn’t use it for most of this project! Crown tooth blades do a terrible job on dense, oily wood species. They cut beautifully, but the teeth are so close together that they quickly get gummed up. You can certainly use them, but you’ll also change blades a lot! With the exemption of the maple and wenge pieces, I used a reverse tooth blade for the entire project. It has less teeth per inch and that extra space made a huge difference. So good rule of thumb, if you see a lot of fuzzy saw dust and your template is fraying, you have a blade issue to examine.
Making the Artwork
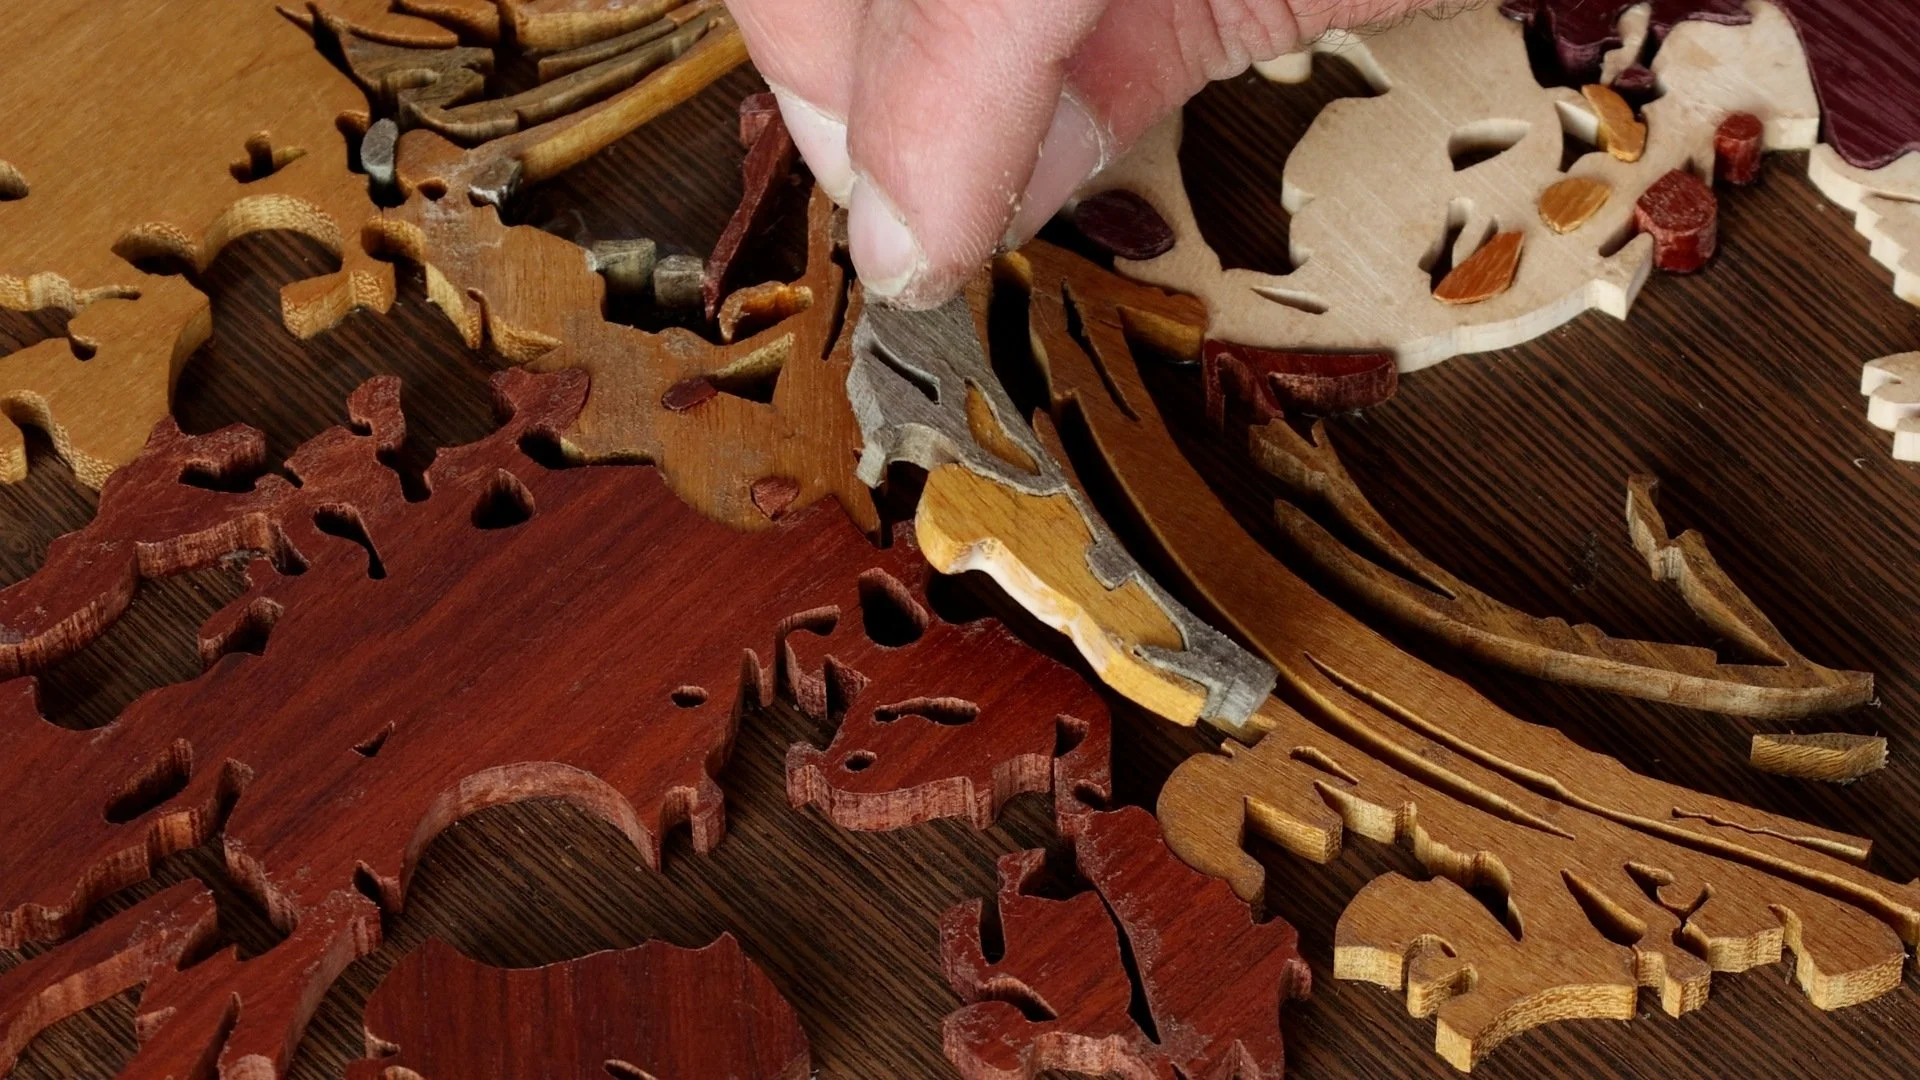
I had to jump from wood species to wood species in order to pull off the project. After tackling the various colors in the upper part of her hair, I began working my way down the canvas inch by inch. Sometimes, I could glue one piece at a time, like the drops of paint in and around her ear. Other times, it was better to glue multiple pieces together and then insert the one larger piece onto the canvas.
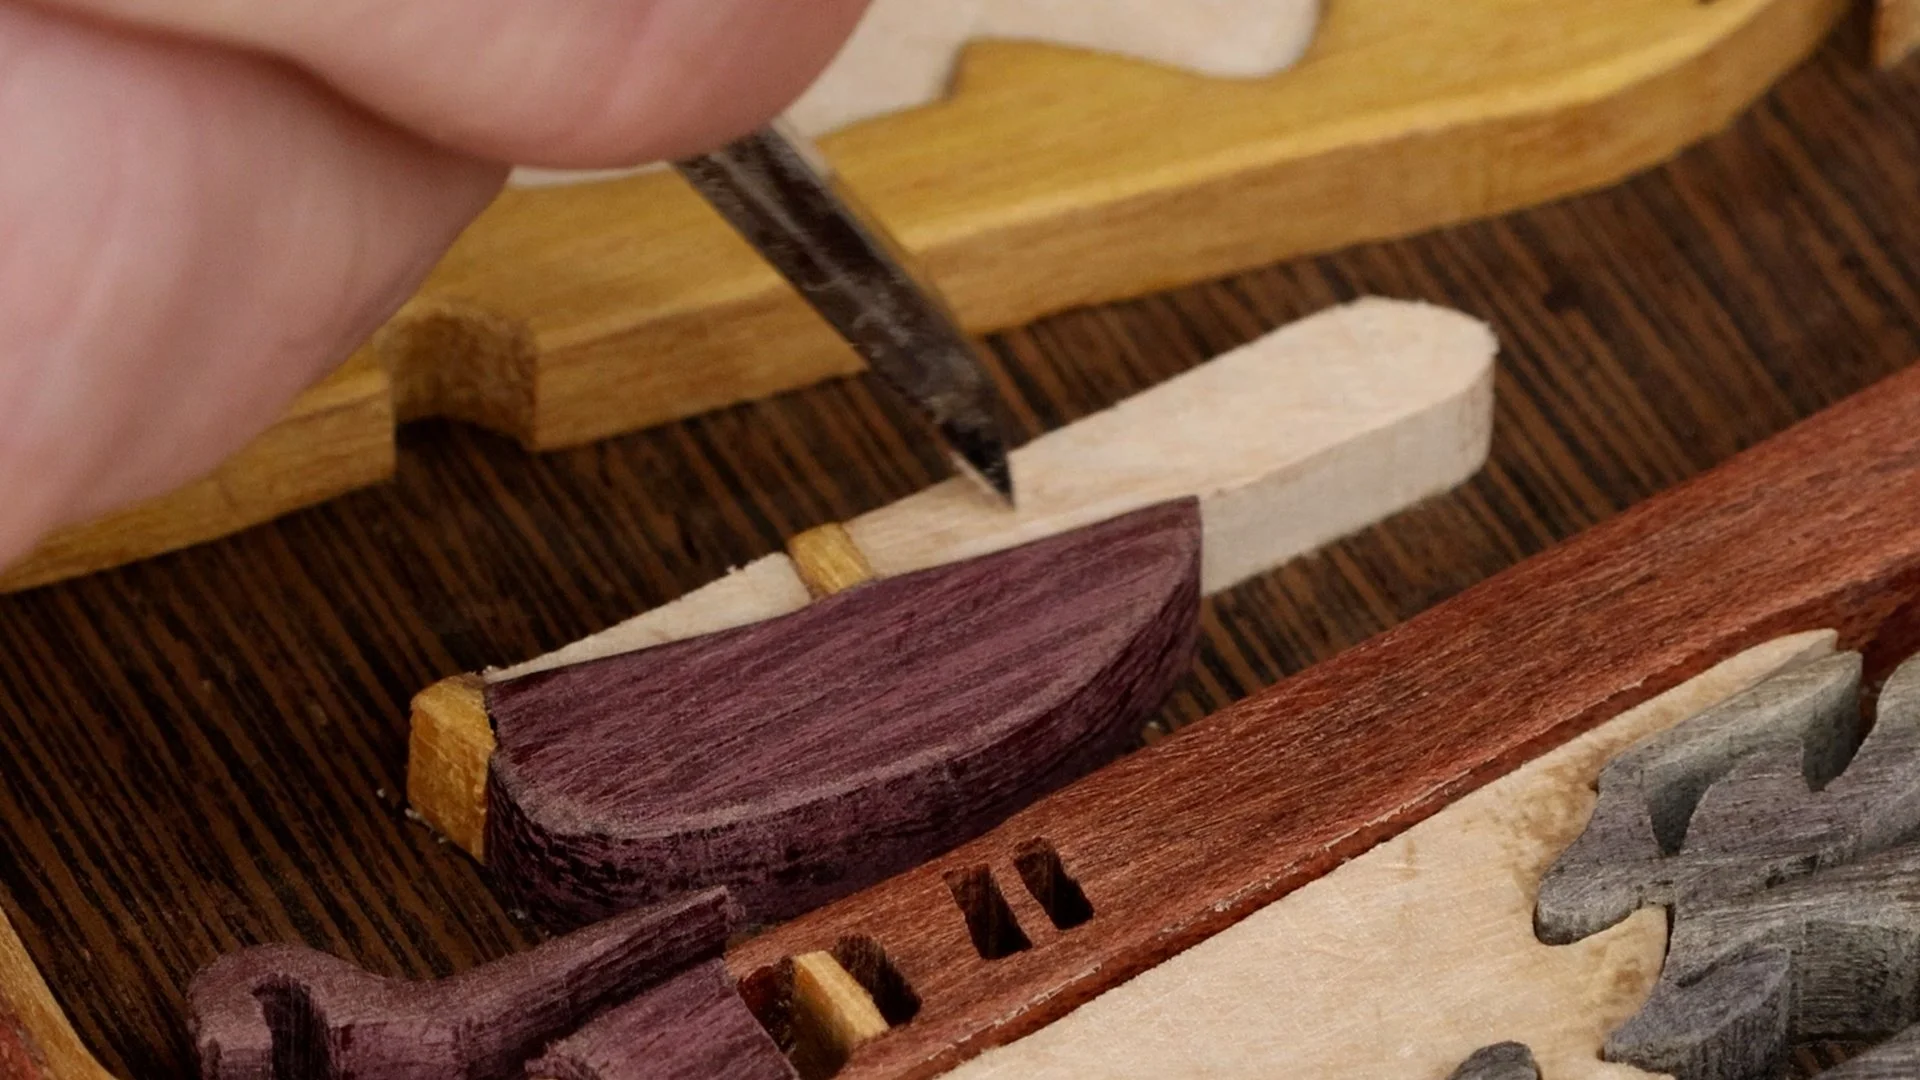
As I moved further out, I tried to use thinner and thinner pieces in order to provide more depth to the artwork. I didn’t get too hung up on it though. I had a lot of small offcuts and sometimes those were perfect for a particular piece, regardless if they were way too thick. I knew it would be necessary to file or sand them down later.
Finishing the Scroll Saw Project
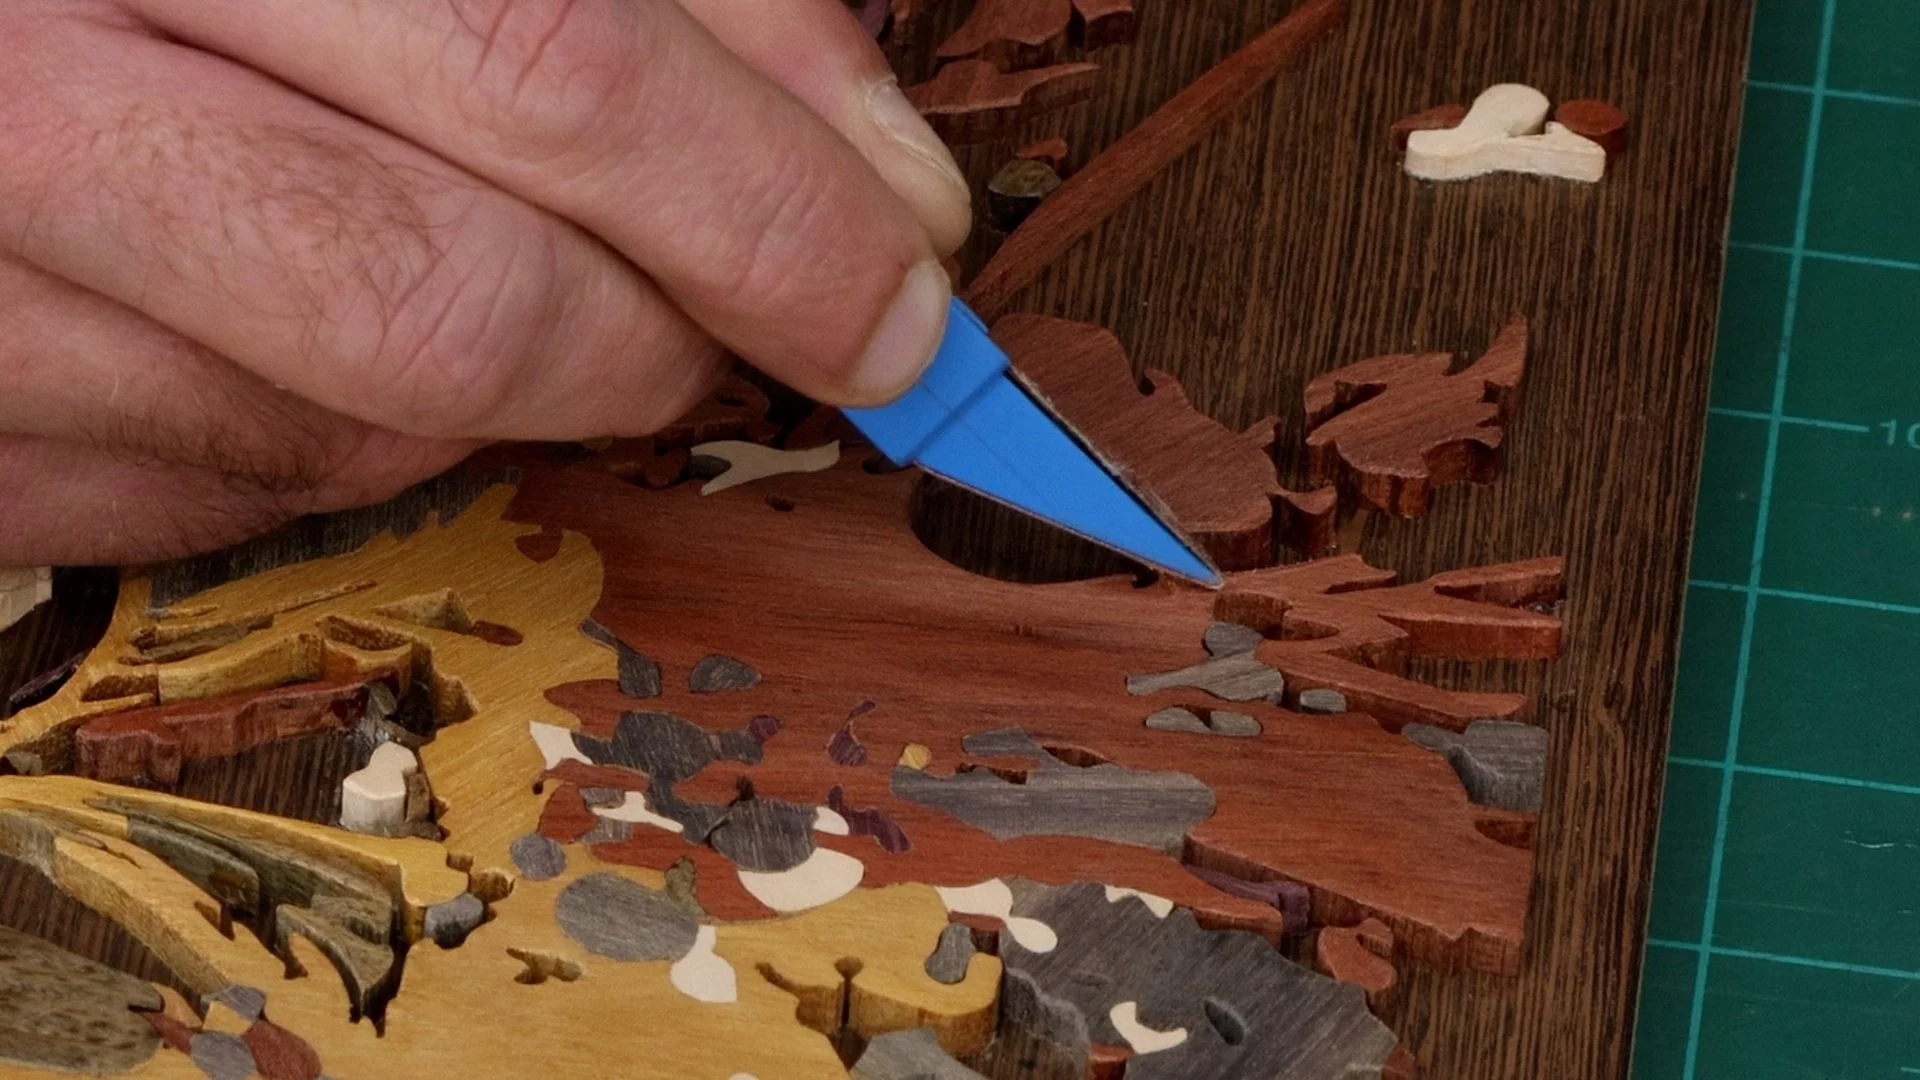
Once all the pieces were cut and installed, it was time for the final sanding and cleanup. I hit the whole thing with my Dremel and sanding discs. This let me even things out and make it flow like paint. I spent a long time softening everything by rounding over the edges. I like to follow a specific sanding rule that has served me well: Sand the dark, rich woods first and sand the lightest colors last. This helps to prevent dark saw dust from staining the lighter pieces.
I sanded the blue mahoe, bloodwood, purple heart, and lignum vitae, ensuring that I cleaned up any saw dust before moving on. Then, I sanded the osage pieces. Before I worked on the maple, I vacuumed the entire project and wiped it down several times with mineral spirits. The maple was the very last part to sand and I didn’t want any leftover dust to ruin the look.
I sprayed the project with several coats of matte lacquer. I think it turned out great! It was a challenging project that was completely worth the effort once done!
*As an Amazon Associate I earn from qualifying purchases.
