Make a Wood Gift Box
How to Make a Wood Gift Box
Anyone who has seen my YouTube channel knows I make a lot of wood boxes. However, I don’t feel like I use barrel hinges enough in my project designs so I set out to make a tiny wood box that incorporates the smallest barrel hinges I could find! I earn from qualifying purchases from affiliate links.
Size Matters
I put a lot of time and consideration into designing a box, particularly the size. I think about the intended purpose and how it will be displayed, and then decide on the ultimate dimensions. If possible, I try to stay close to the Golden Ratio. If you’ve never heard of this, it’s the ratio between an object’s width and length that is typically considered most visually appealing. I have an entire article devoted to best practices for designing wood boxes, and explain how to use the Golden Ratio in the workshop.
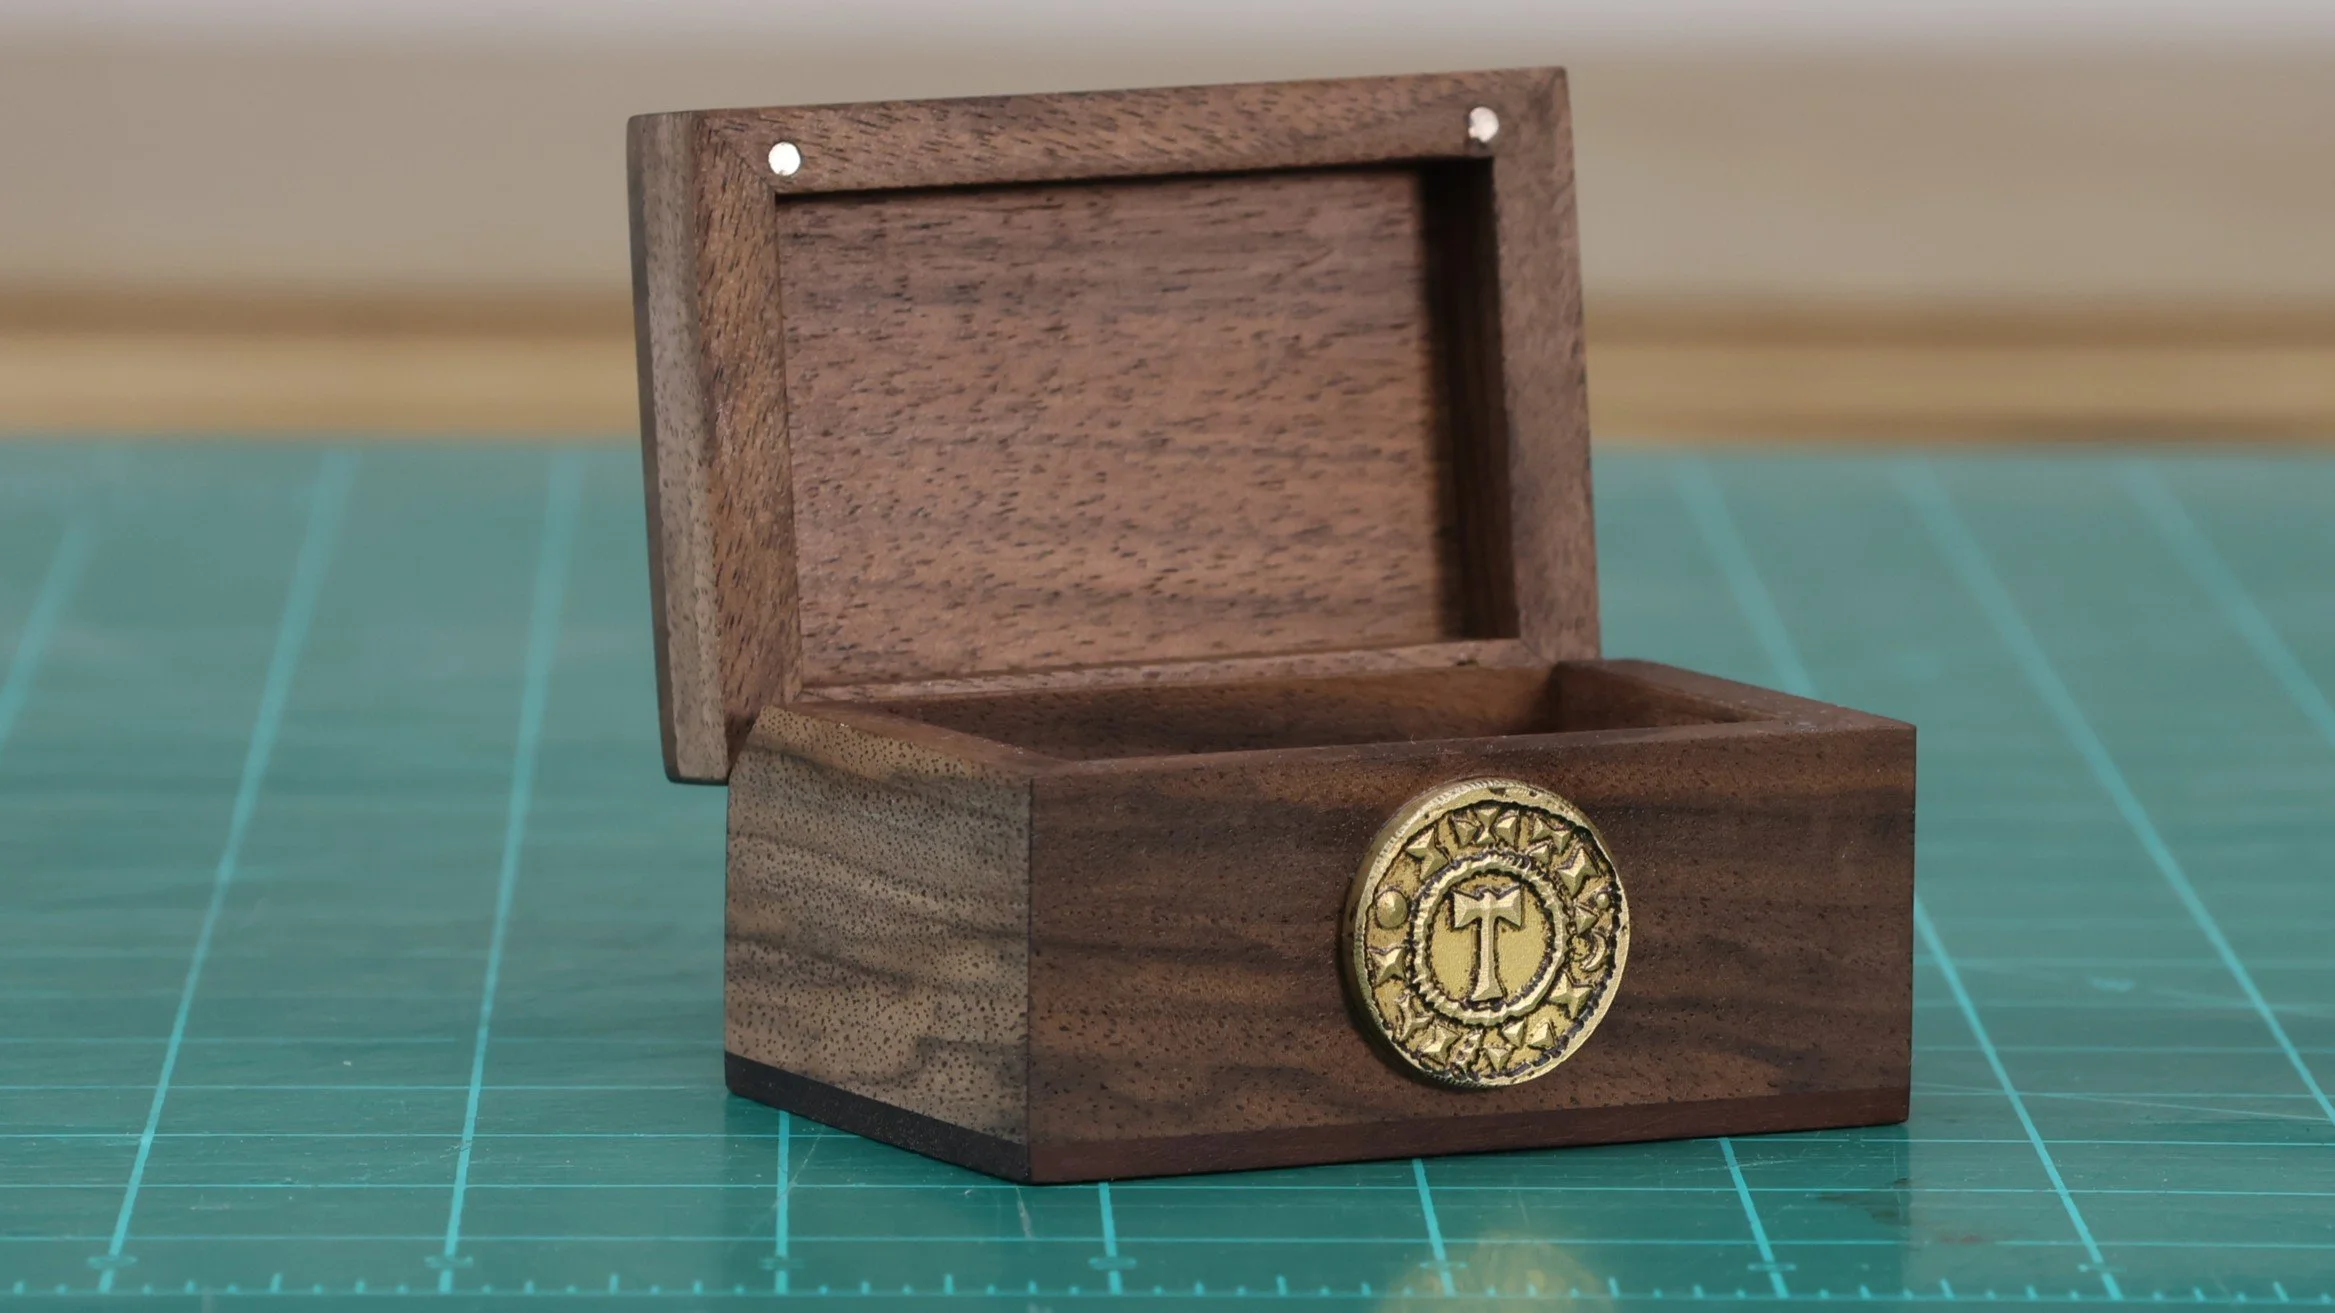
I wanted this tiny box to be the perfect size to give away as a gift. I scaled it small so it can fit inside a Christmas stocking, but big enough to hold something nice (if you wanted to put a present inside). The small barrel hinges allowed me to use thin material, but I’ll talk more about the hinges in a second.
Best Wood Species for a Box
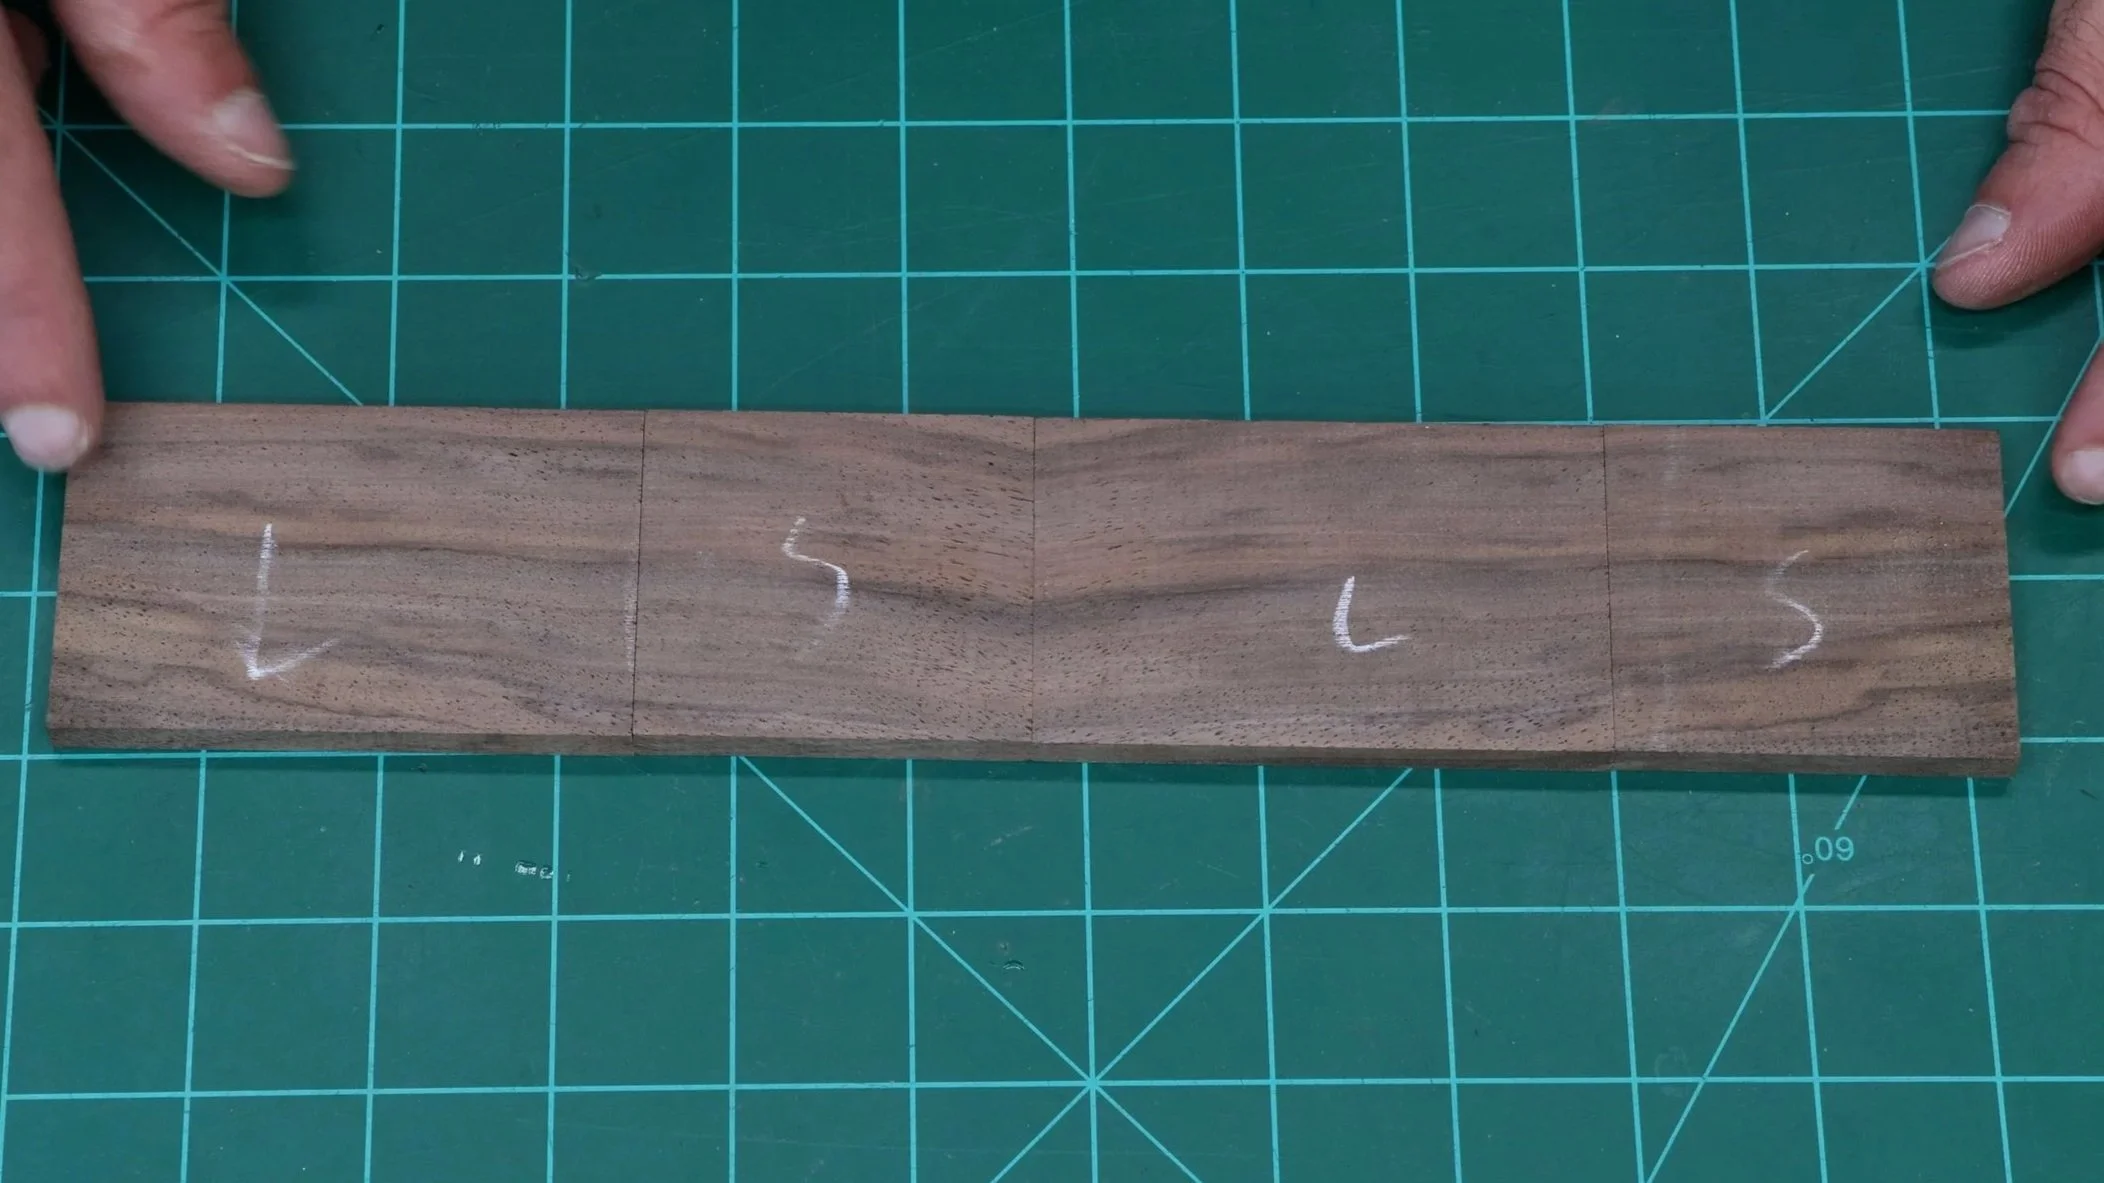
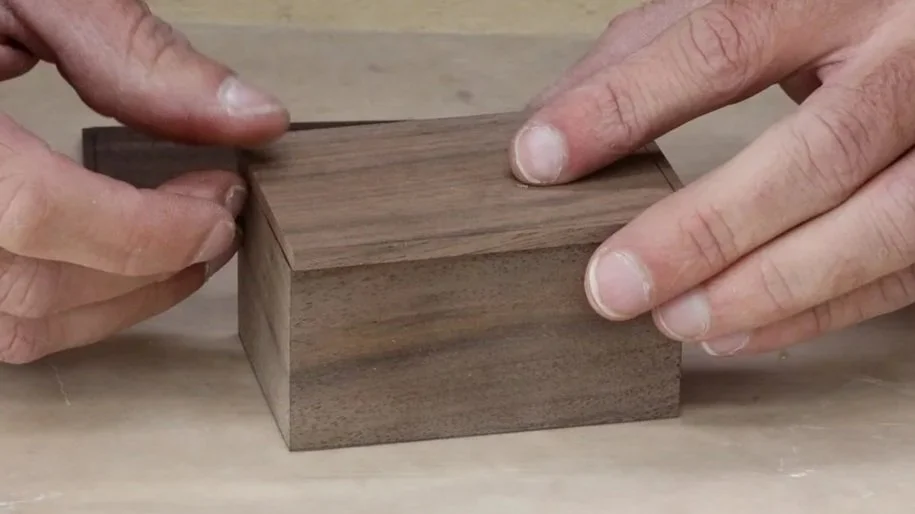
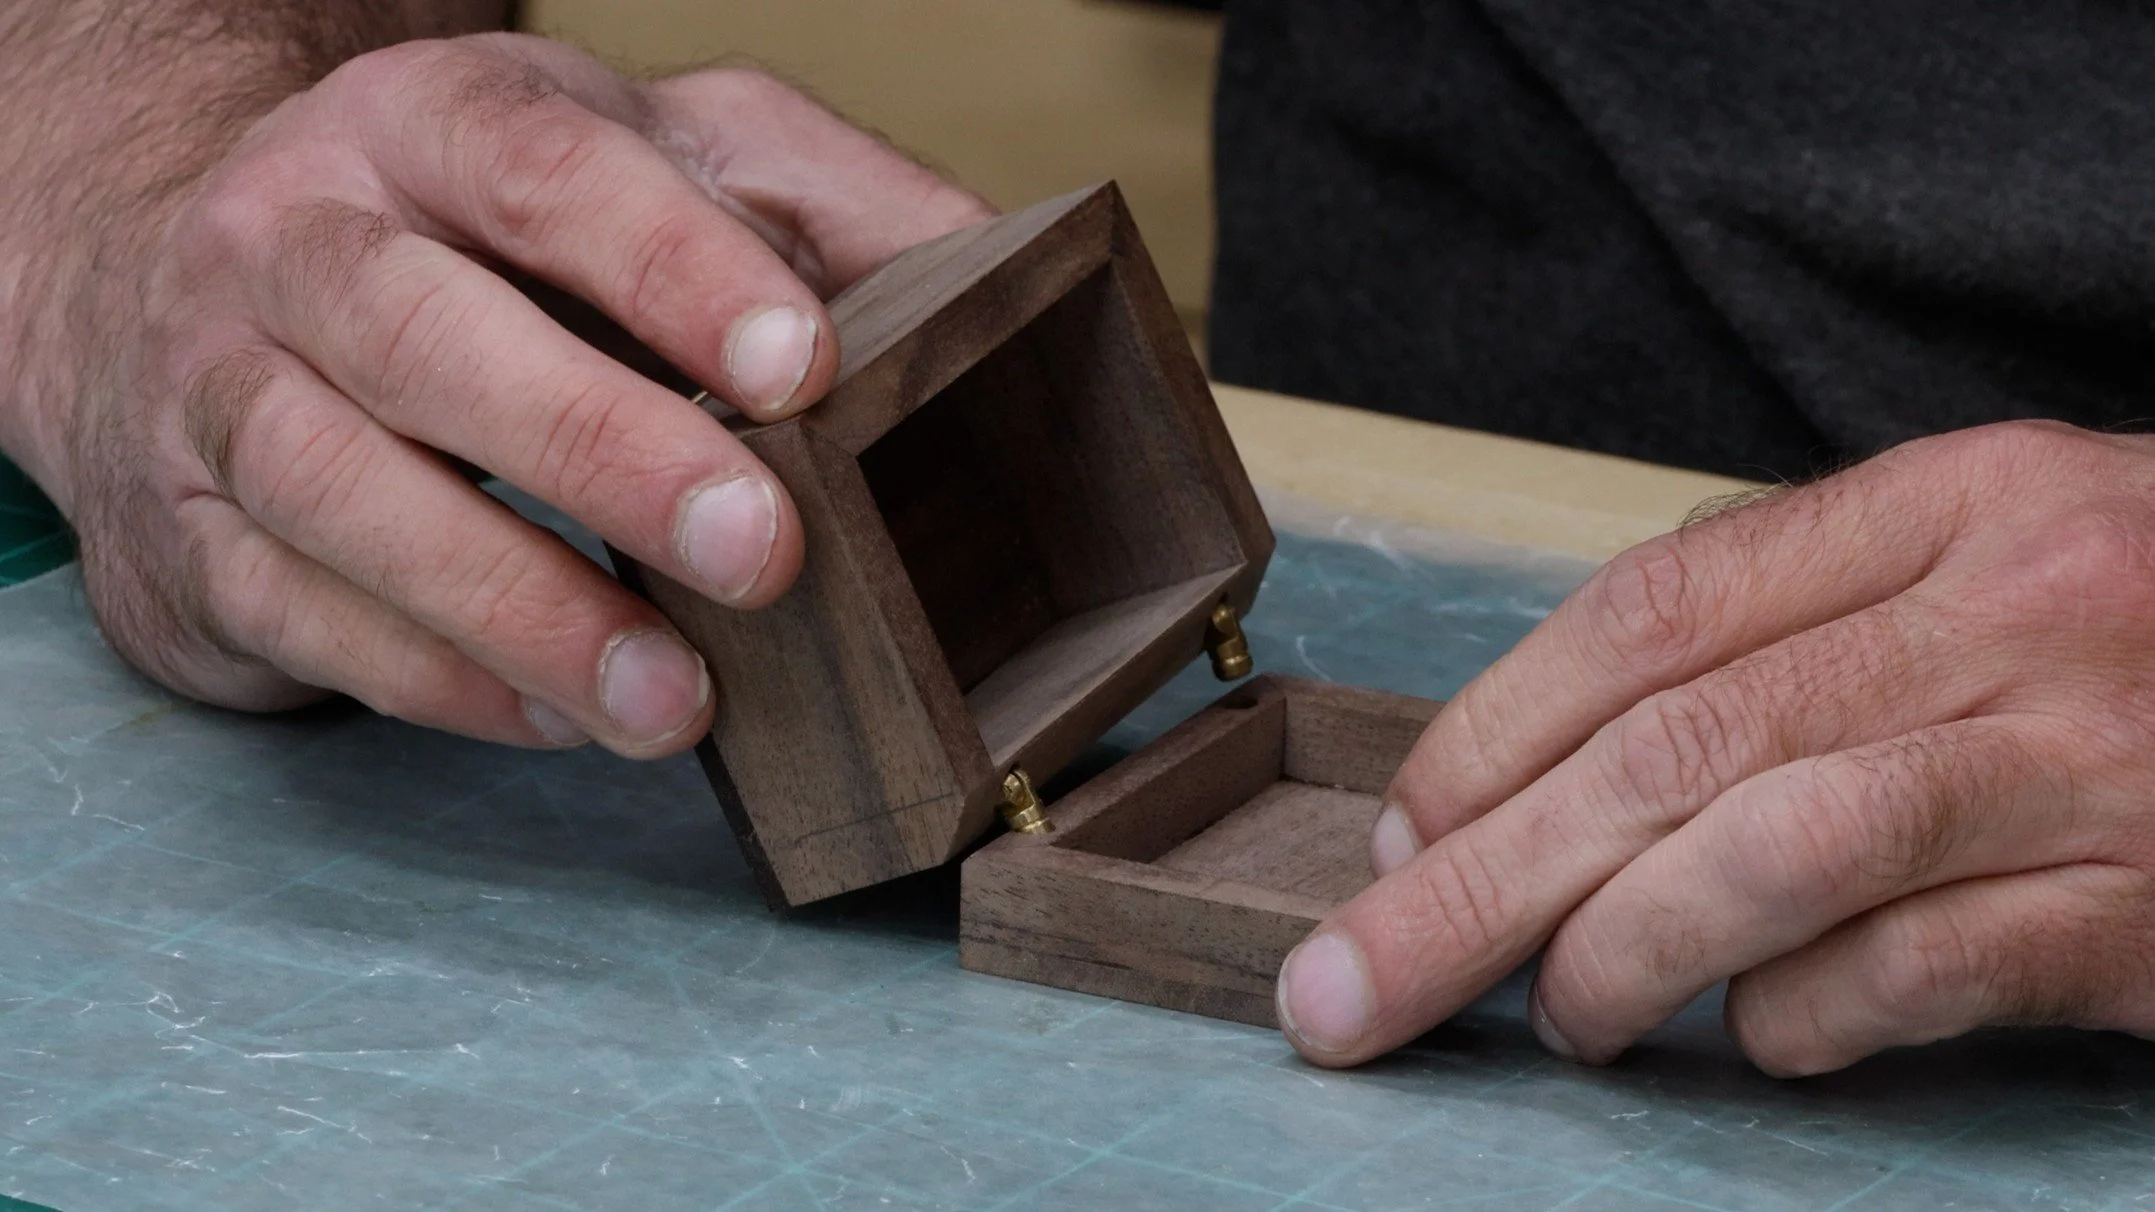
I love walnut and believe it is one of the best wood species to use when making a wood box. The grain isn’t too porous or visually loud, compared to something like ash or red oak. It looks even better if you can make the grain wrap entirely around the box. I have a video explaining this technique. It’s a cool feature that I used to make this project too. It looks especially great with mitered corners.
Wood expands and contacts across its width as humidity fluctuates throughout the year. The box is so small that the wood will likely move a microscopic amount, if at all. That allowed me to simply glue thin boards to the top and bottom of the sides, essentially making a cube. I opted for Katalox on the bottom. This super dark wood gives the box a shadow effect along the bottom edge.

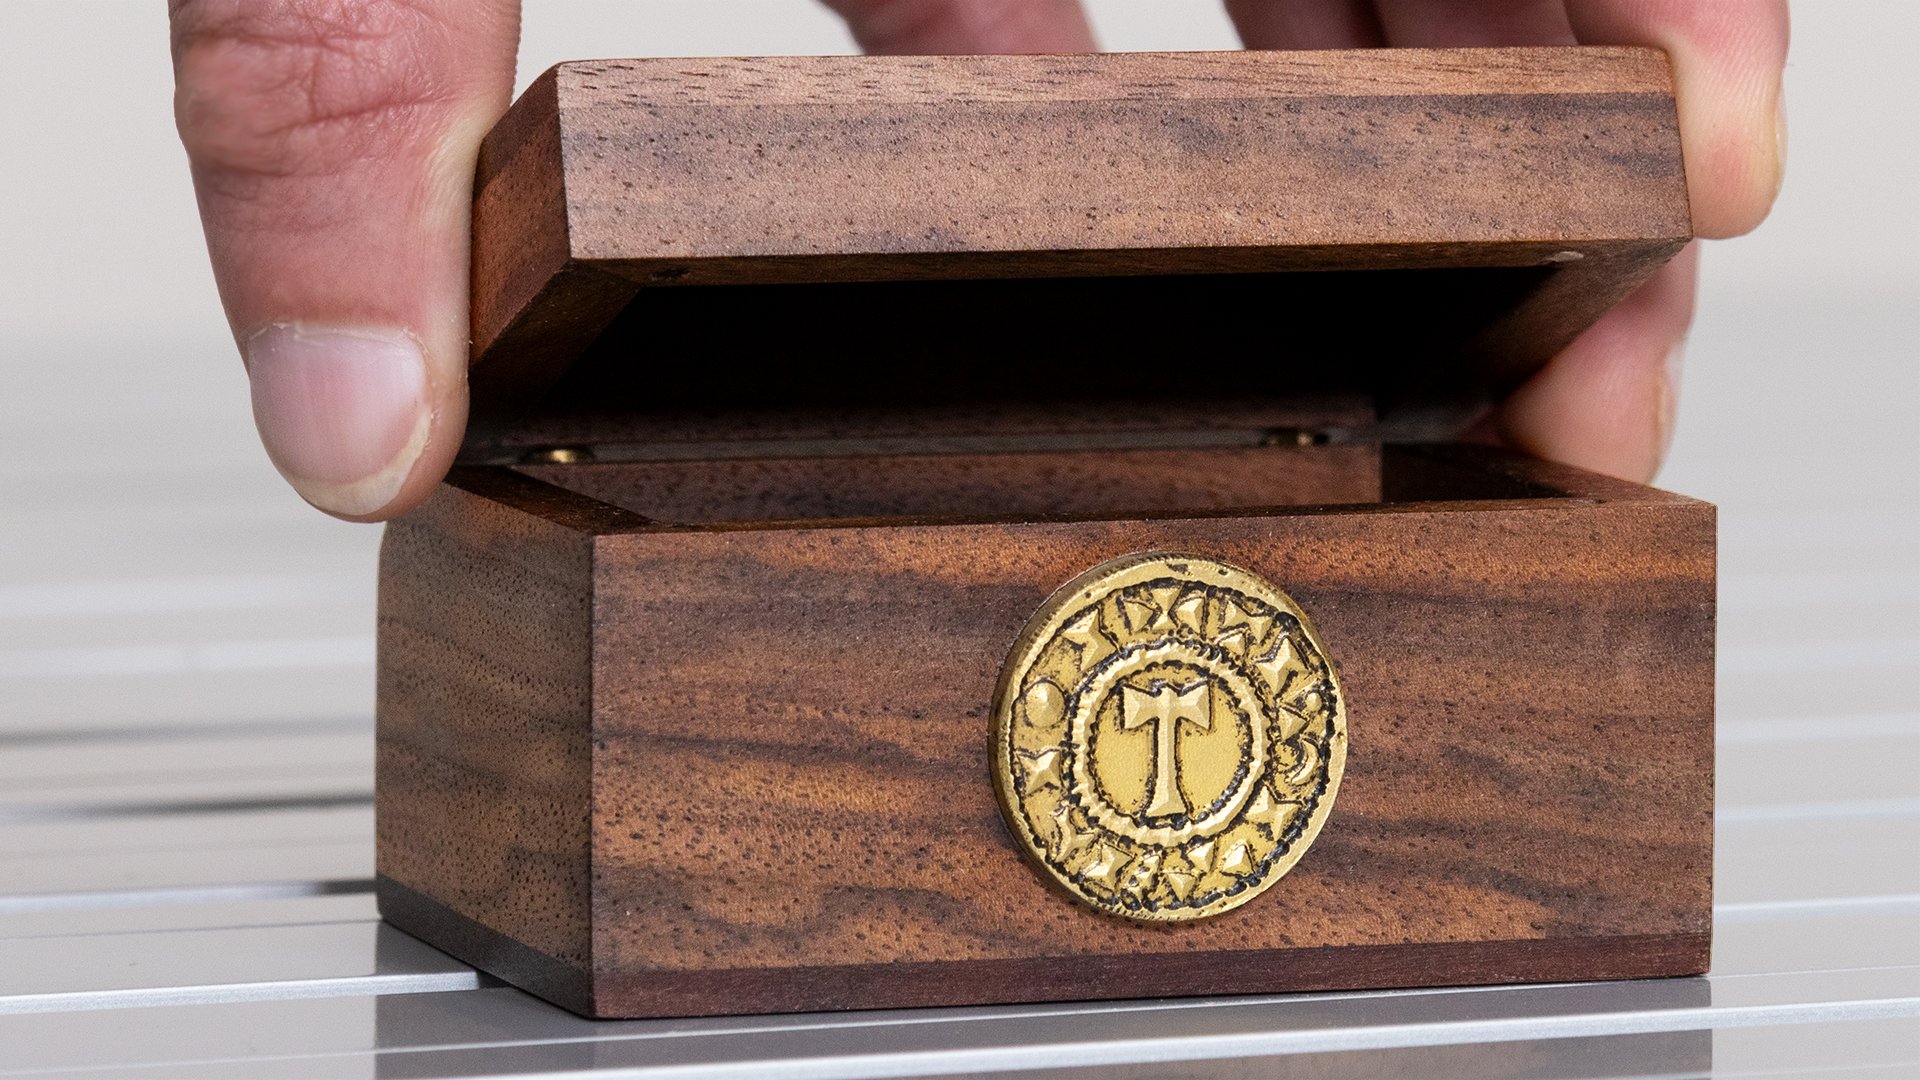
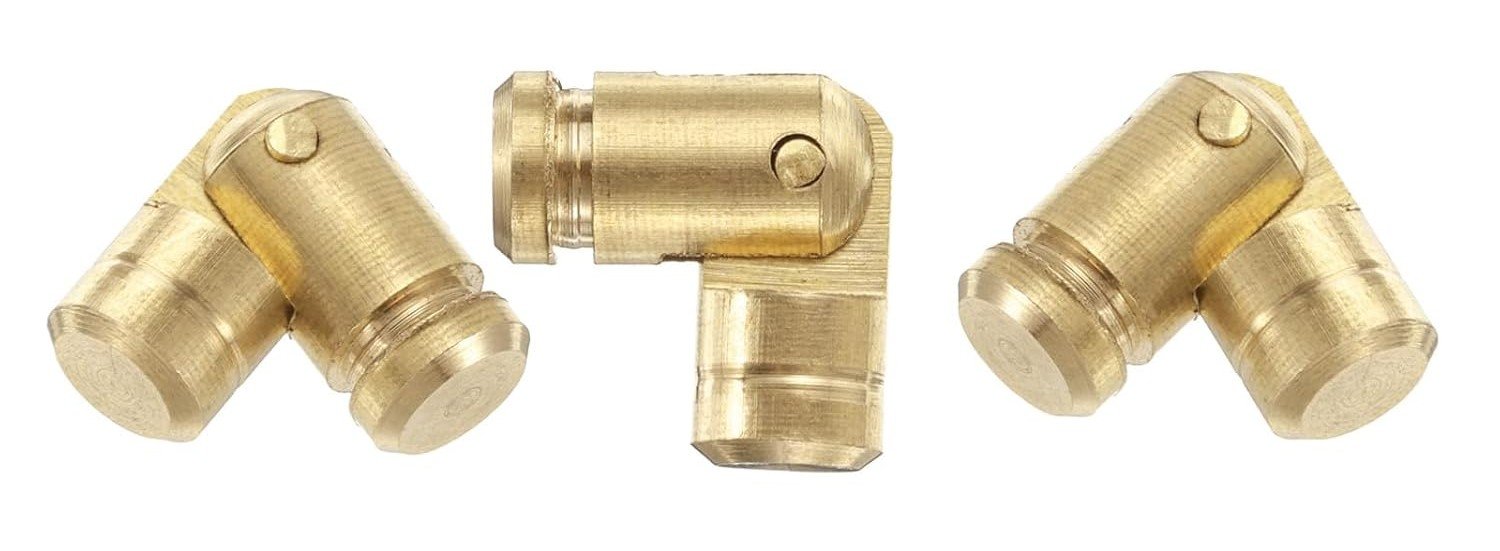
Barrel Hinges
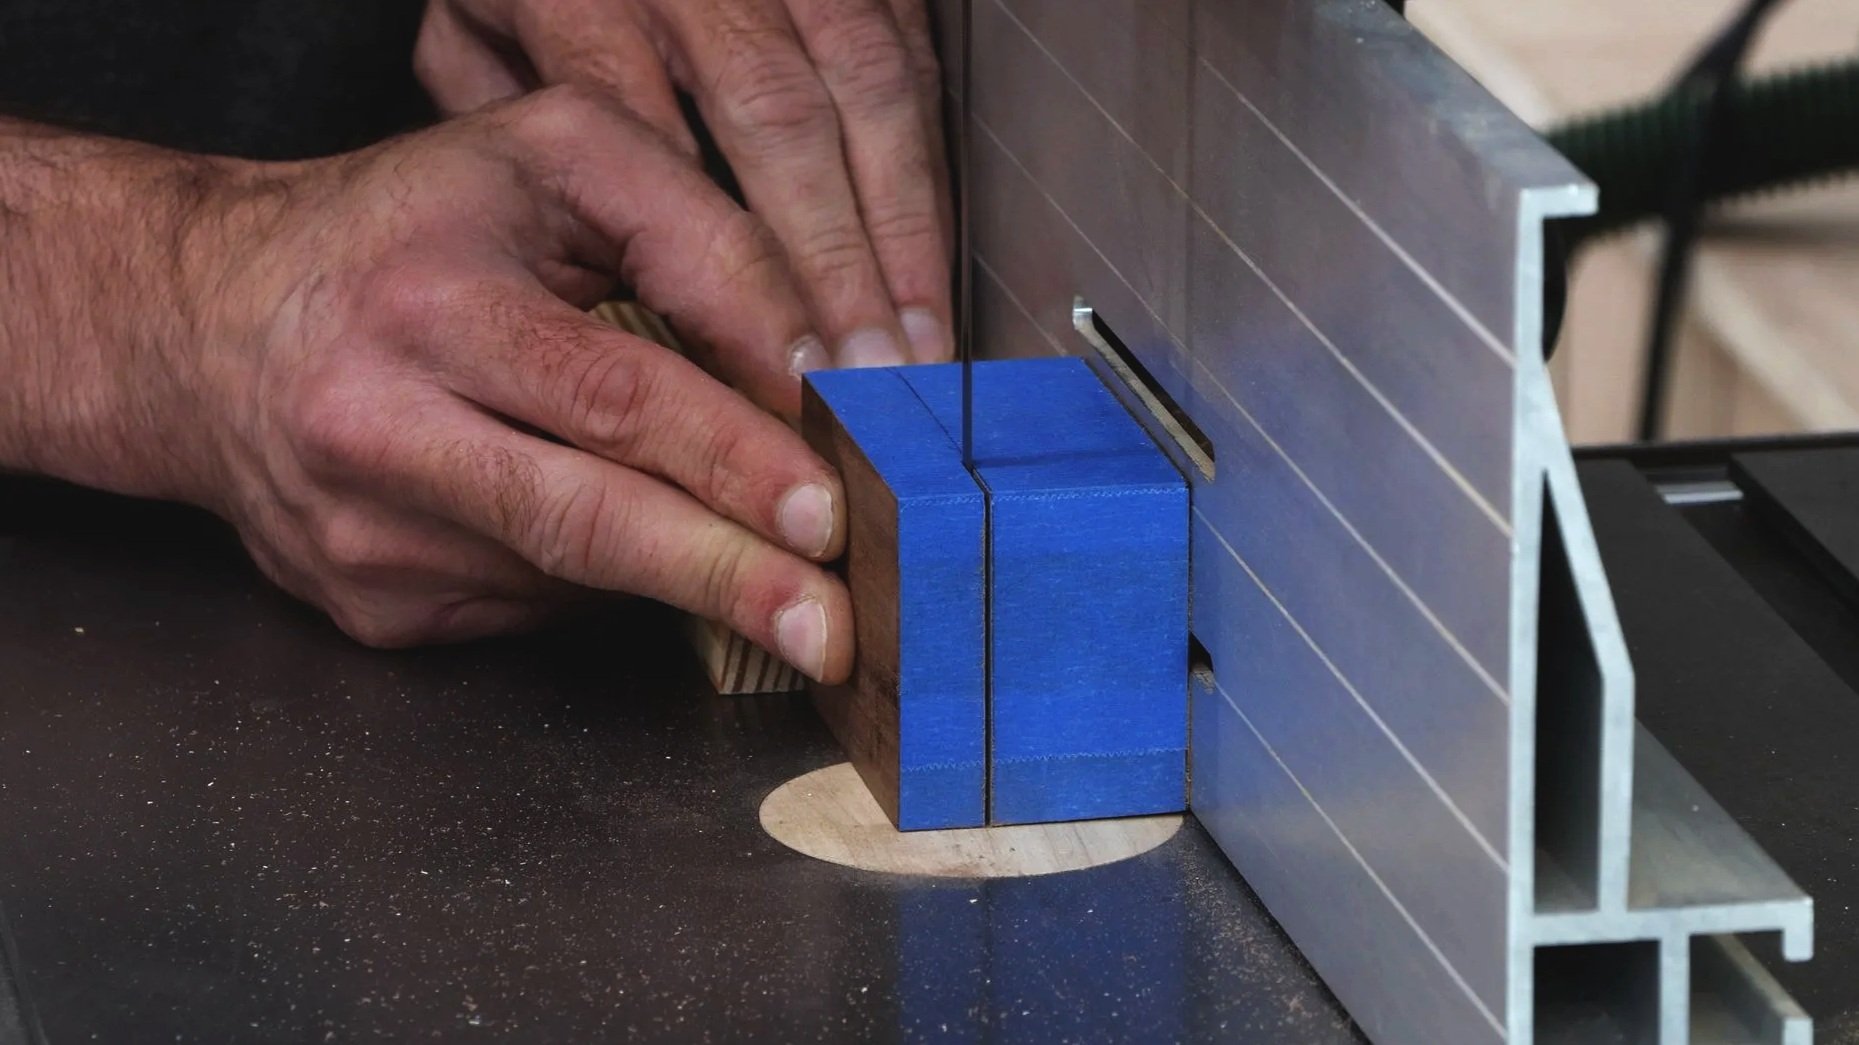
After cutting the box open, it was time to install the barrel hinges. I used 5mm diameter hinges, the smallest I could find at the time. Although, I believe there’s a 4mm version available now. Some people find installing barrel hinges to be tricky. I made sure to outline every step of the installation process when I wrote my downloadable project plans that teach how to make this box. The 3D model diagrams really help to explain how to install them quickly and easily.
You can download the project plans to see step-by-step how to make a small wood gift box like this.

The hinges required a chamfer along the back edge of the box. I drilled holes in the lid and base, and then glued the hinges in position. It’s important to not let the hinges twist sideways in the holes.
Making a Replica Viking Coin!
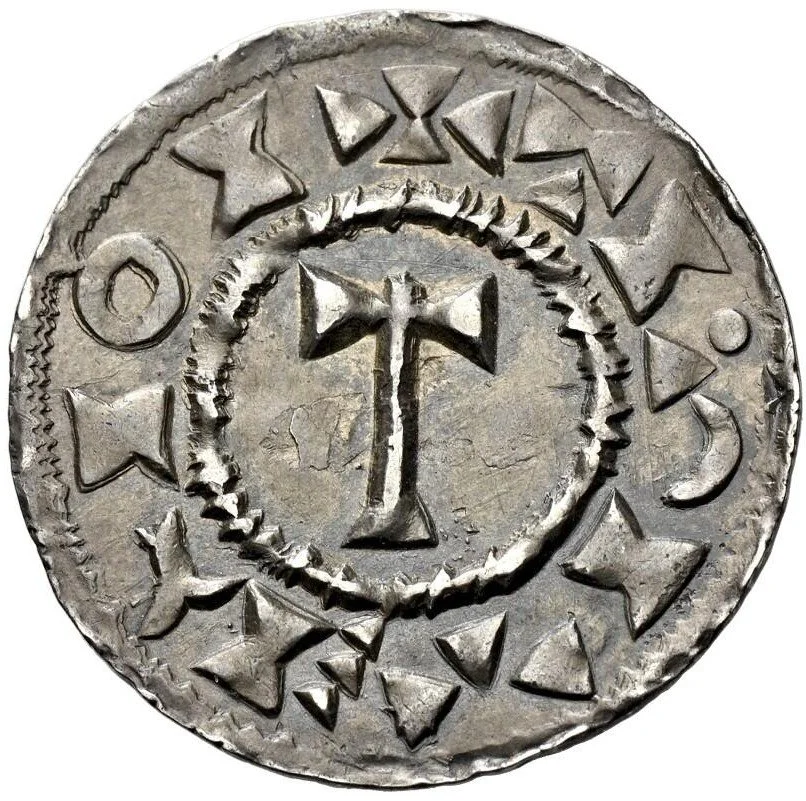
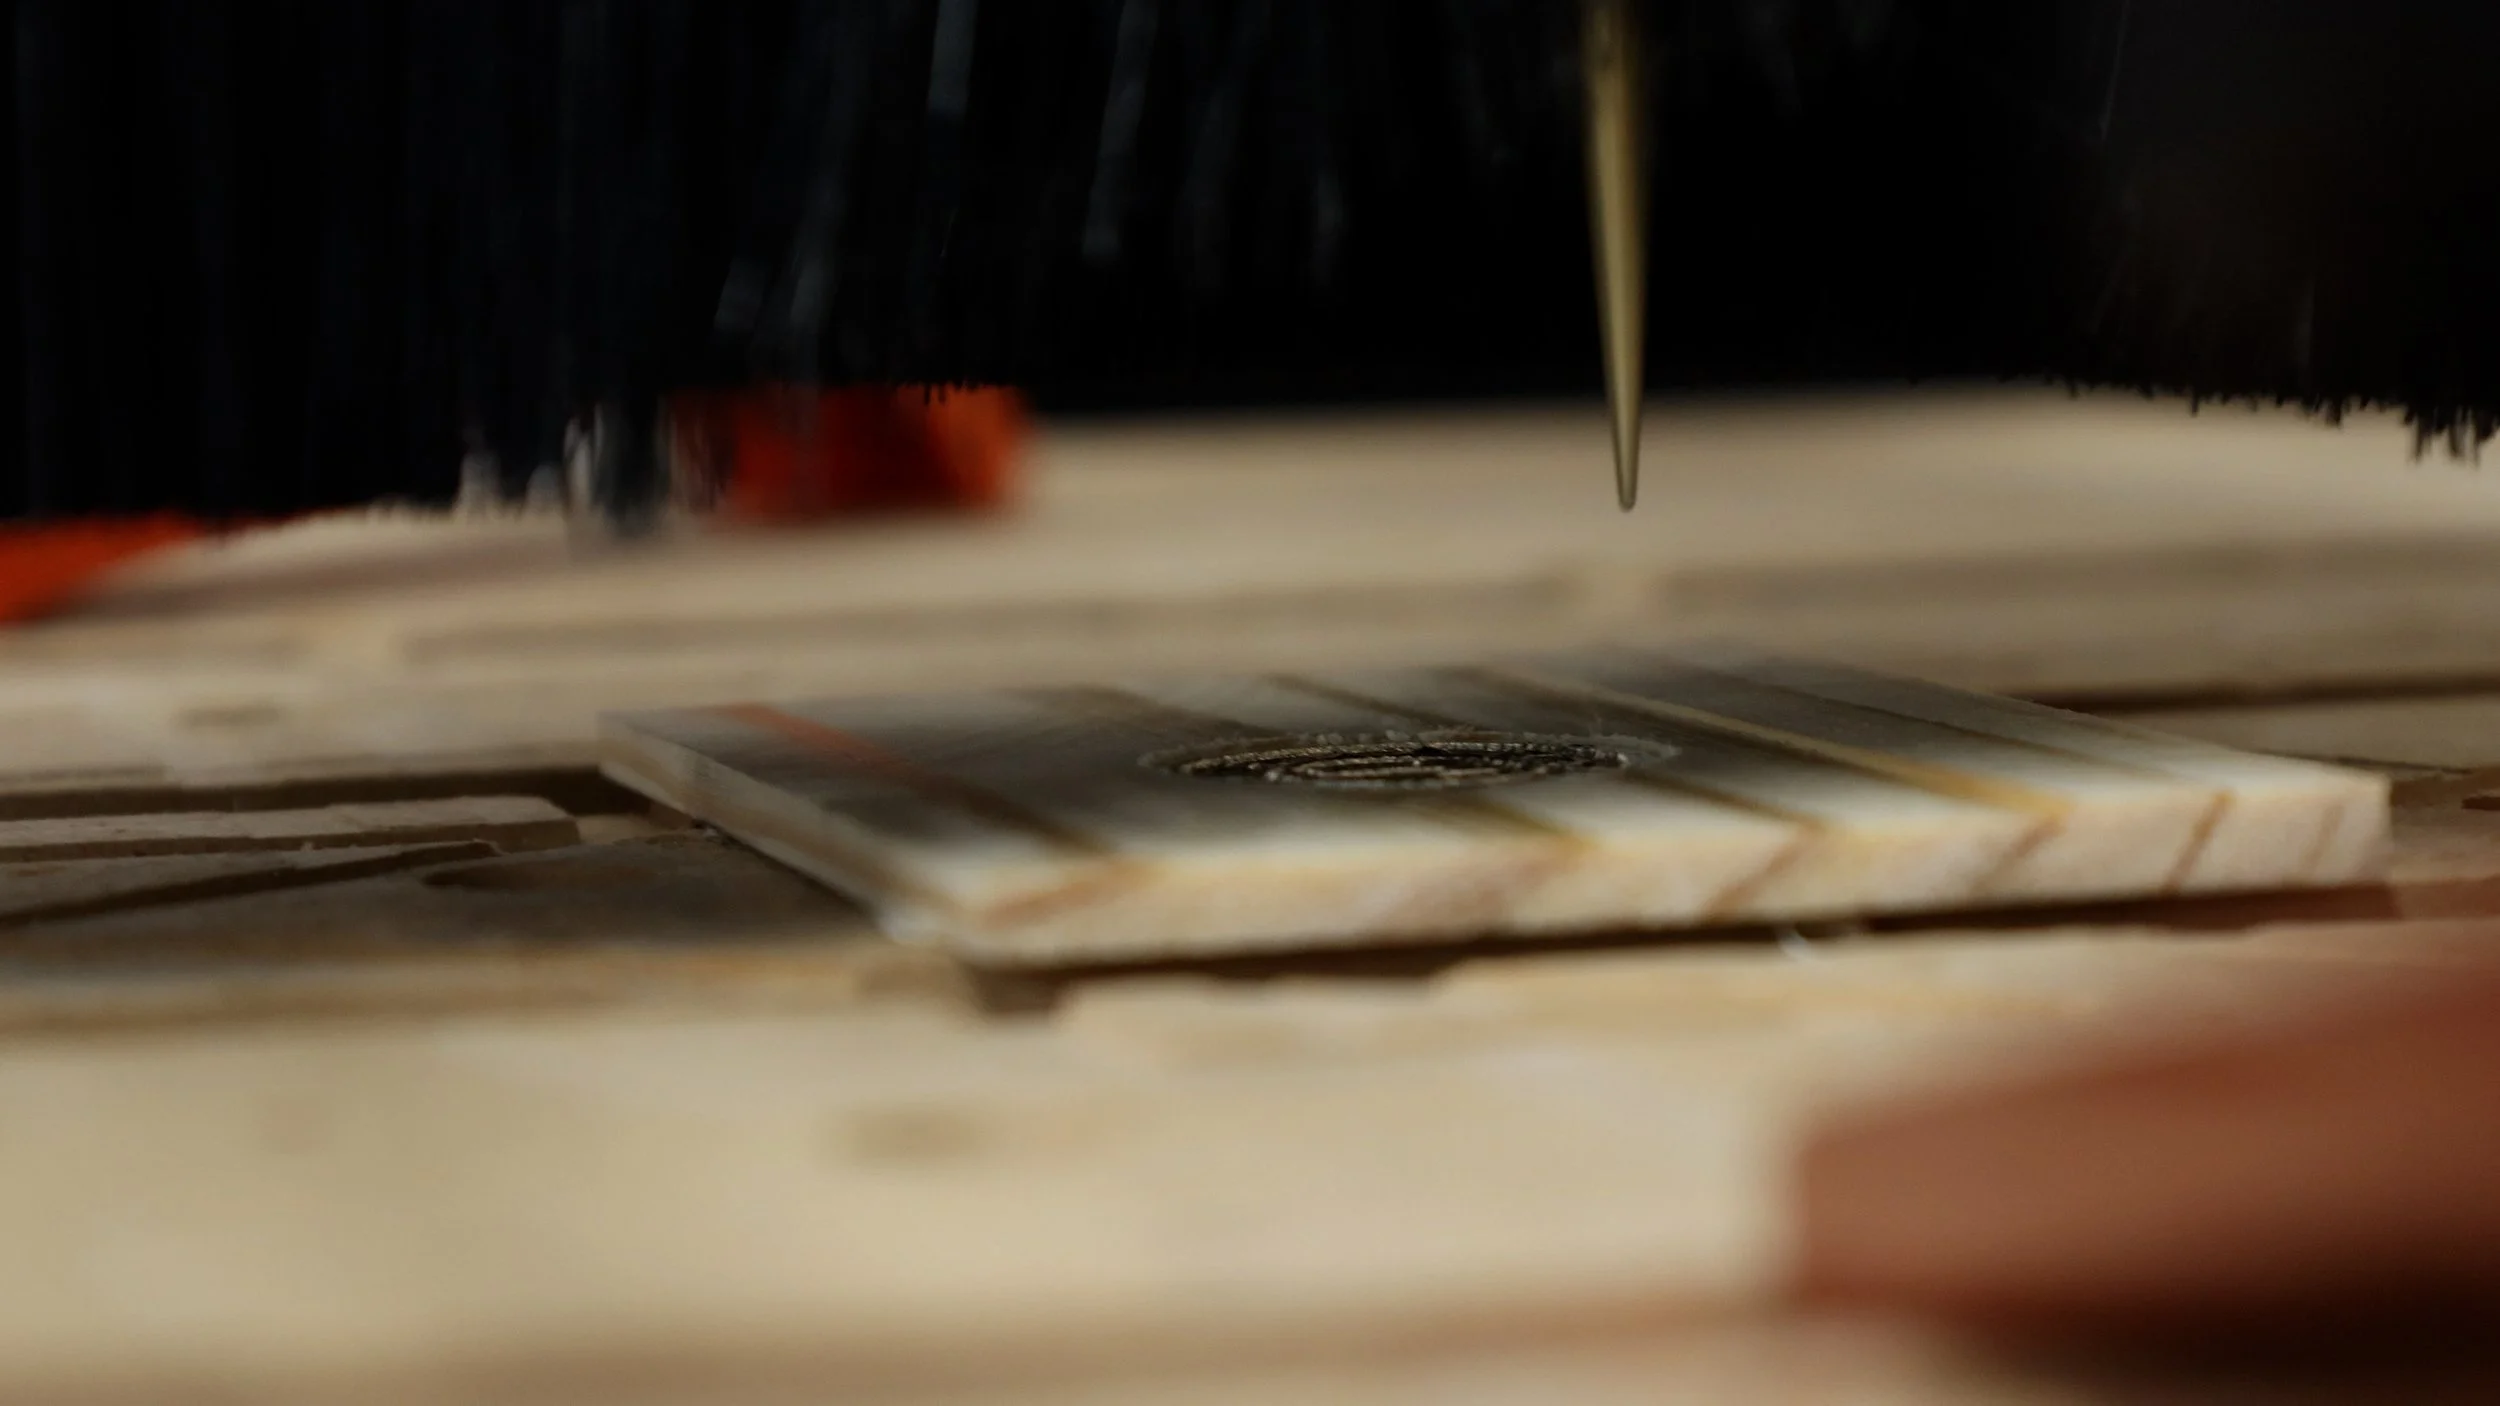
The box looked great, but I felt like it needed a personal touch. I found high resolution pictures of Norse coins and settled on a 10th century design showing Thor’s hammer. I used Inkscape to create a vector file that I could use on my CNC. I did not have a lot of metal engraving experience so it was a trial-and-error process for me. I made my replica Viking coin from 1” diameter brass and carved it using a fine tip engraving bit.
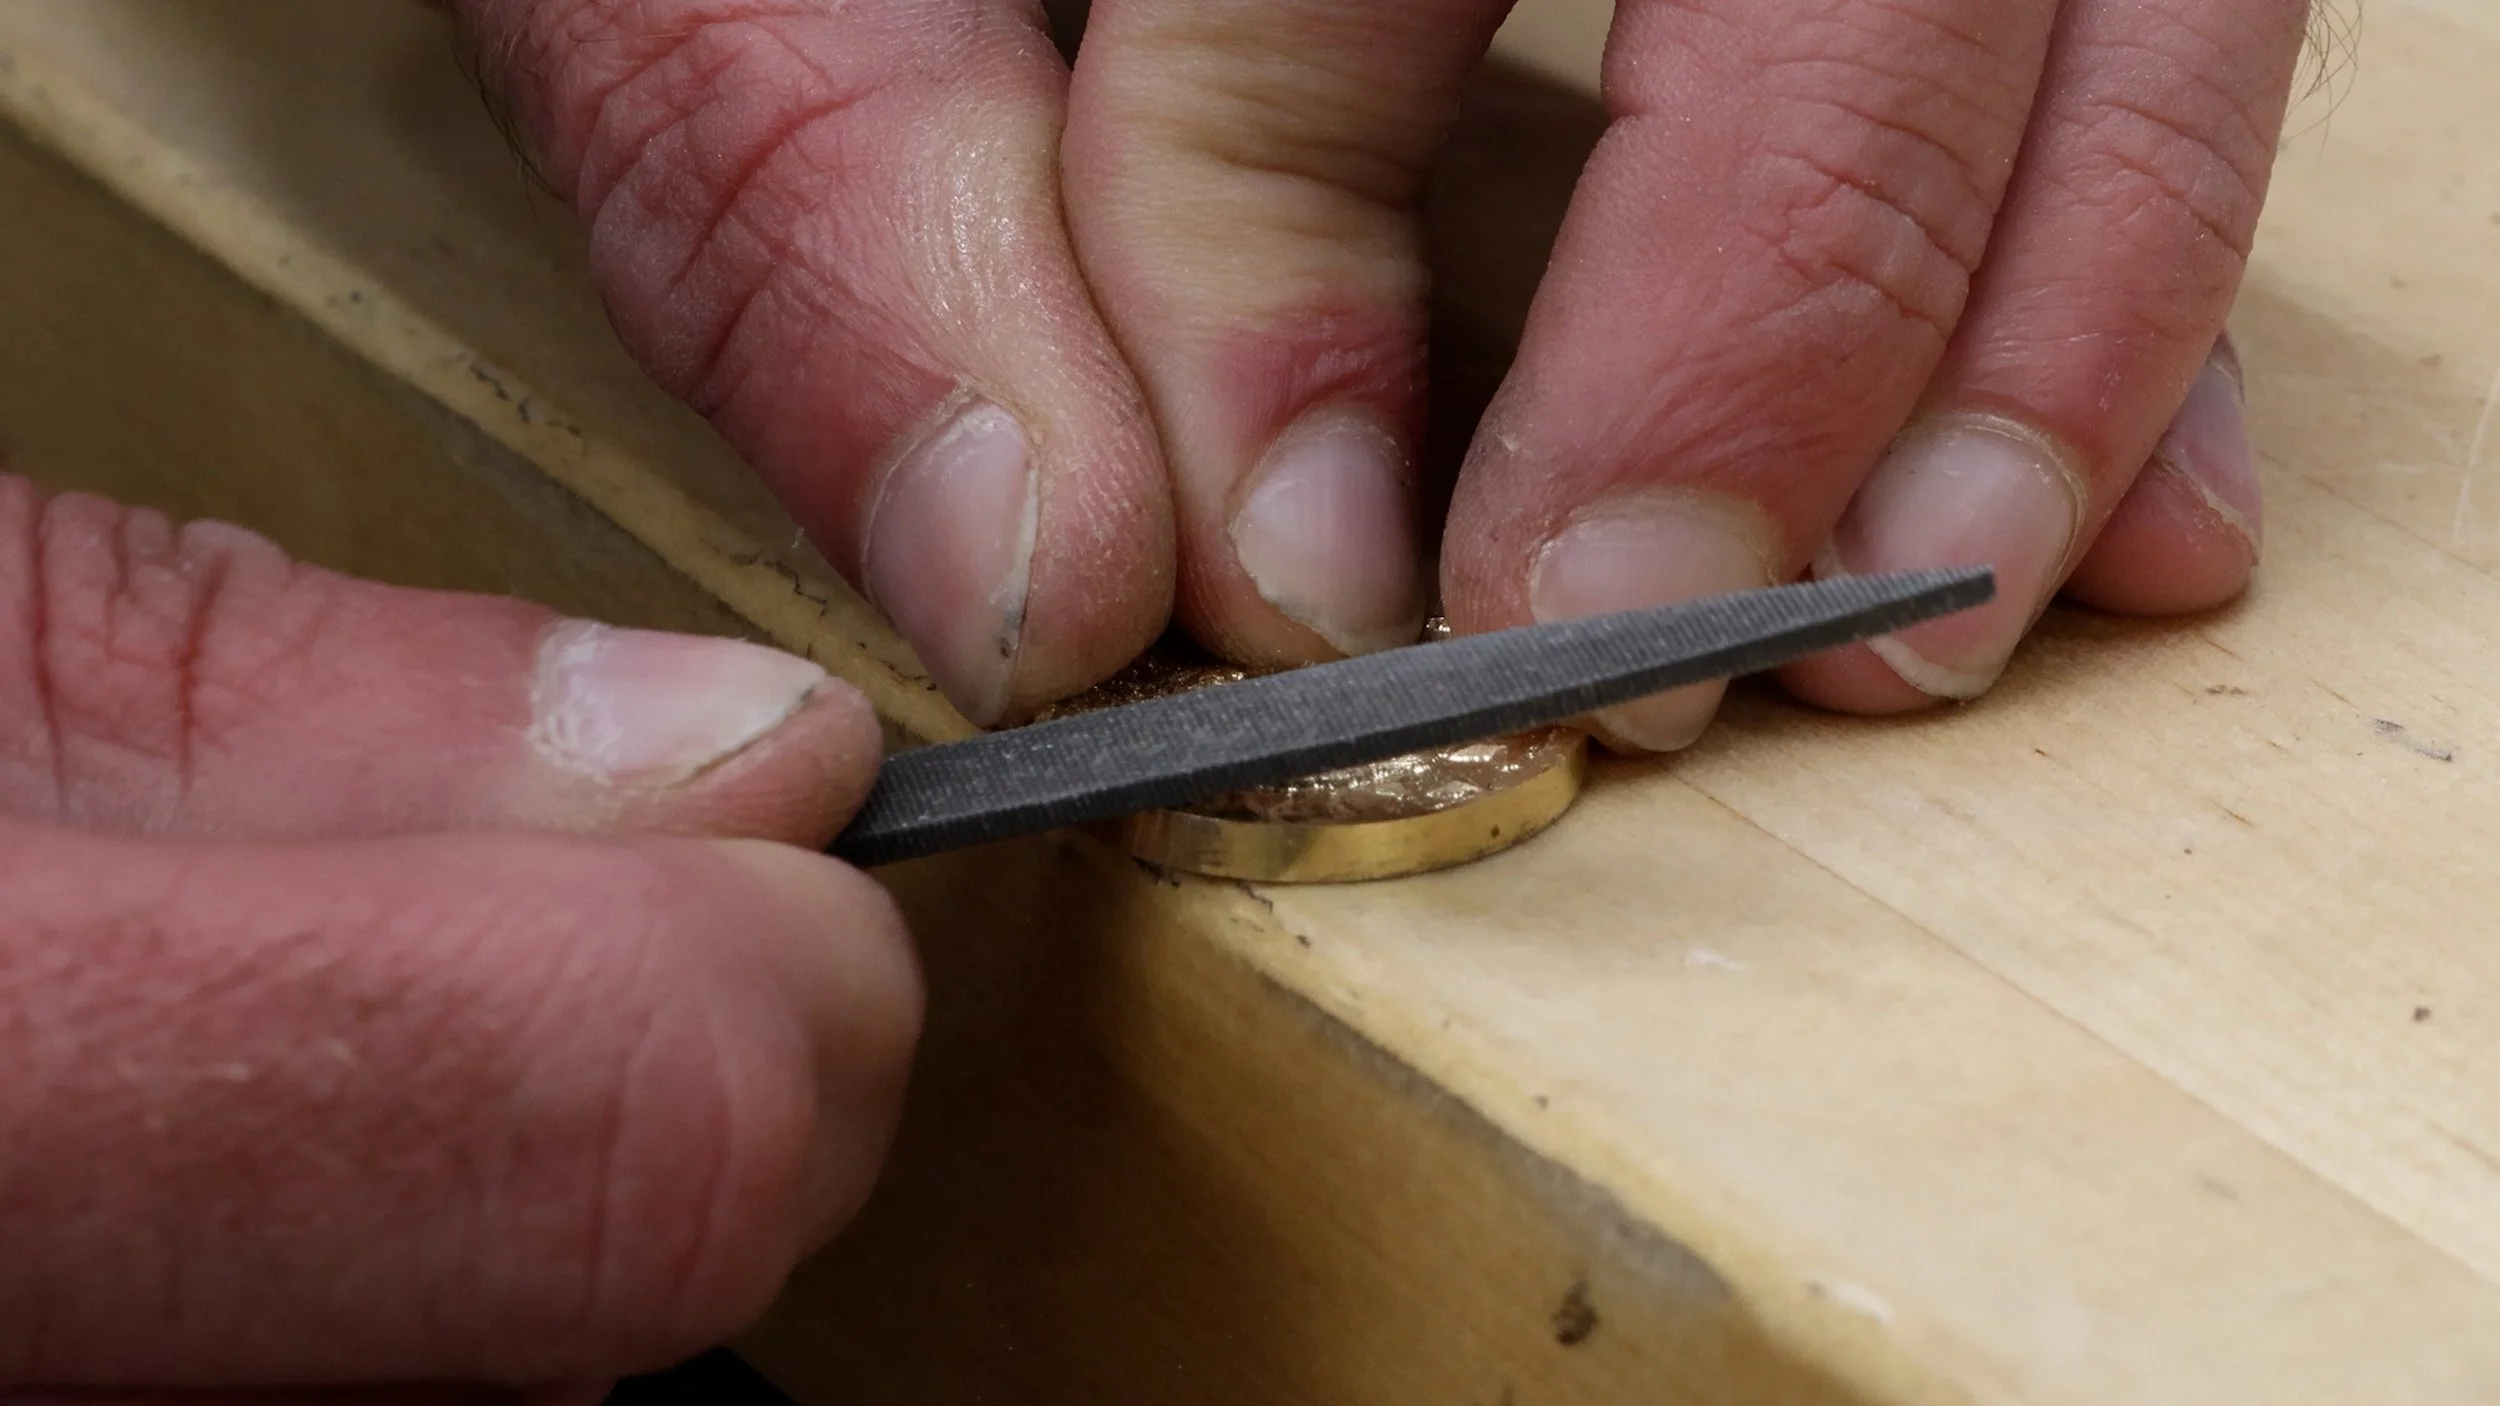
The coin looked a little too new for my taste. I used a combination of saltwater, heat, and black paint to add patina and make the coin look worn. It’s attached to the front of the box with epoxy.

A couple coats of spray lacquer and my project was complete! I started making it simply because I wanted to use barrel hinges. I walked away with one of my favorite wood boxes in recent years and a lot of new skills that open the door for future workshop projects.