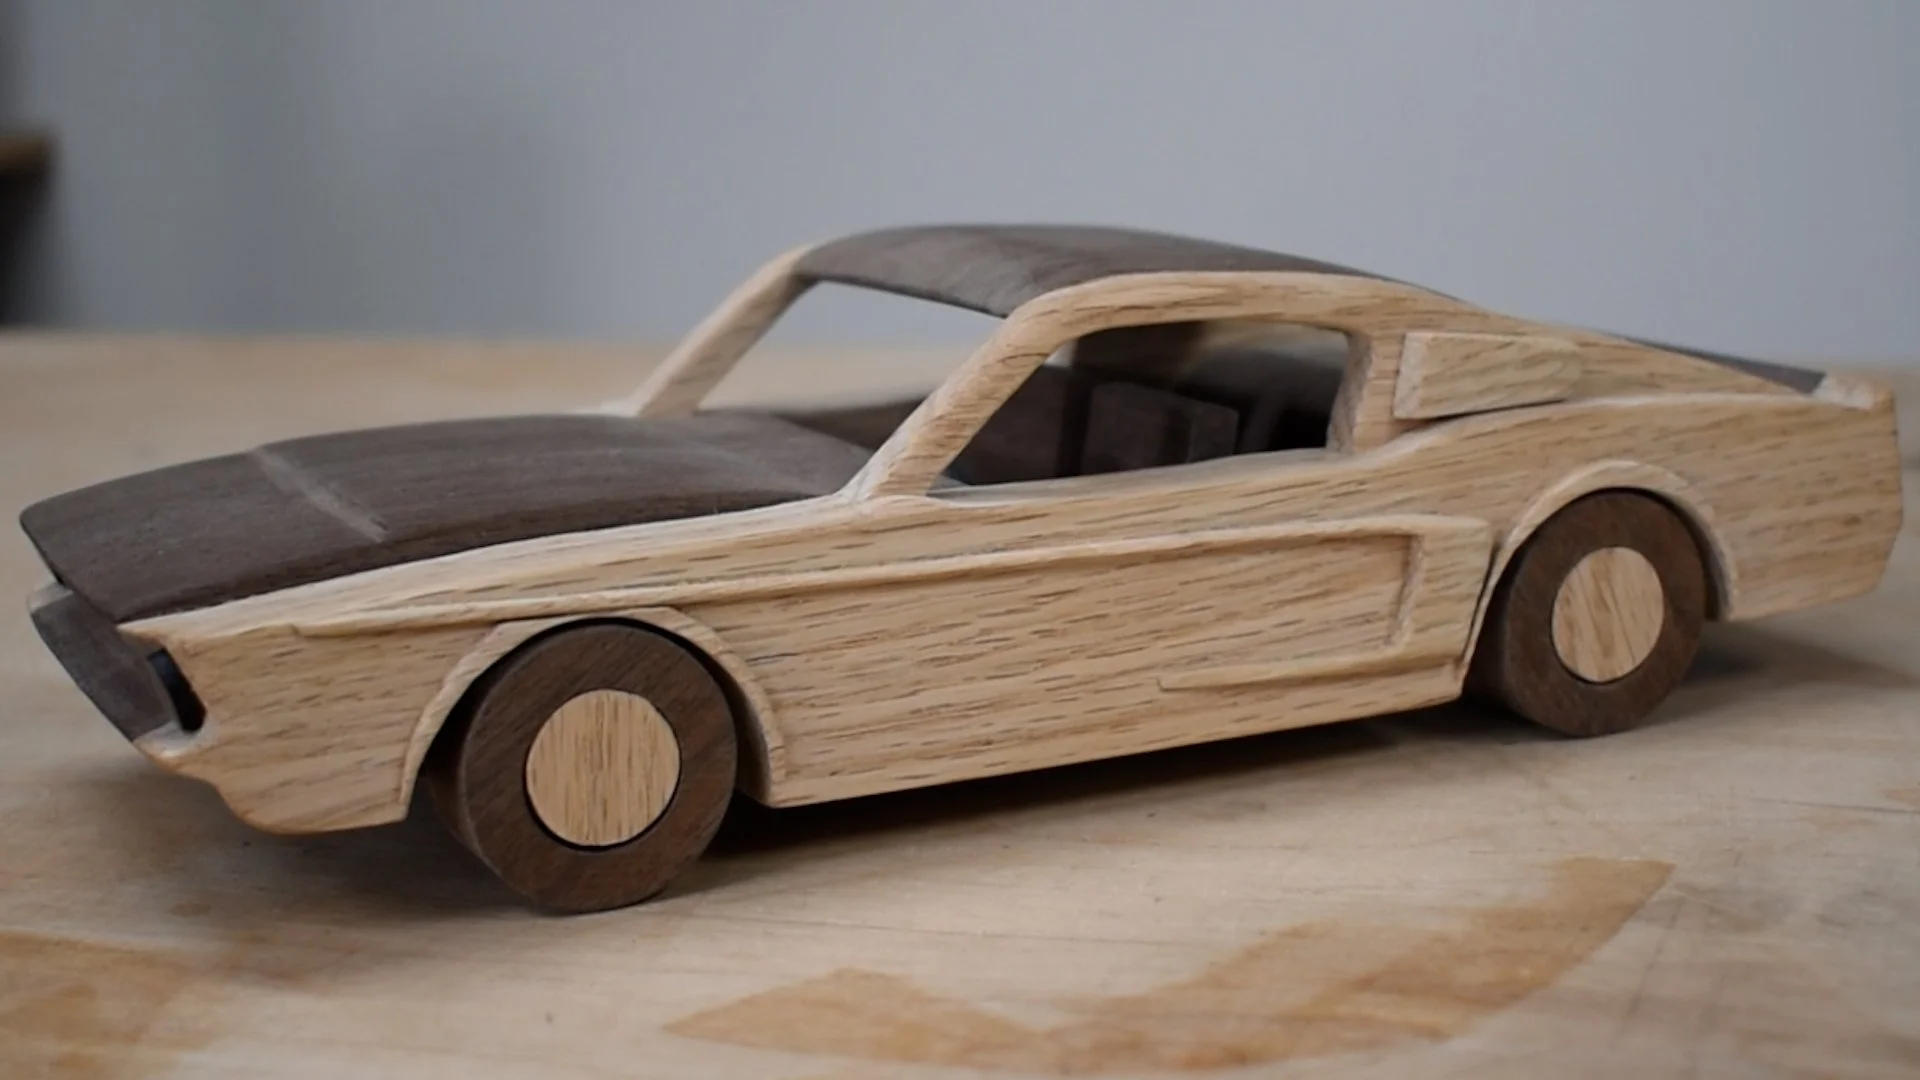
Make a Wood Car

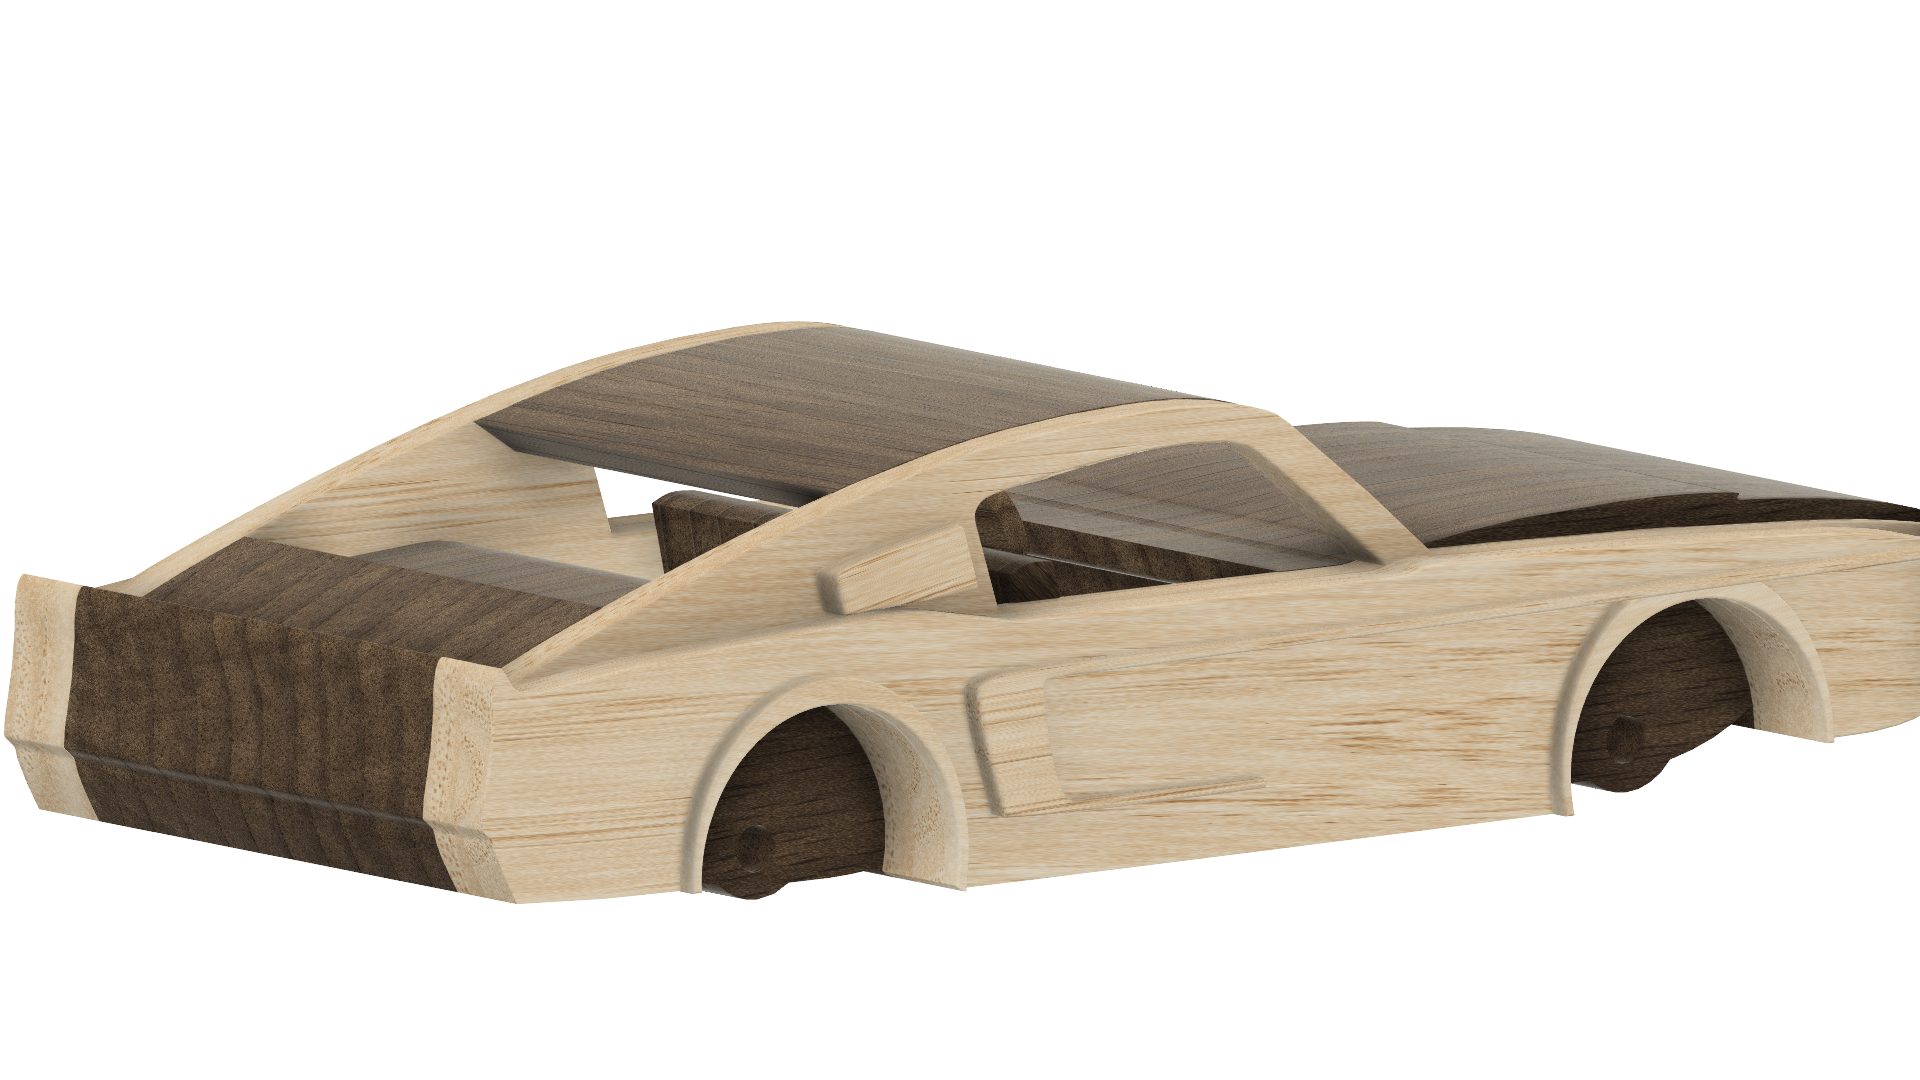
There’s something special about making a classic wood toy car, especially to give as a gift to kids and grandkids. But just because it’s classic doesn’t mean it has to be boring. I’ve owned two 1960s Ford Mustangs, so it’s not a shock that I love the 1967 Shelby GT500. I designed this wood car project to mimic some of the aesthetics of the classic muscle car. Just a few modifications and this car could have a totally different style.
As an Amazon Associate I earn from qualifying purchases.
How Can You Make Your Own Toy Car?
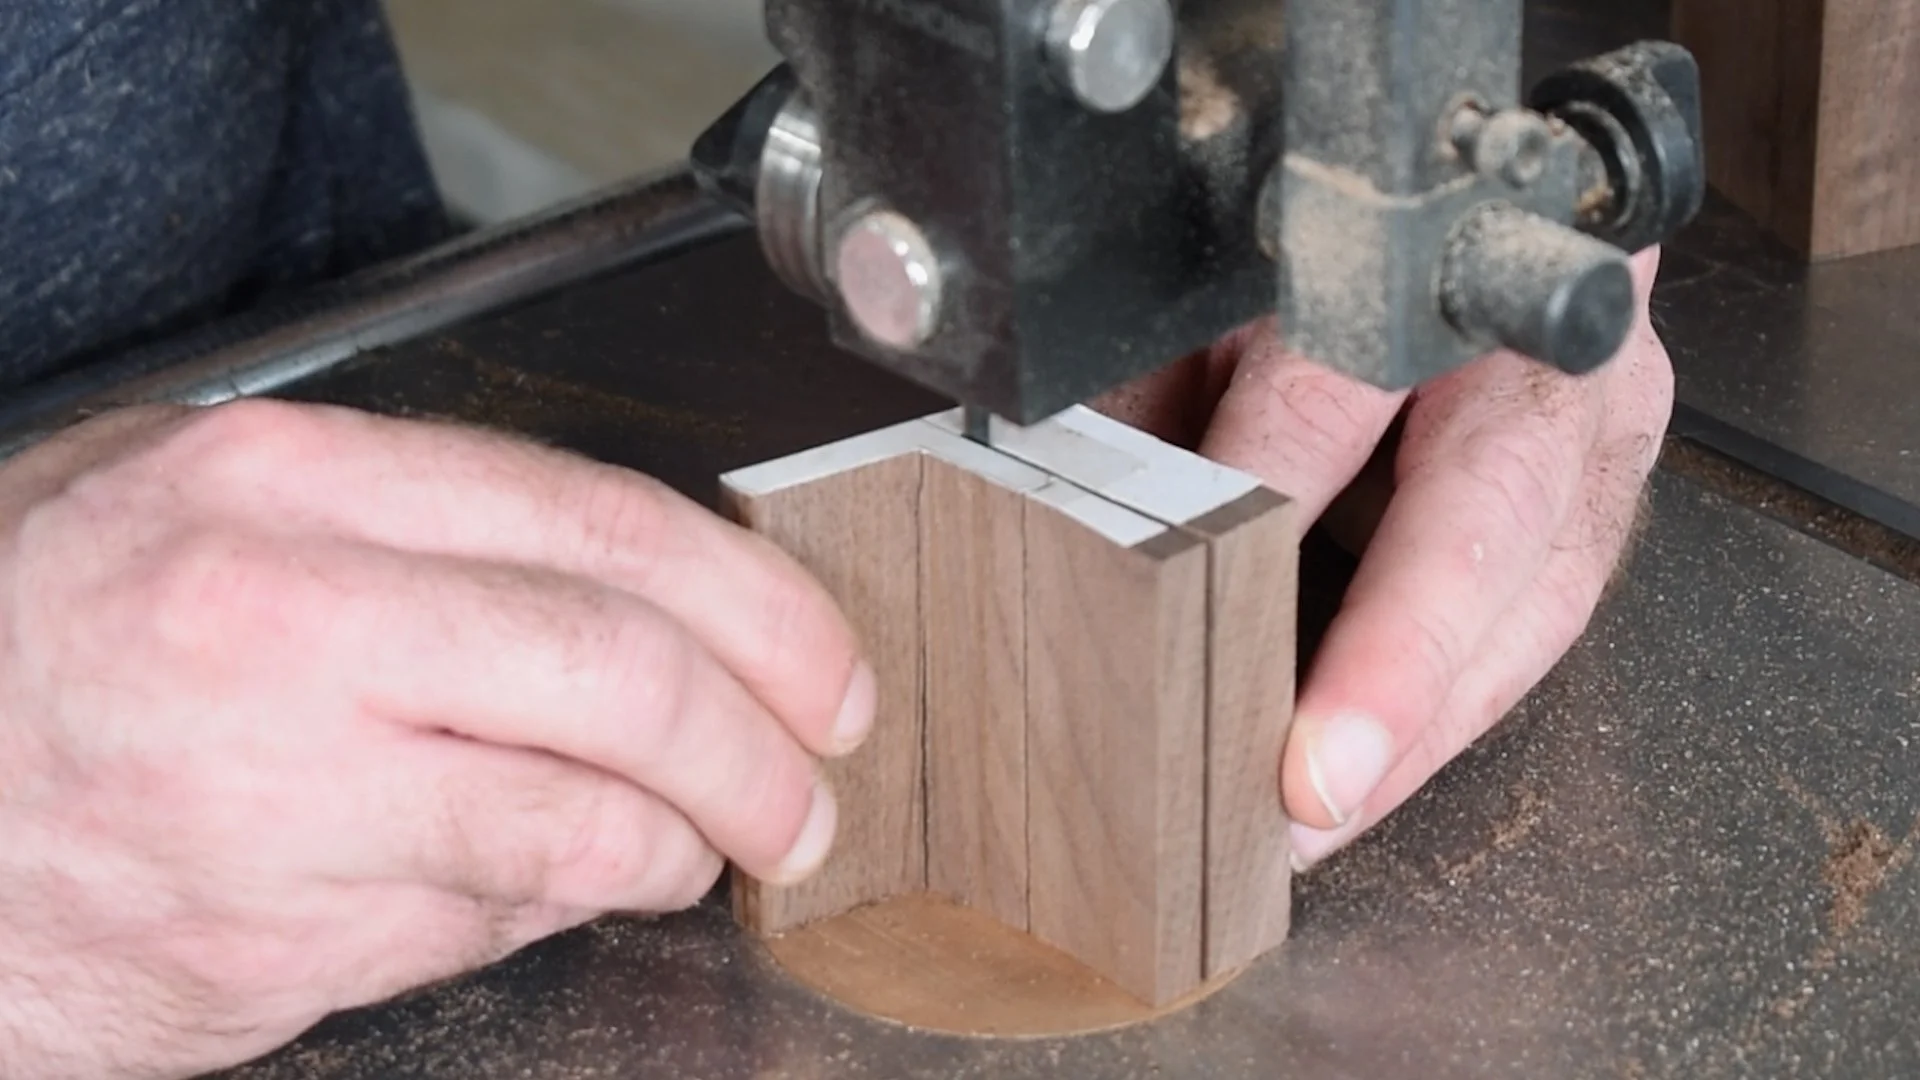
You can easily tackle a project like this in simple stages, starting with the center body. Cut out the profile, which includes the engine and interior area. This is a great opportunity to use a contrasting wood species to really set your project apart.
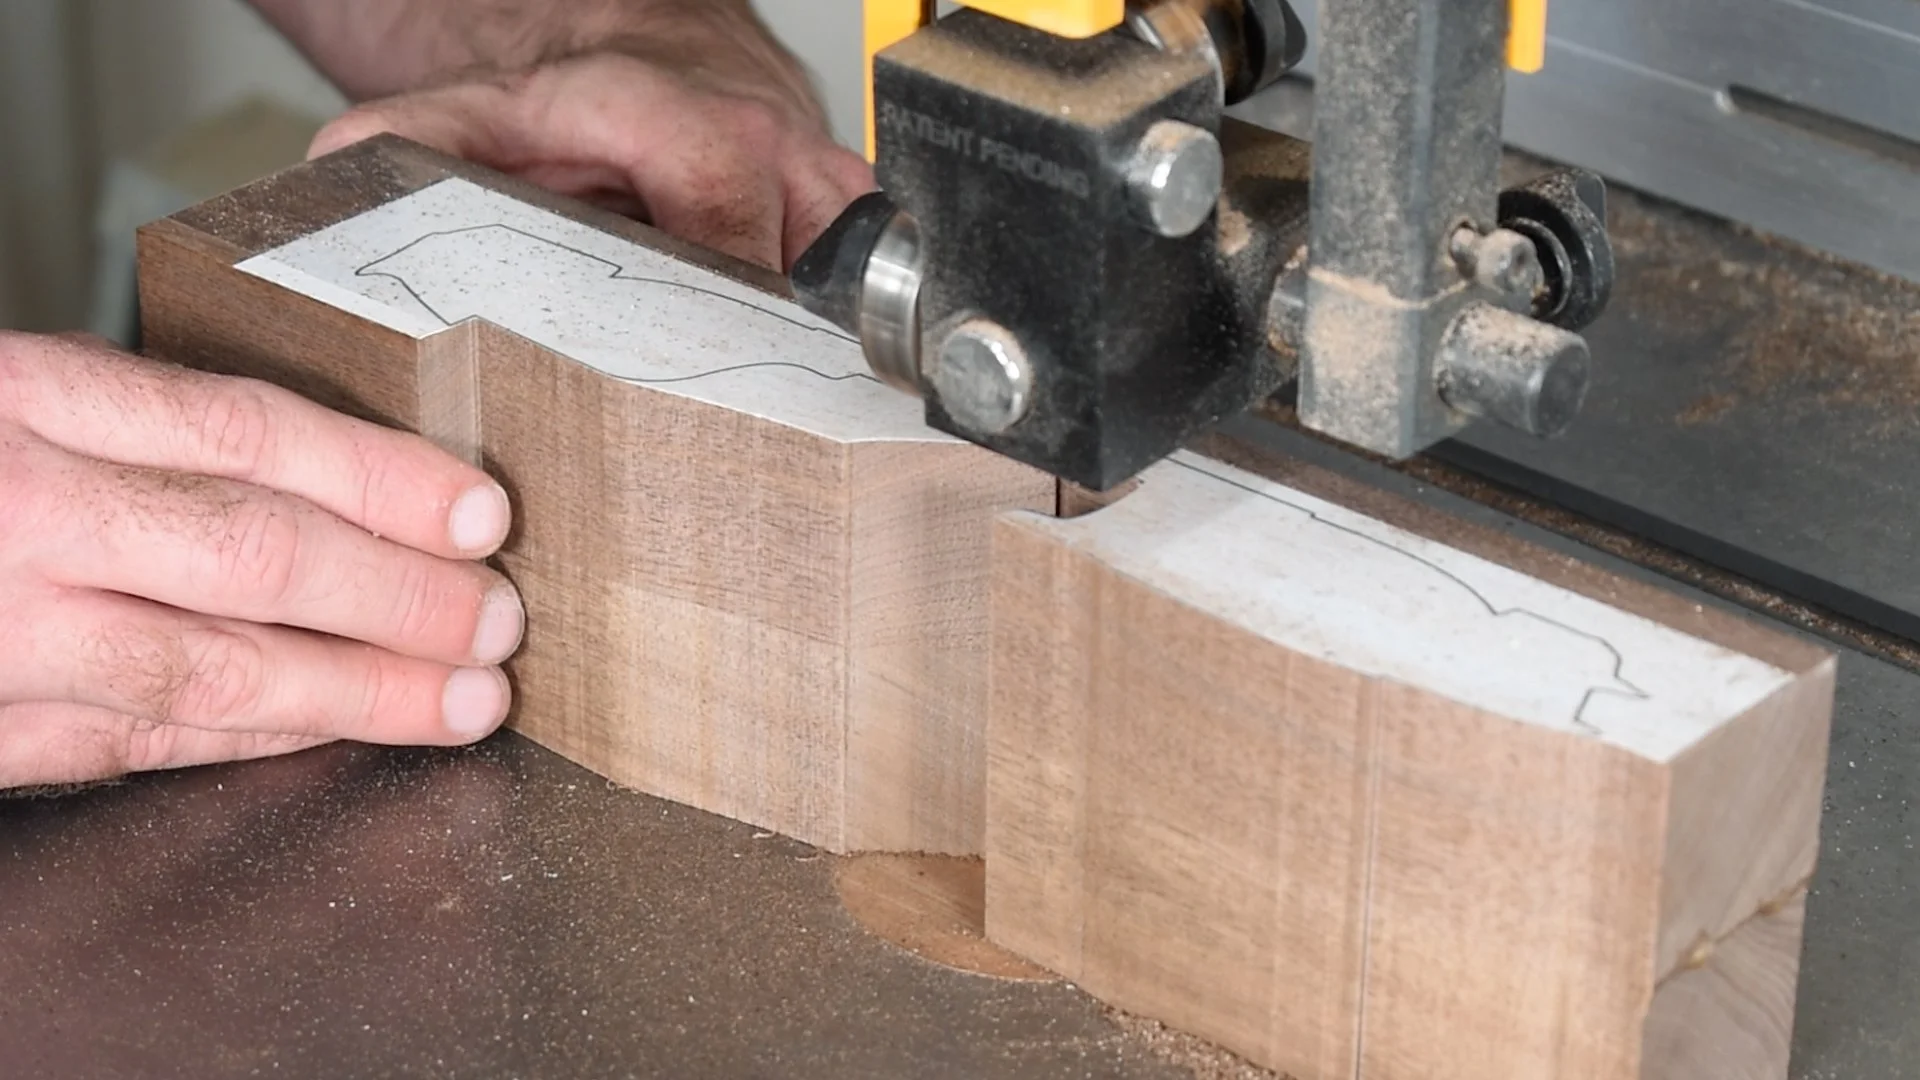
The Body Profile
Stack thin boards together to give your wood car more visual interest. Cutting the frame and outside profile separately provides some dimensionality to the car, especially if you sand the edges so one bleeds into the next.
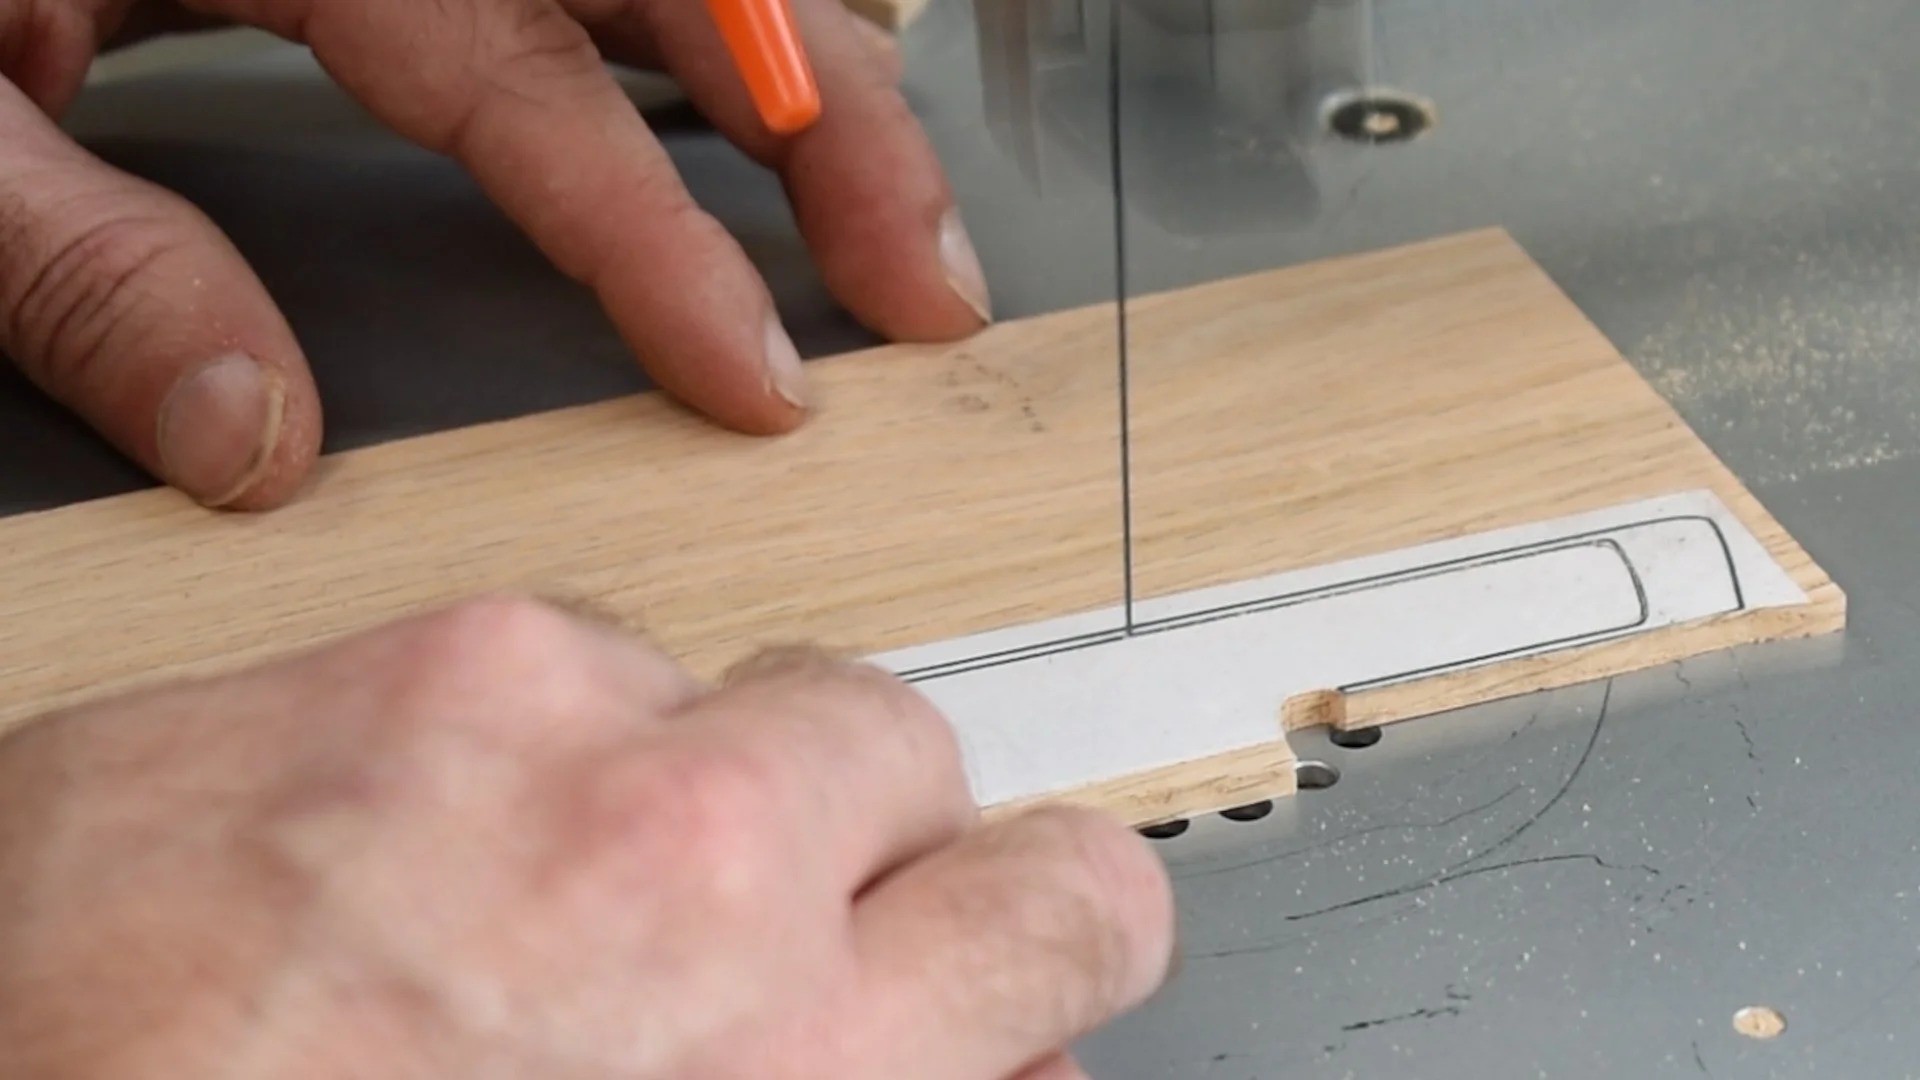
When tackling a project like this, I like to use templates. They make cutting my workpieces so much easier than freehand sketching a drawing. You can download templates, along with step-by-step instructions here.


Wood Tires
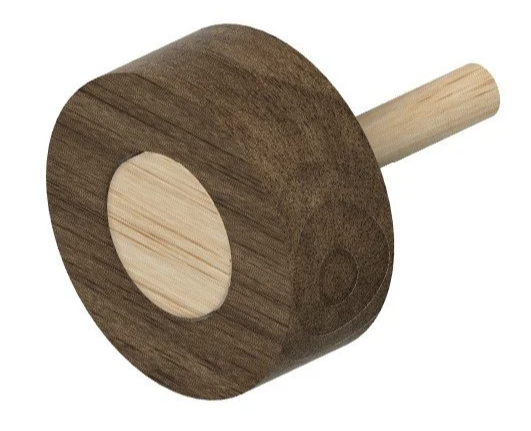
It’s not a car if it don’t move. You can buy wood tires and axles specifically made for wood toy cars. I’ll list a few below that I really like. You can also make your own using different size dowel. Cut a large, medium, and small dowel into four pieces. The smallest diameter dowel is the axle. The second smallest is the wheel hub. And the third is the tire. Drill holes in the center of the two largest ones. Glue the axle into the hub and then feed it into the wheel. Then, drill holes in the car body for the axles.

Mini Wood Wheels Treaded Style

Wood Axle Pegs
Don’t Forget the Interior
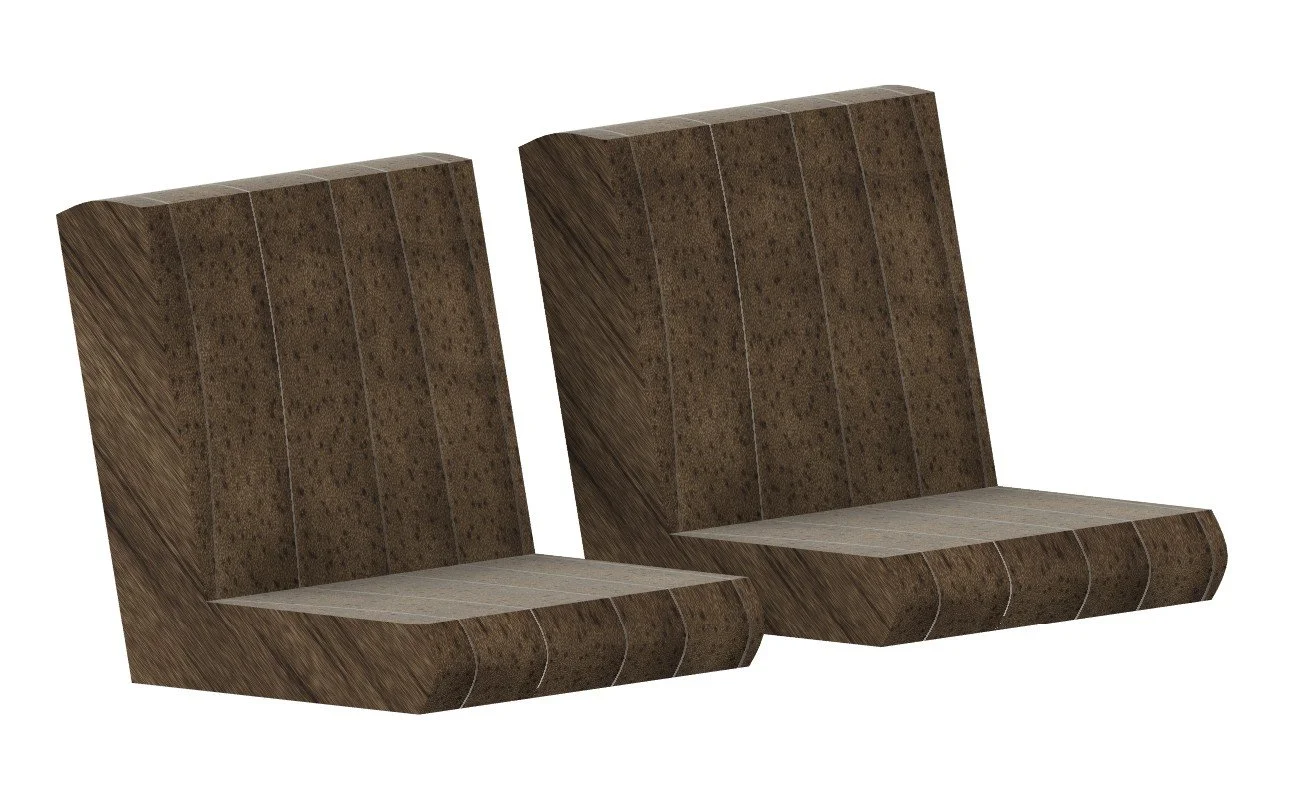
Cut a roof, a couple car seats, and the steering wheel. These can be easily made from scrap wood. I tend to use the scroll saw whenever possible. If the workpiece is too big, I’ll use a band saw. Glue the seats and steering wheel in place.
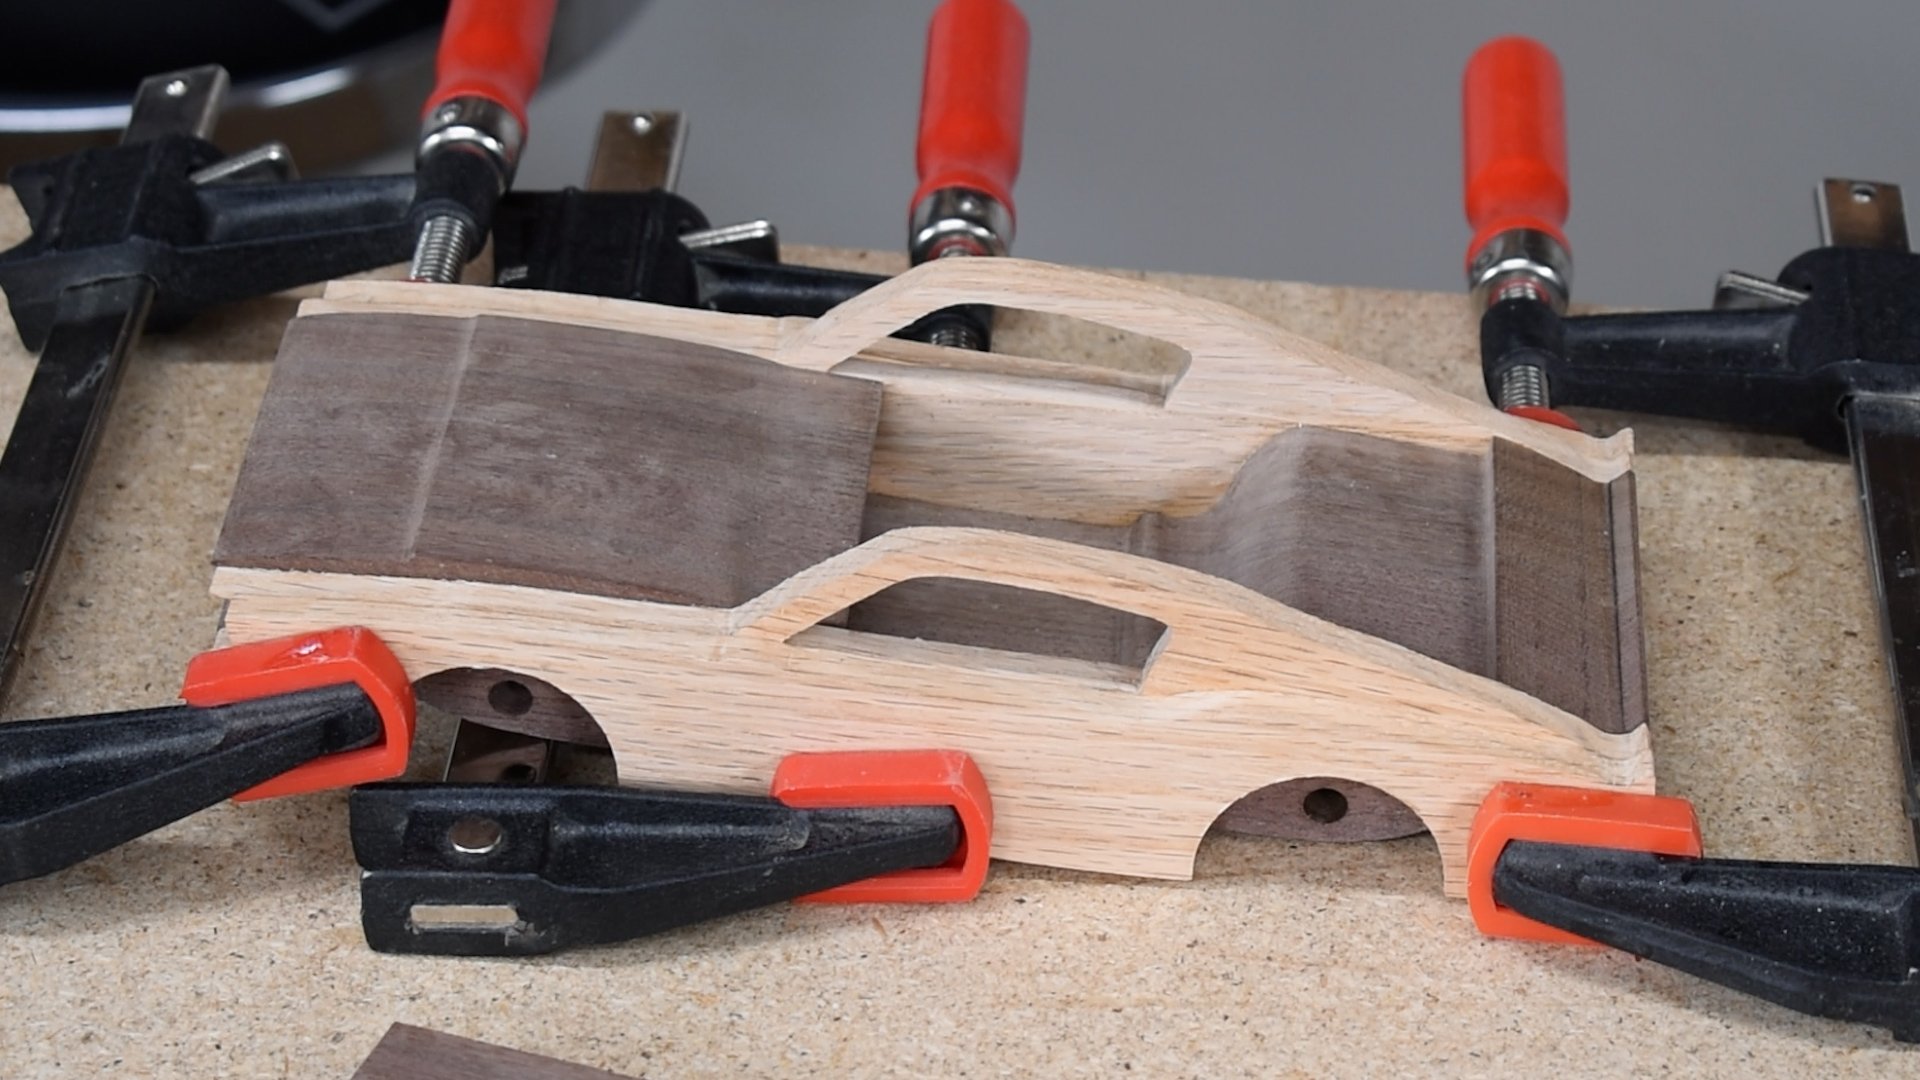
Assembly is Required
Glue the outside frame pieces to the car’s center body. Also, glue the roof between the window frame.
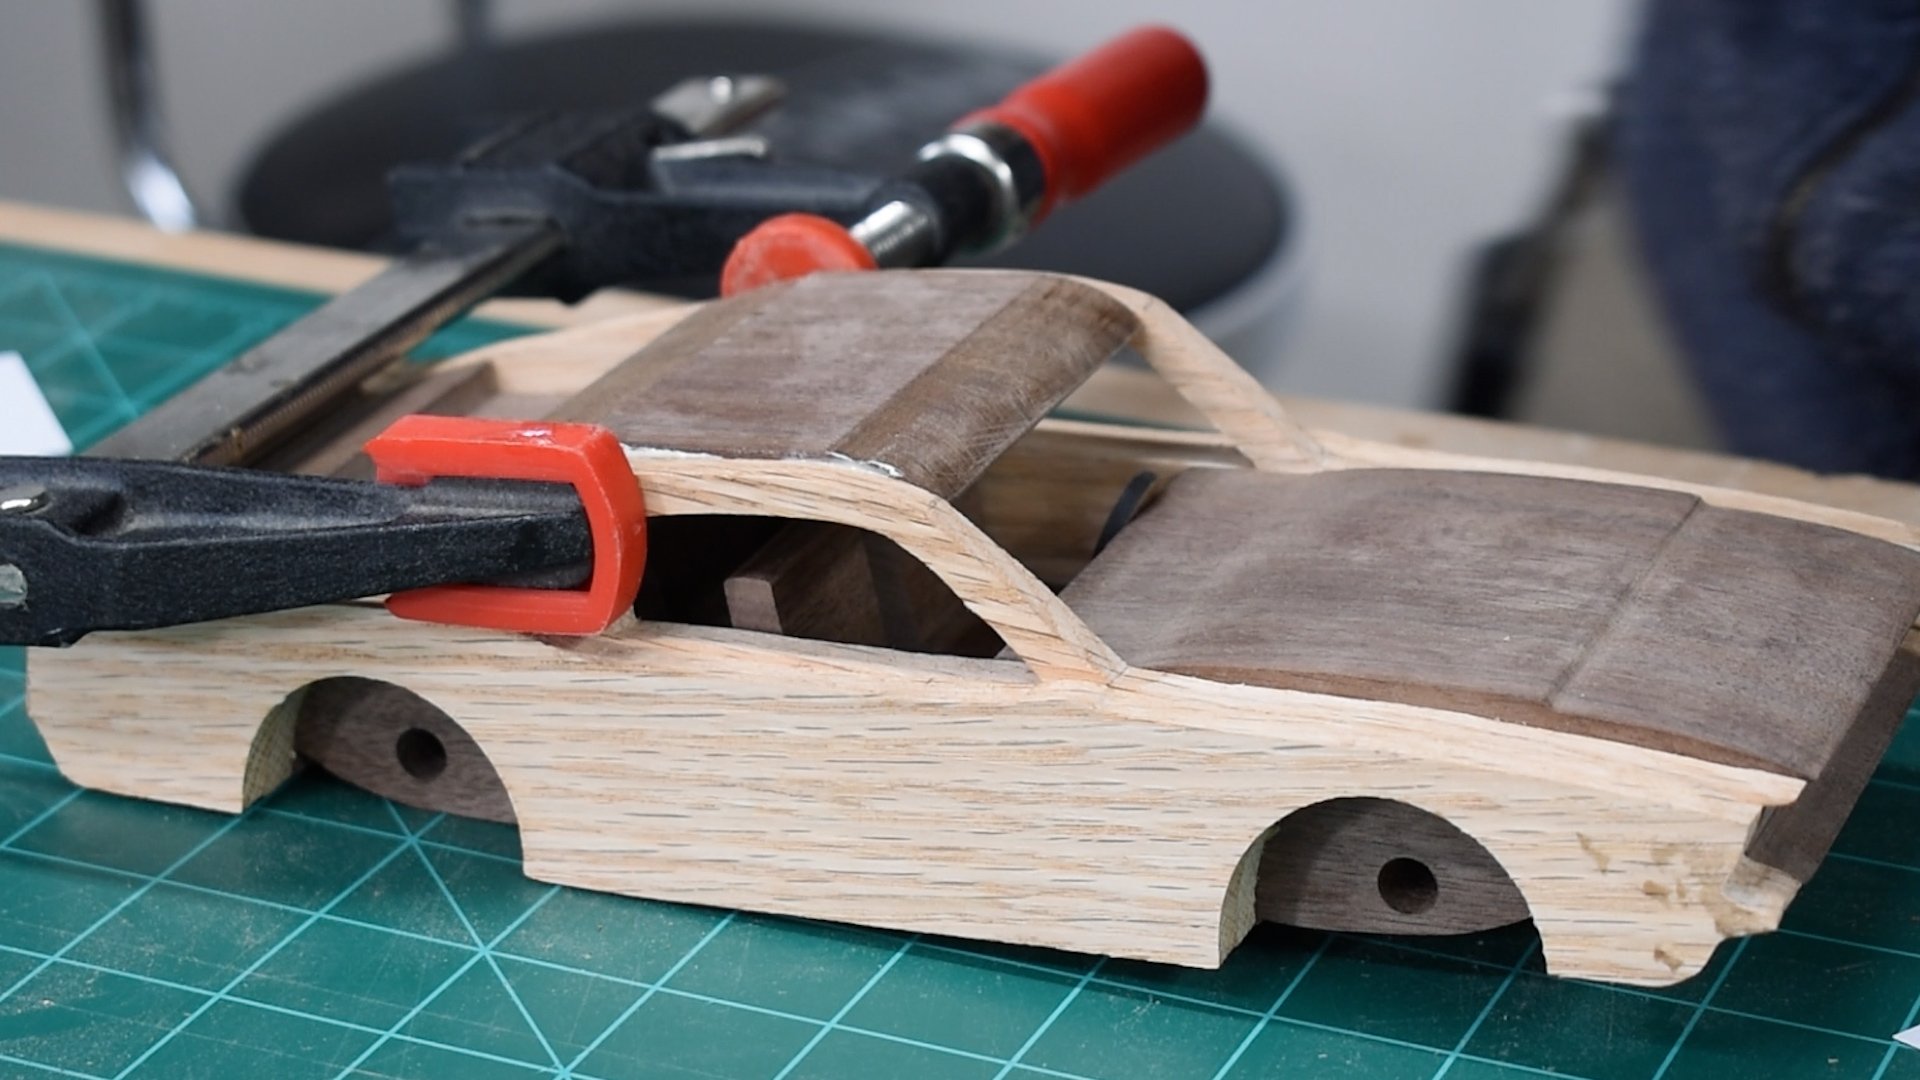
The Fine Details
At this point, you have a pretty cool car! I think the fine details are what sets it apart. I created templates for fenders, trim, air vents, and headlights. These added touches take the project from generic sports car to something more resembling a classic muscle car.

Sand the project and round over all the edges so it feels soft no matter where someone touches it. Add the wheels and you’re all done!