
5 Woodworking Tips for Beginners
Like many woodworkers, I picked up tips and tricks by building projects and gaining experience. Over time, I noticed there were some techniques or tools that worked out great so I kept utilizing them. Other times, I found out what doesn’t work well and needed a better solution.
Here are some woodworking tips I’ve picked up over time. If I stay in learning mode and strive to improve my skills, I’m optimistic I will be able to add to this list in the years to follow. No company’s sponsored the items I mention in this article. As an Amazon Associate I earn from qualifying purchases.
Repeatedly Joint Lumber
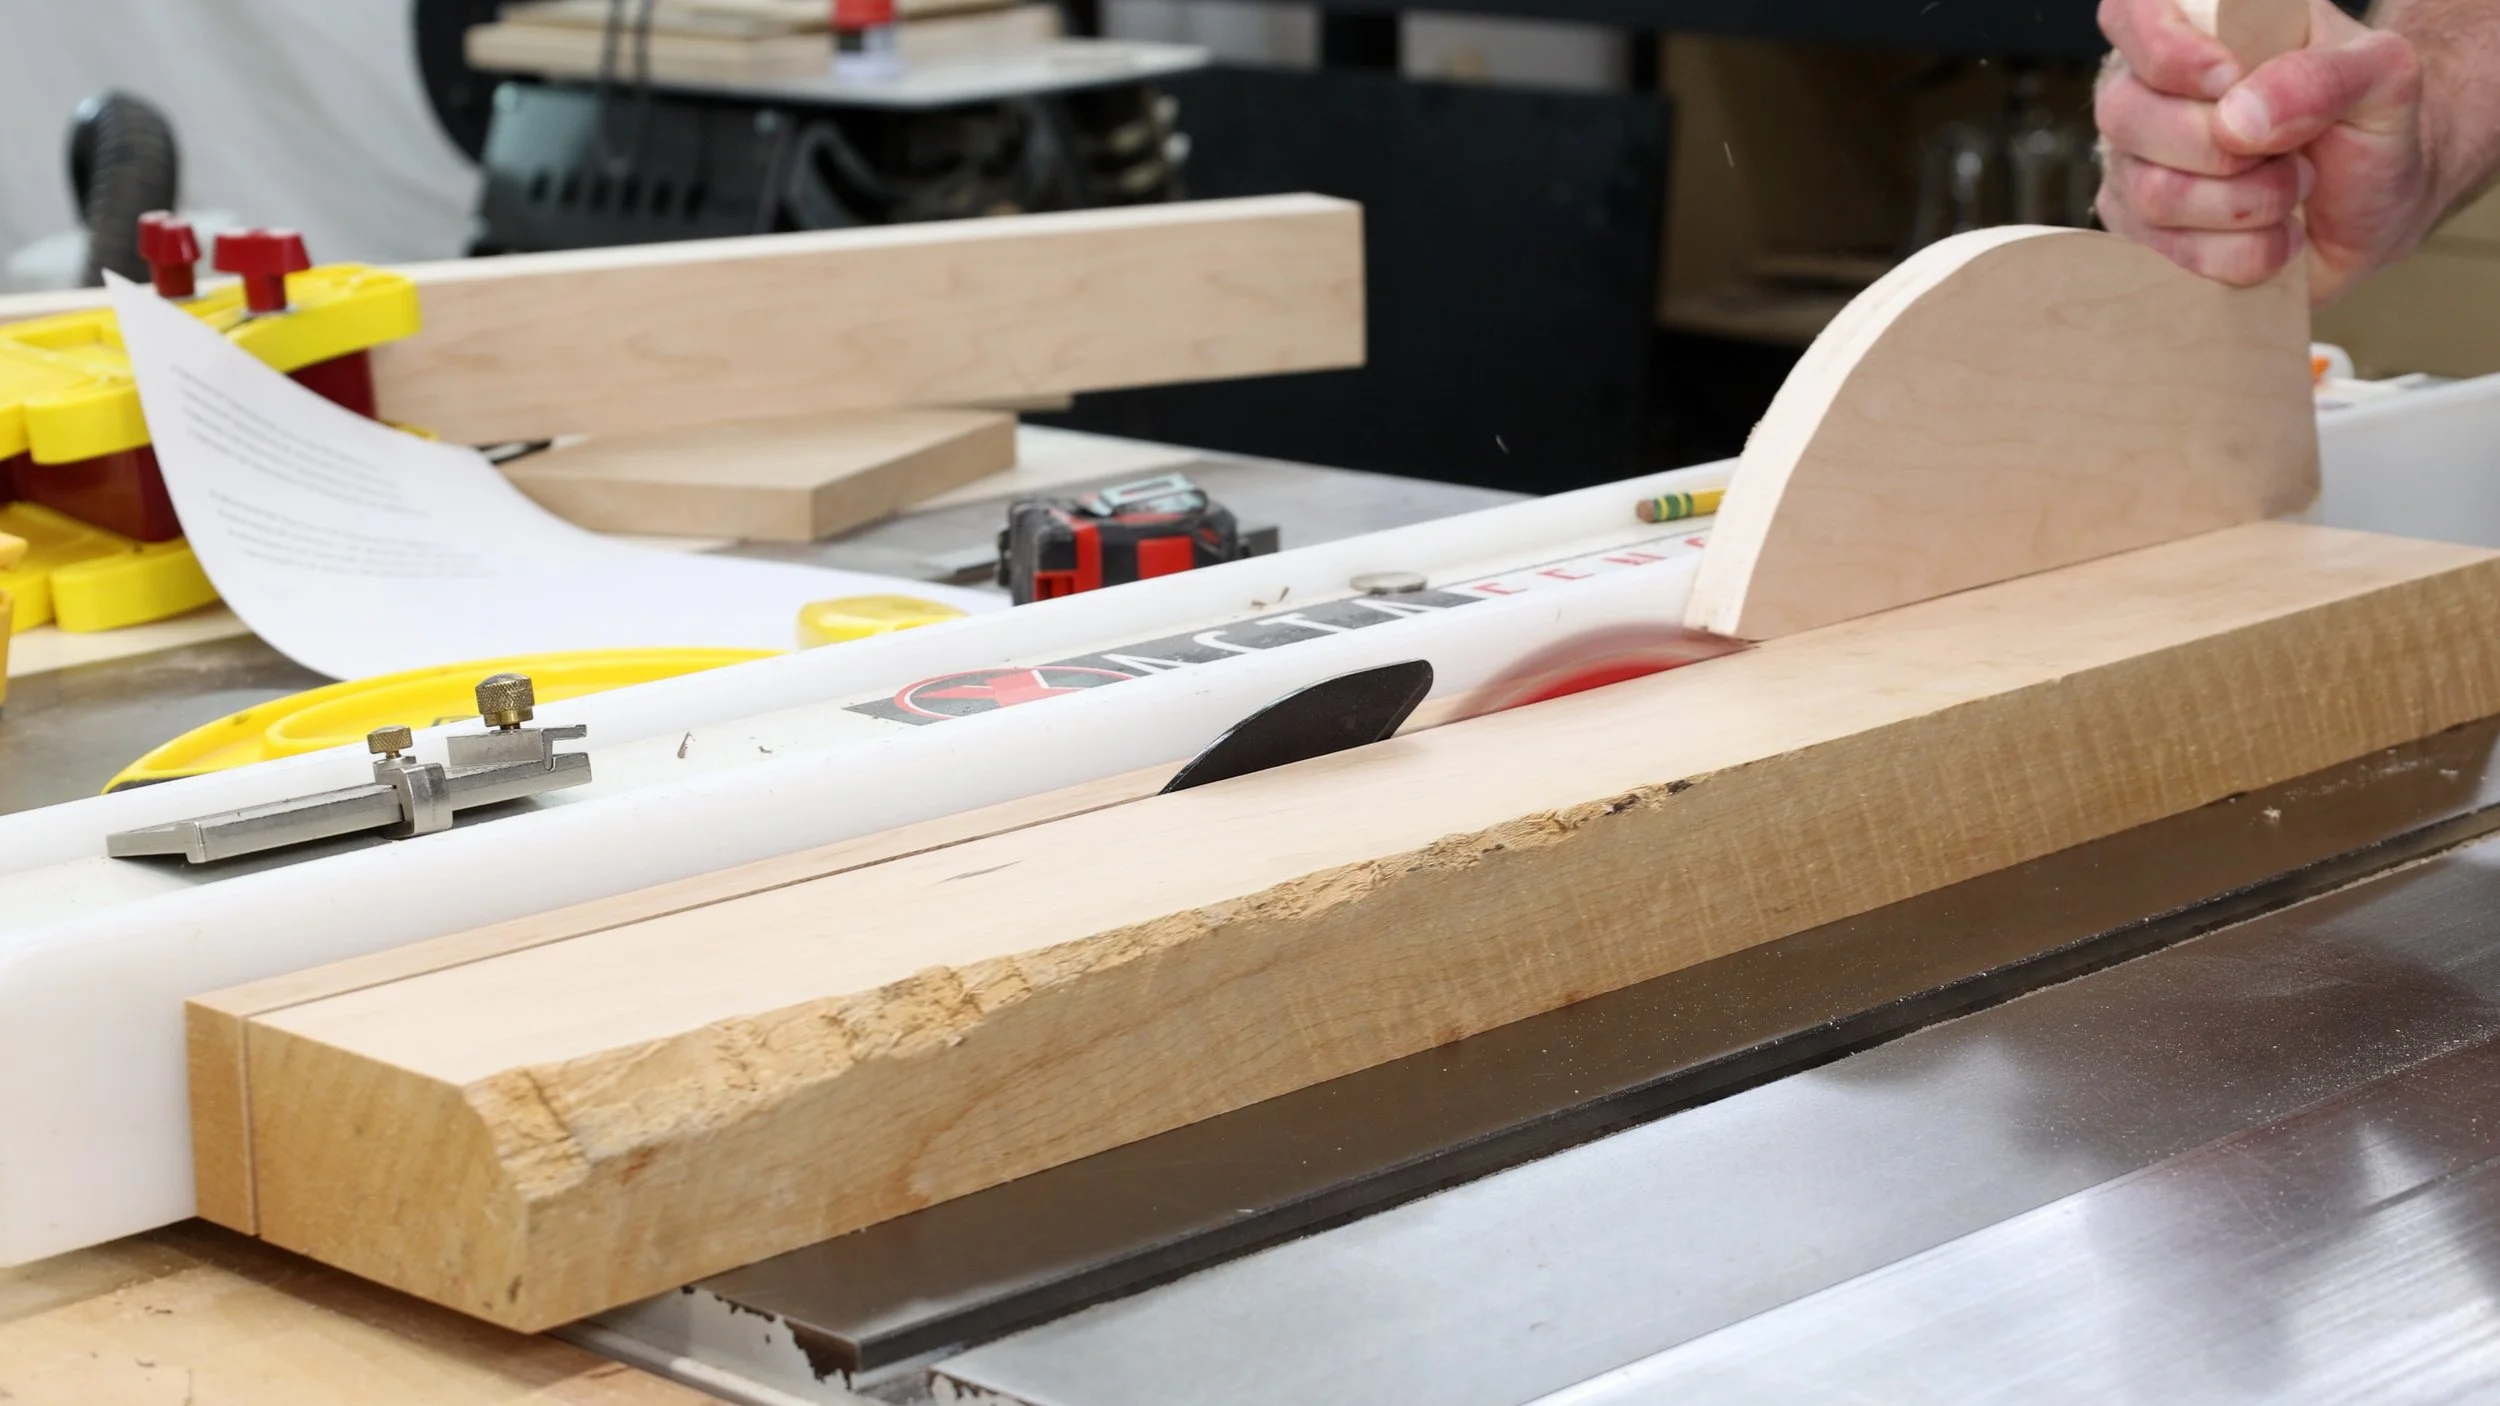
At the beginning of a woodworking project, we mill lumber and ensure it’s flat and square. Woodworkers understand the value of perfectly dimensioned materials. We can’t make parts that fit together without first processing lumber. Like most new woodworkers, I picked up on this pretty quickly. What I didn’t quite understand is why my perfectly flat, straight lumber could no longer be described as such after cutting the lumber into smaller pieces. One day, it dawned on me that I looked at woodworking as a linear process. Pick out your lumber. Mill your lumber. Cut your lumber into parts. This was the problem; I actually needed to go back to Step 2 even though I was on Step 3.
We need the top and bottom faces of a board to be flat and parallel, and we need one edge to be square with the faces. This allows us to run the edge against a table saw fence and cut the other edge square. Commonly, we need to cut a board into multiple thinner pieces. This is where things can go wrong and why going back to Step 2 is important.
As an example, let’s say you milled lumber to make a cutting board. Now, you need to cut your board into 1” wide pieces. You set the table saw fence to 1” from the blade, put the freshly jointed edge against the fence, and make a cut. Then, you take the board and press that against the fence and make a second cut. You repeat this until you have all of your 1” wide pieces; however, the last few pieces aren’t as good as the first couple. There are some burn marks from the saw blade and they have a slight bow to them. What happened?
Essentially, you made a copy of a copy. The board’s jointed edge is the original version. When we cut a board, the newly created left edge is a copy of the original right edge. If we take that copied edge and use that as our reference to make another cut, we just made a copy of a copy. Do this enough times and even the slightest imperfection is amplified and results in lower quality pieces. It’s just like copying or scanning a document, we’re losing quality each time. The solution is simple. After a few cuts, go back to the jointer and joint a fresh edge. This resets the playing field and all of your workpieces will be the same quality, giving you confidence to move to the next step.
Use the Correct Clamps

Pony Jorgensen Light Duty Clamps
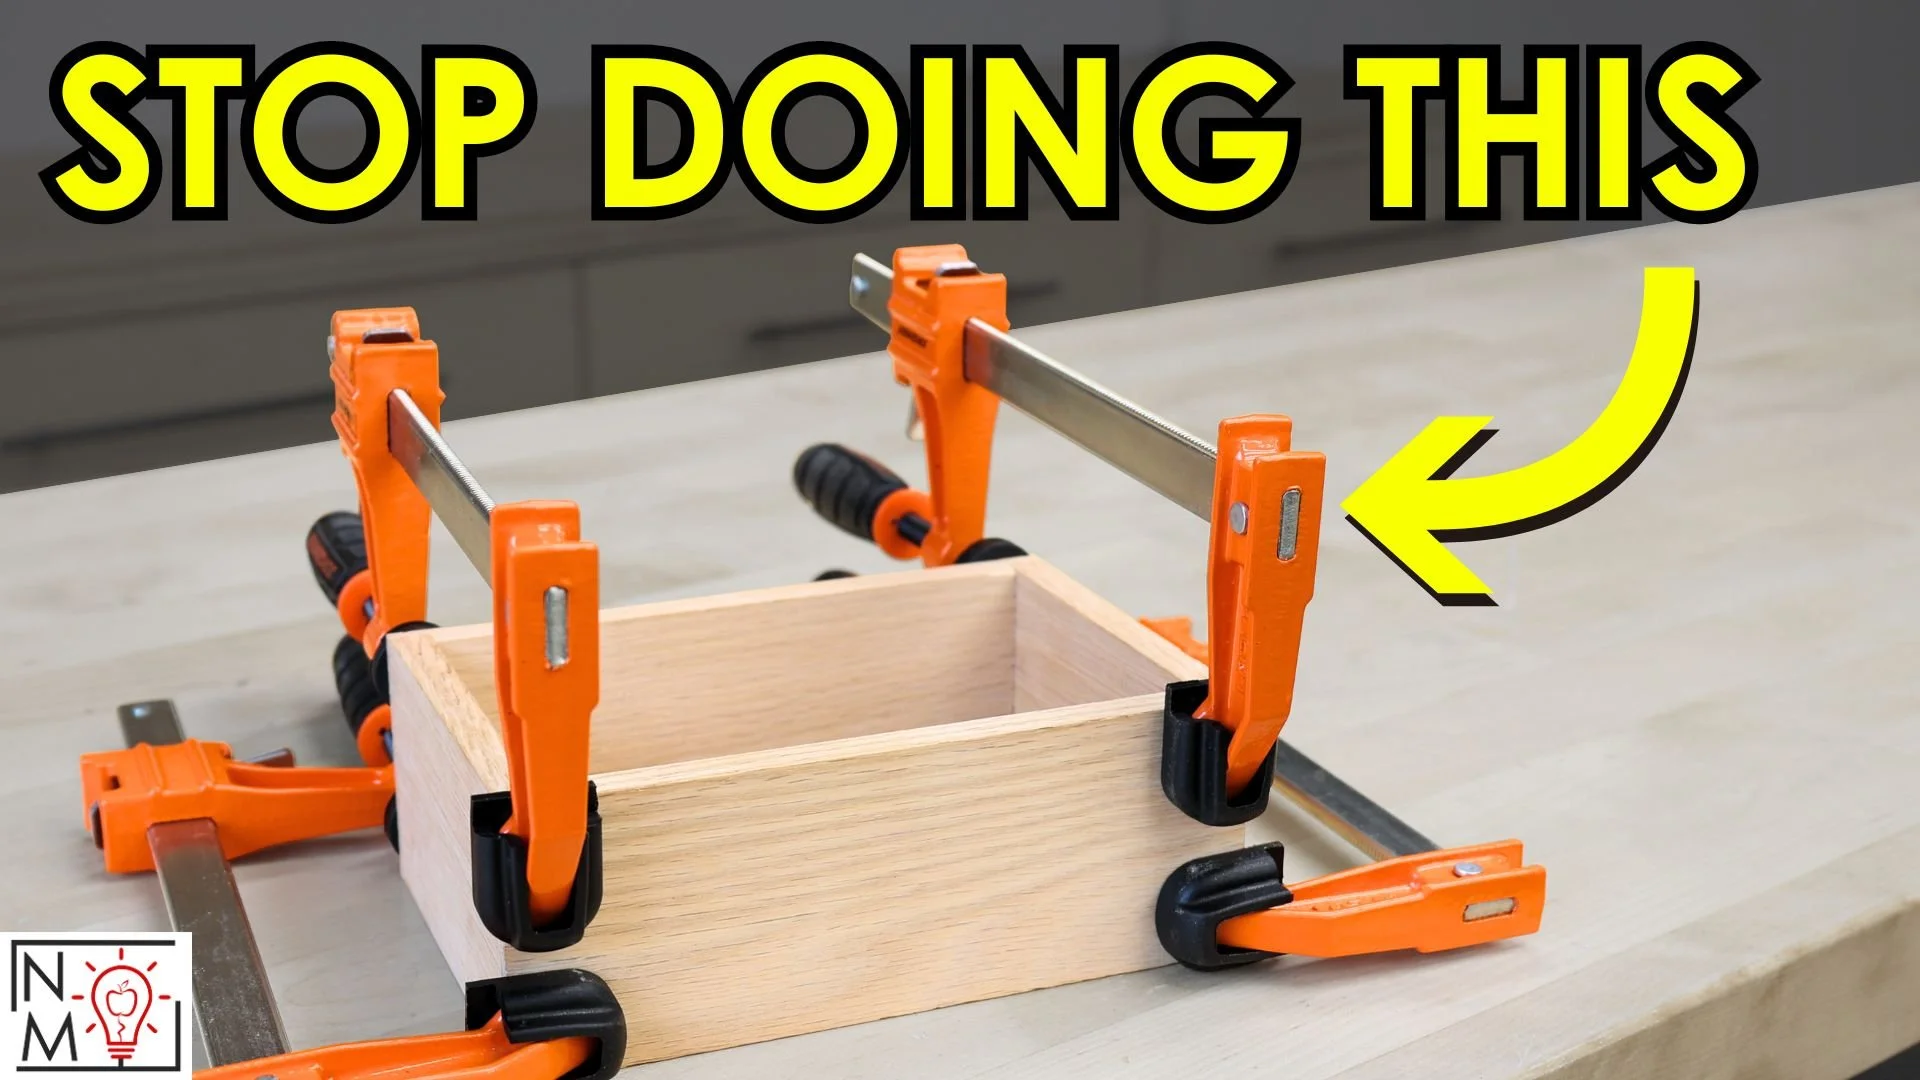
Woodworkers have a lot of clamp styles and sizes to choose from, but I’ll argue that the F style clamp is the most common and versatile. We all have them, likely in a variety of lengths and throat depths. These are the clamps we need for most operations in the workshop so it’s no wonder we reach for them during glue-ups, even if they aren’t the best clamp for the project.
I make a lot of boxes. Traditionally, I use light duty F style clamps when gluing them together. Even though my F style clamps are small and look like a good match for a box project, they have important flaws. A small clamp with a 2” throat depth means I have 2” of empty space to deal with as the clamp sticks out from the box. The clamp’s reach can become a hinderance, especially when compounded with its weight. It may take eight clamps to glue together a box, four across the width and length, respectively. Each one of those F style clamps is probably sticking out from the box as well. They flop around and make us weave clamps together to reach the ideal spot, all while making the box heavier or more cumbersome to move. There’s a better way to clamp these projects.
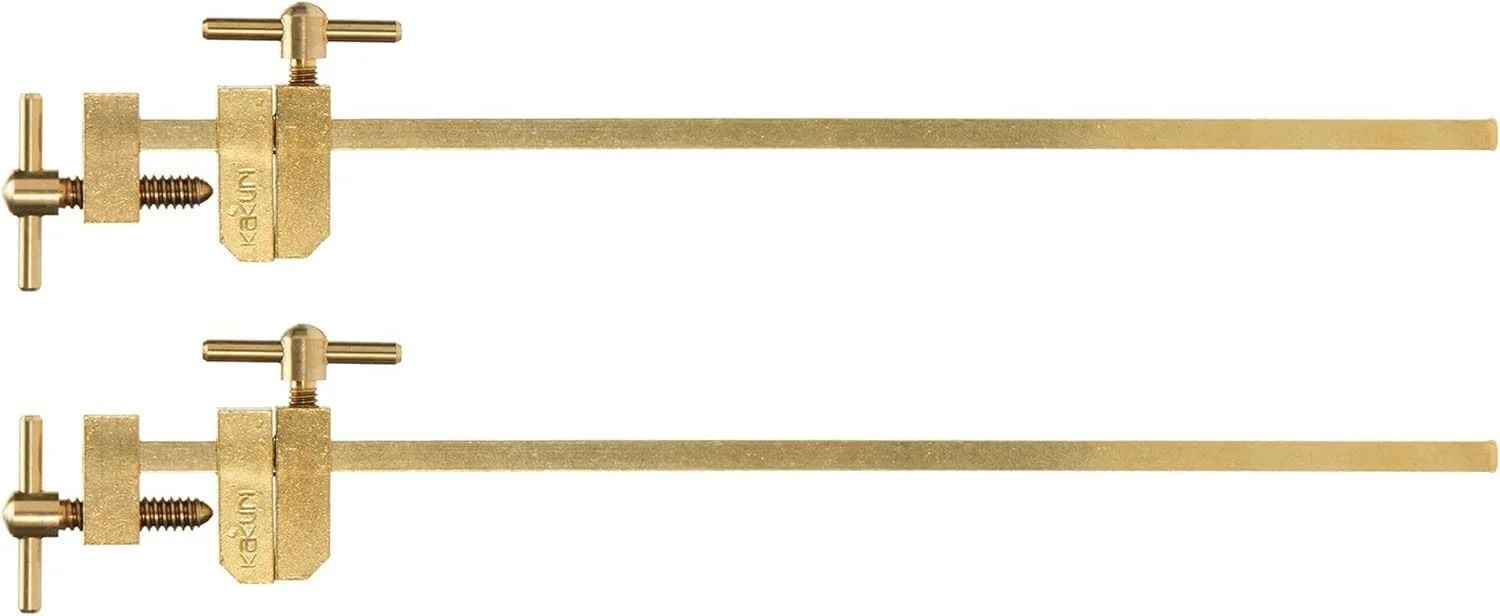
Instead of our traditional F style clamps, consider using Japanese bar clamps. You can get them in brass or steel. They are small and light weight. Plus, these bar clamps sit flush against the box, which not only means they don’t stick out like F style clamps, but they can also be used to reference and align parts. Instead of the comical clamp weave we are forced to do, we can use these bar clamps to our advantage by putting one clamp directly onto the bar of another. Storage is another huge plus to using these types of clamps. They take up little room. Even placed back in the original package, a set of Japanese bar clamps takes up much less space that just one F style clamp.
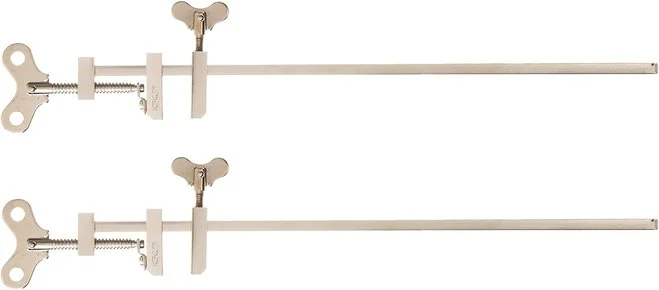
I need to mention a few alibis. Japanese bar clamps, especially the light duty brass versions, do not apply the same amount of clamping pressure as a F style clamp. They aren’t supposed to; they’re a different type of clamp. I don’t see this as a bad thing. I’ll always have F clamps handy, but I recommend having some of these bar clamps in your workshop too.
Digital Templates
If you watch many of my YouTube videos, you’ll see I use a lot of templates, especially for scroll saw projects. When I started, I wish I knew the value of making paper templates and just how fast they can be created.
The easiest form of a template is simply using a combination square and drawing lines on our workpiece. I’ve seen incredibly skilled woodworkers use metal forms or bowed sticks to trace certain curves. Obviously, this process works. What also works is learning how to make a template on a computer. You can print it, but also save it for a rainy day. This sure beats having to save a wood template in the workshop in case you want to make the same shape in the future.
You can make a template using vector software like Adobe Illustrator or Inkscape. Illustrator requires a subscription service, while Inkscape is free. I like Inkscape better and use it more often. You can get it by going to Inkscape.org and downloading the software. Because Inkscape has been around for so long, there are a lot of videos that explain the software’s capabilities. While you can do a lot and dive down some serious rabbit holes, don’t let that intimidate you. At its core, it is just a program that lets you create shapes.
I recommend focusing on a few basic functions. Learn how to draw rectangles and circles, and how to modify the shape’s outline (called the stroke). You can always learn more later if you want, but in the meantime, focus on these couple things and you’ll be able to make custom templates in just a few minutes .
I have a free three-part video series on how a woodworker can get started using Inkscape. You may find this to be a good starting point.
Eliminate Workshop Chores

The least you hate something, the more likely you will do it. With this in mind, I recommend removing chores in the workshop. By chores, I’m jokingly referring to sharping tools. A lot of woodworkers enjoy the tool sharpening process. I get it. There’s a relaxing element to spending a few hours focused on nothing but sharpening. I rarely have that luxury.
When I began using hand tools, I noticed woodworkers using water stones. In fact, it was almost exclusively what I witnessed. As a result, I bought all the stuff I needed to sharpening my chisels and blades using this method. I quickly learned an important fact. I thoroughly dislike using them on a frequent basis. If you have limited experience with water stones, here’s the basic concept. Stones comes in different abrasive grits. Before using them, you soak the stones in water. Water stones are soft and sharpening tools in one spot can cause an uneven surface. Once thoroughly soaked, remove the water stone and rub it against a diamond stone until the water stone is completely flat. This process will cause a slurry to build on the surface. Dip the stones back in the water to clean them. Sharpen the tool on the stone but try not to rub it in the same spot every time. When done, flatten the stone by rubbing it against a diamond stone. Repeat this exact process for any higher grit stones.
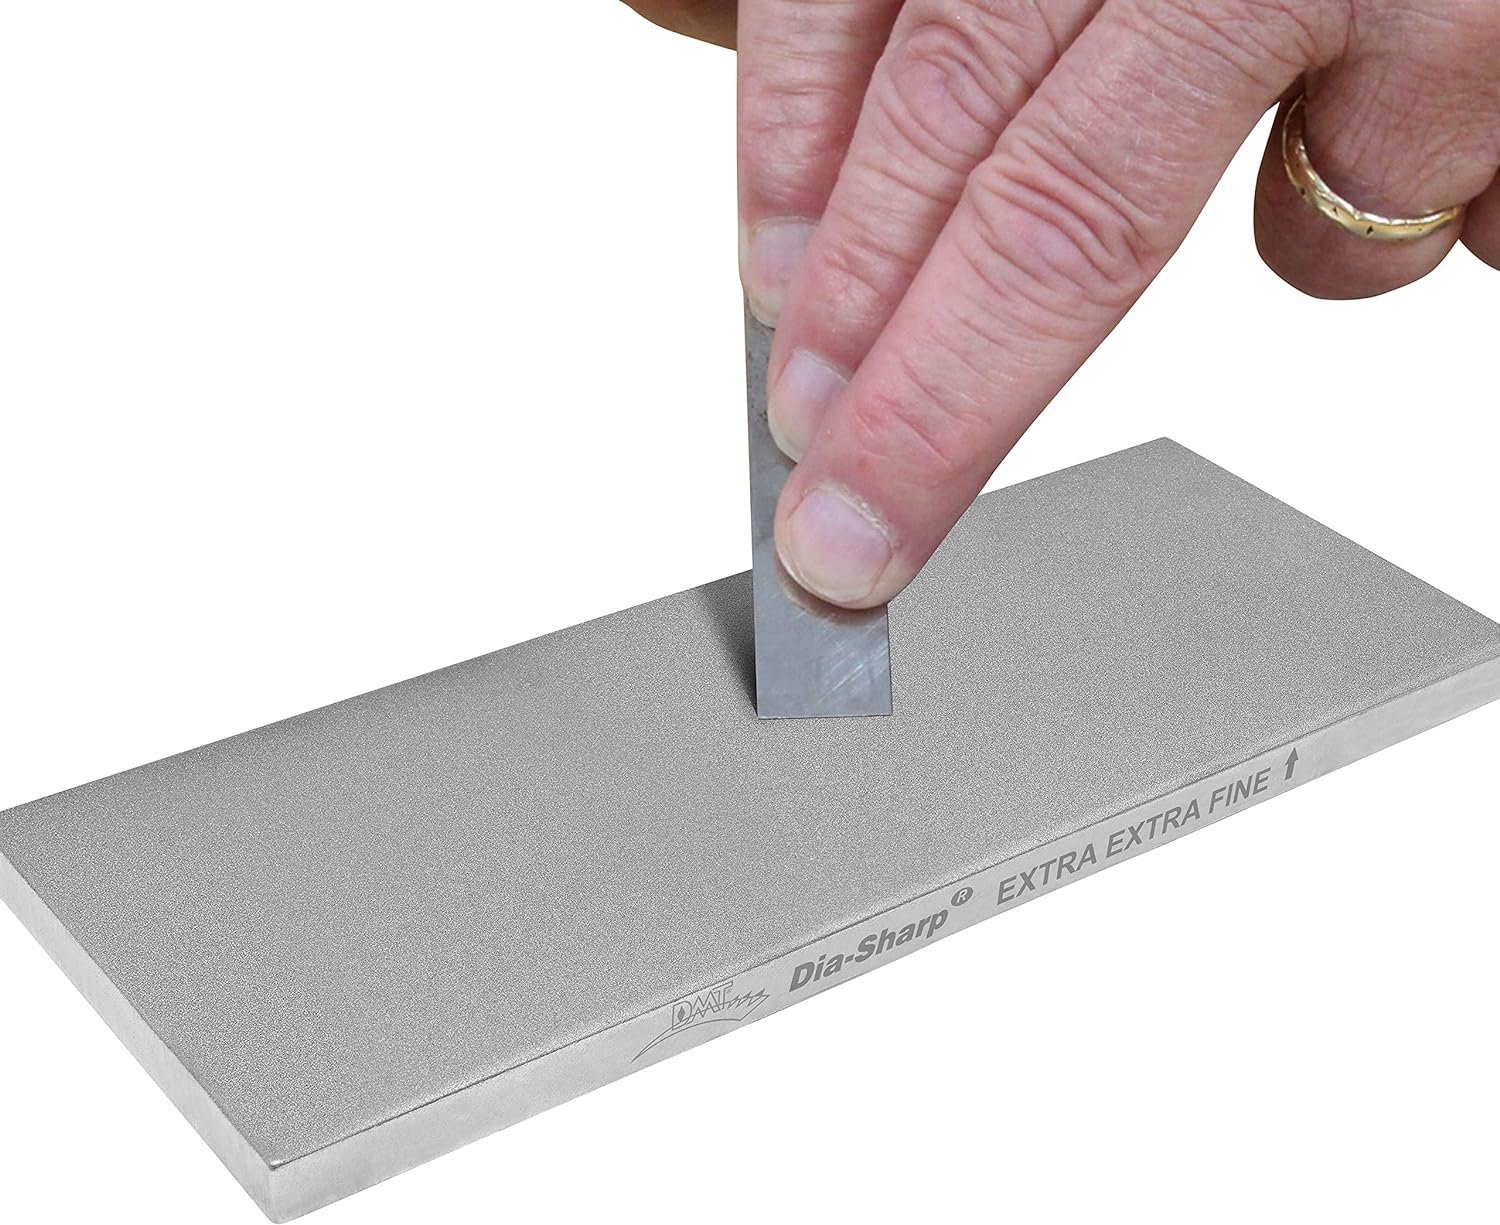
I don’t want my description of the sharpening process to sound labor intensive. It really isn’t bad; however, it is a little messy and takes a good amount of time. I found that if I decide to sharpen one tool, I better plan to sharpen every tool while I have everything out. As someone with little time, but a lot of responsibility, this process isn’t for me. Instead, I switched to diamond stones for most sharpening.
Diamond stones are just the name implies. They are steel plates with a diamond texture. Like water stones, they come in different grits. However, unlike water stone, diamond stones are infinity less of a hassle. Many can be used both wet and dry. I opt for wet. When I notice my chisel is not up to the job, I walk over to my sharpening station, spray a little water on the stone’s surface, and make a few passes to hone the tool’s edge. I wipe the stone dry with a towel and then grab the next highest grit stone.
It’s really that quick and simple. From my experience of using both types, I believe water stones give me a sharper edge. This doesn’t mean you can’t get insanely sharp tools with diamond stones. Diamond stones get my tools sharp enough to tackle anything thrown their way. While I just talked about some of the benefits of using diamond stones as opposed to water stones, I’m speaking from my experience and I’m not advocating that you should exclusively used them. I am highlighting the value of trying multiple methods and determining which process you prefer.
Specialty Tools
Sometimes, a project is pretty straight forward, but there’s one aspect that requires a significant amount of time to complete. When faced with a common situation that you dislike or takes a considerable time, look into tools or items that could make it faster, easier, and more enjoyable.
My favorite woodworking projects are wood boxes and scroll saw art. In both cases, sanding and cleanup work takes a lot of time. Each scroll saw picture consists of a lot of small, sometimes intricate pieces that require sanding and shaping. I kept putting off buying specialty sanding tools like micro sanding sticks. I didn’t want to spend money on a one trick pony when I can keep doing things the way I’ve always done them.

After finishing a particularly tedious project, I pulled the trigger and bought a set for sanding sticks and extra sandpaper. I instantly fell in love. The sanding sticks use a spring to tightly hold a loop of sandpaper. Pressing down on the end will loosen the tension, allowing you to rotate the sandpaper or remove it altogether. One end of the stick is flat and pointed. The other is rounded. Both come in handy.
The sanding sticks allowed me to quickly shape parts, not only making the process faster, but also resulting in a better end product. I began using them for sanding glue spots along the inside corners of boxes or trays, and once again, found them indispensable.
Like with some of the other tools I mentioned, I’m not pushing the idea that you must have these particular items in your shop. Instead, I urge you to think about a part of your build process that you dislike or that takes up valuable time, then look for tips or tools that could help in any way. That means less time doing boring stuff and more time working are aspects you love.